×
- Live Chat
- 1-888-788-9341


My Garage
My Account
Cart
Genuine Ford Bronco II Antenna
Radio Antenna- Select Vehicle by Model
- Select Vehicle by VIN
Select Vehicle by Model
orMake
Model
Year
Select Vehicle by VIN
For the most accurate results, select vehicle by your VIN (Vehicle Identification Number).
2 Antennas found
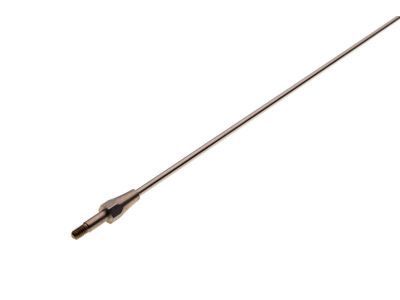
Ford Bronco II Rod Assembly - Replacement - Aerial
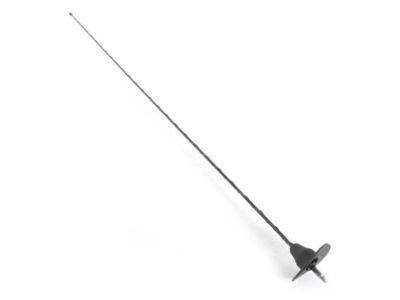
Part Number: D3AZ-18A886-A$15.87 MSRP: $22.60You Save: $6.73 (30%)Ships in 1-2 Business DaysFord Bronco II Rod Assy - Replacement - Aerial
Part Number: E2ZZ-18A886-A$31.98 MSRP: $45.55You Save: $13.57 (30%)Ships in 1-3 Business Days
Ford Bronco II Antenna
We provide a wide range of Ford Bronco II Antenna at the best prices possible. If you need Ford Bronco II Antenna, you can shop with confidence on our website. All our OEM parts come with a manufacturer's warranty and are delivered to your door step with a fast delivery service.
Ford Bronco II Antenna Parts Questions & Experts Answers
- Q: How do you replace the antenna on Ford Bronco II?A: To replace the antenna, first pull the antenna cable straight out of the radio if it plugs directly in; if not, disconnect the antenna lead-in cable from the in-line connector above the glove box. Next, work under the instrument panel to disengage the cable from its retainers, and if necessary, remove the instrument panel pad to access the cable. Outside, unsnap the cap from the antenna base, then remove the three screws and carefully lift off the antenna, pulling the cable with it. Discard the gasket, then place a new gasket in position on the cowl panel. Insert the antenna cable through the hole and seat the antenna base on the cowl, securing it with the three screws. Position the cap over the antenna base and snap it into place, then route the cable in the same position as before removal behind the instrument panel and connect it to the radio or in-line connector.


