×
- Live Chat
- 1-888-788-9341


My Garage
My Account
Cart
Genuine Ford Bronco II Pitman Arm
Steering Pitman Arm- Select Vehicle by Model
- Select Vehicle by VIN
Select Vehicle by Model
orMake
Model
Year
Select Vehicle by VIN
For the most accurate results, select vehicle by your VIN (Vehicle Identification Number).
1 Pitman Arm found
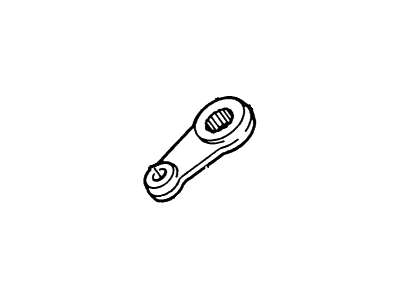
Ford Bronco II Pitman Arm
The Pitman Arm is used in Ford Bronco II by helping in changing rotary motion from the steering wheel into linear motion that would enable the wheels of the car to be controlled accurately. This component couples the steering box sector shaft to the drag link hence providing the required movement for steering. In the line of the Ford Bronco II, different styles of Pitman Arms may have been used with time with improvements done to make the optimal and stronger material and design like the use of the steel with ball joint and bearing hence improving on the performance and the life of the Pitman Arms. If a Pitman Arm becomes wore out it can cause the steering play which in turns affects the car's stability and its safety. Therefore, the Pitman Arm is crucial in the proper steering of the Ford Bronco II vehicles for safe operation.
We provide a wide range of Ford Bronco II Pitman Arm at the best prices possible. If you need Ford Bronco II Pitman Arm, you can shop with confidence on our website. All our OEM parts come with a manufacturer's warranty and are delivered to your door step with a fast delivery service.
Ford Bronco II Pitman Arm Parts Questions & Experts Answers
- Q: How to remove and install the pitman arm, tie rod, tie rod ends, and drag link on Ford Bronco II?A: To remove the pitman arm, raise and safely support the vehicle using jack stands, then remove the cotter pin and nut from the drag link ball stud at the pitman arm. Utilize a pitman arm removal tool to detach the drag link ball stud from the pitman arm, followed by removing the retaining nut and washer to take off the pitman arm from the steering gear sector shaft. For installation, reverse the removal steps, ensuring to torque the pitman arm attaching washer and nut to 170-230 ft. lbs., the drag link ball stud nut to 50-70 ft. lbs., and install a new cotter pin. Check and adjust front end alignment as necessary. For the tie rod, raise and support the vehicle, ensuring the front wheels are straight ahead, then remove the nut and cotter pin from the ball stud on the drag link and detach the ball stud using the same removal tool. Loosen the bolts on the tie rod adjusting sleeve, counting the turns to remove the tie rod. When installing, replace the tie rod in the sleeve with the same number of turns, torque the adjusting sleeve nuts to 30-42 ft. lbs., ensure the adjusting sleeve clamps are pointed down at a 45 angle, tighten the tie rod ball stud to drag link retaining bolt to 50-75 ft. lbs., and install a new cotter pin. Again, check and adjust front end alignment as needed. For tie rod ends, raise and support the vehicle, ensuring the front wheels are straight ahead, then remove the nut and cotter pin from the ball stud on the drag link and detach the ball stud. Loosen the bolts on the tie rod adjusting sleeve, counting the turns to remove it. For installation, place the adjusting sleeve on the tie rod ball stud with the same number of turns, loosely assemble the ball stud in the spindle arm, torque the retaining nuts to 30-42 ft. lbs., ensure the adjusting sleeve clamps are pointed down at a 45 degrees angle, and torque the nut to 50-75 ft. lbs. before installing a new cotter pin. Check and adjust front end alignment as required. For the drag link, raise and support the vehicle, ensuring the front wheels are straight ahead, then remove the nuts and cotter pins from the ball studs at the pitman arm and steering tie rod, detaching the ball studs using the removal tool. Loosen the bolts on the drag link adjusting sleeve, counting the turns to remove it. When installing, replace the drag link with the same number of turns, tighten the adjusting sleeve nuts to 30-42 ft. lbs., ensure the adjusting sleeve clamps are pointed down at a 45 degrees angle, position the drag link ball stud in the pitman arm and the steering tie rod ball stud in the drag link, and torque the nuts to 50-75 ft. lbs. before installing a new cotter pin. Finally, check and adjust front end alignment as necessary.

