×
- Live Chat
- 1-888-788-9341


My Garage
My Account
Cart
Genuine Ford Crown Victoria Radiator
Cooling Radiator- Select Vehicle by Model
- Select Vehicle by VIN
Select Vehicle by Model
orMake
Model
Year
Select Vehicle by VIN
For the most accurate results, select vehicle by your VIN (Vehicle Identification Number).
18 Radiators found
Ford Crown Victoria Radiator
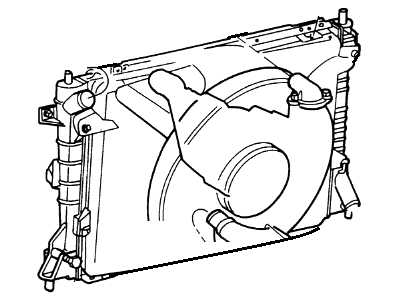
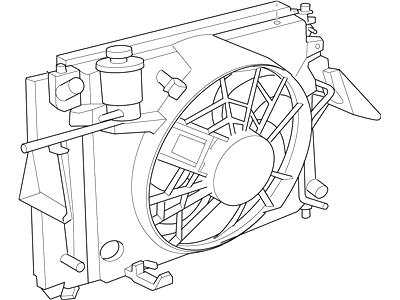
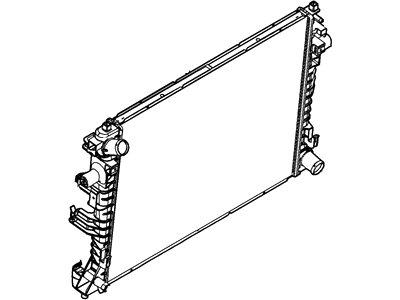
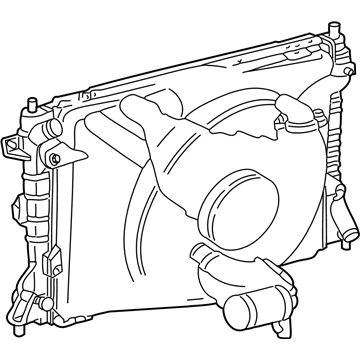
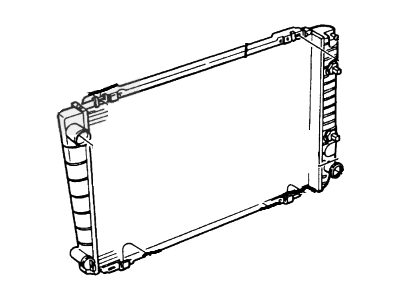
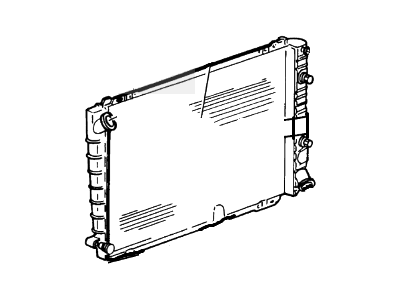
Radiator installed in Ford Crown Victoria cars operates as an imperative part of the cooling system as being a heat exchanger that transfers heat from the coolant to the surrounding air. It usually has a core made of fins and tubes and inlet and outlet tanks; the material it is mainly made of is aluminium but there are cupper/brass ones. The design permits coolant to pass through the tubes wherein heat is transferred to the fins and then to the airflow. Through the years, numerous versions of radiators have been installed in the Crown Victoria - standard and performance. Some of the performance enhancing features are, use of lightweight aluminum material, and larger internal tubes for better coolant circulation, and higher fin density for better heat dissipation. These upgrades, they lead to efficient cooling and there are those which can be direct fit or universal because of the variety that accompanies the cooling needs of both standard and non-standard cars.
We provide a wide range of Ford Crown Victoria Radiator at the best prices possible. If you need Ford Crown Victoria Radiator, you can shop with confidence on our website. All our OEM parts come with a manufacturer's warranty and are delivered to your door step with a fast delivery service.
Ford Crown Victoria Radiator Parts Questions & Experts Answers
- Q: How to remove and install a radiator and coolant overflow tank on Ford Crown Victoria?A: Disconnect the cable from the negative battery terminal. Drain the cooling system, then disconnect the overflow hose, upper radiator hose, and lower radiator hose from the radiator. When removing the hoses, use a pliers to squeeze the tangs together and slide the clamp away from the end of the hose, then pull the hose from the radiator connection. If equipped with an automatic transmission or engine oil cooler, remove the cooler lines from the radiator. Use a flare-nut wrench on the fluid line and a back up wrench at the radiator fitting, to prevent damage to the transmission cooler lines when removing them from the radiator. Be careful not to damage the lines or fittings. Plug the ends of the disconnected lines to prevent leakage and stop dirt from entering the system. Have a drip pan ready to catch any spills. Remove the radiator mounting bolts. The cooling fan shroud is held in place by two bolts as is the radiator support bracket. Both the shroud and the bracket must be removed before the radiator can be removed. Unbolt the fan shroud and slip it back over the fan. Lift the radiator from the engine compartment. Take care not to contact the fan blades. Prior to installation of the radiator, replace any damaged hose clamps and radiator hoses. Radiator installation is the reverse of removal. When installing the radiator, make sure it seats properly in the lower saddles and that the rubber mounts are intact. Check to make sure that the rubber mounts are in place and in good shape, if they're beginning to deteriorate, now is the time to replace them. After installation, fill the system with the proper mixture of antifreeze, and also check the automatic transmission fluid level. Drain the engine coolant. Remove the coolant overflow hoses from the tank. Locate the two hoses attached to the Coolant Reservoir and disconnect them. Remove the bolts and detach the tank. Prior to installation, make sure the tank is clean and free of debris which could be drawn into the radiator. Wash it with soap and water if necessary. Installation is the reverse of removal.
