×
- Live Chat
- 1-888-788-9341


My Garage
My Account
Cart
Genuine Ford Escape Axle Shaft
Car Axle Shaft- Select Vehicle by Model
- Select Vehicle by VIN
Select Vehicle by Model
orMake
Model
Year
Select Vehicle by VIN
For the most accurate results, select vehicle by your VIN (Vehicle Identification Number).
98 Axle Shafts found
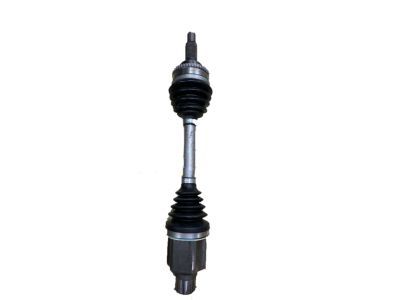
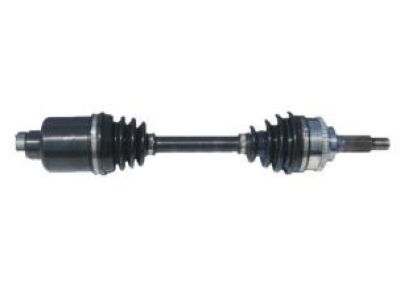
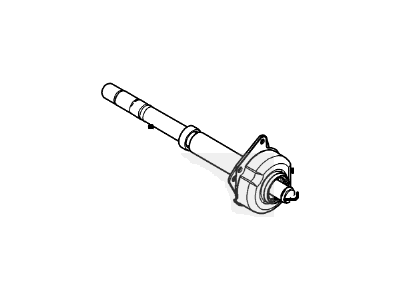
Ford Escape Shaft
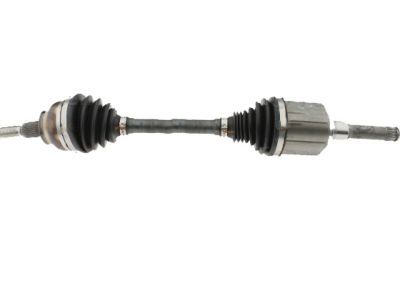
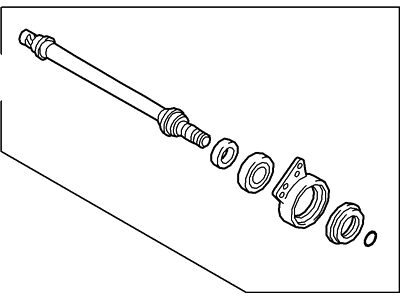
Part Number: 5L8Z-3A329-B$135.60 MSRP: $188.33You Save: $52.73 (28%)Ships in 1-2 Business DaysFord Escape Shaft Assembly - Rear Axle
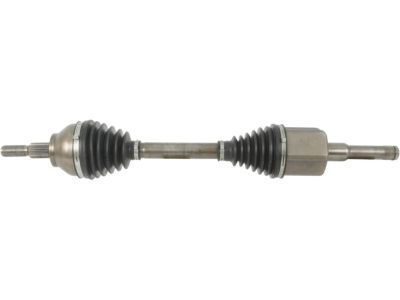
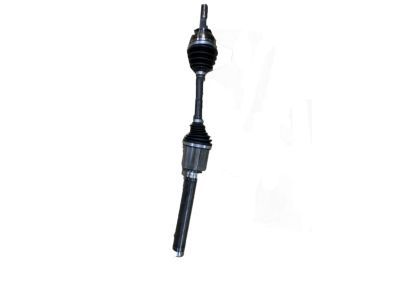
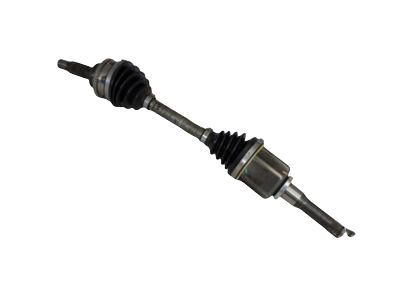
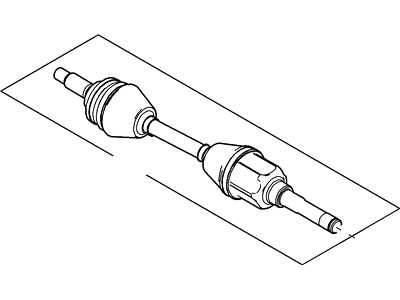
Part Number: 8L8Z-4K139-A$324.81 MSRP: $511.67You Save: $186.86 (37%)Ships in 1-2 Business DaysFord Escape Shaft
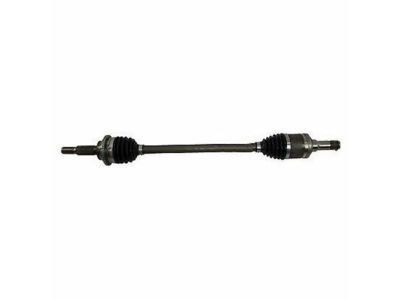
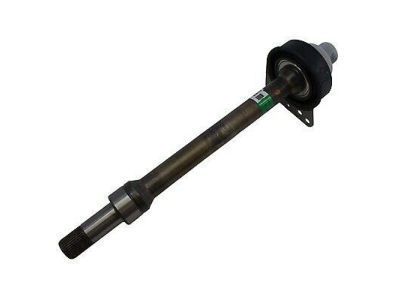
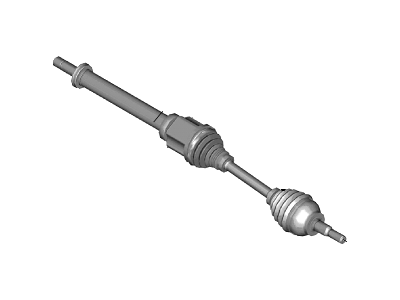
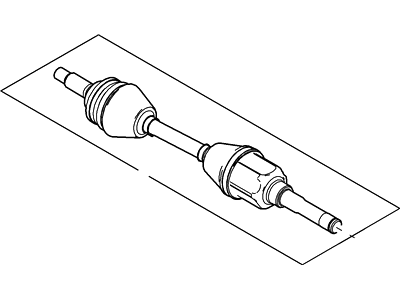
Part Number: 6L8Z-3A329-A$240.91 MSRP: $301.67You Save: $60.76 (21%)Ships in 1-2 Business DaysFord Escape Front Axle Shaft
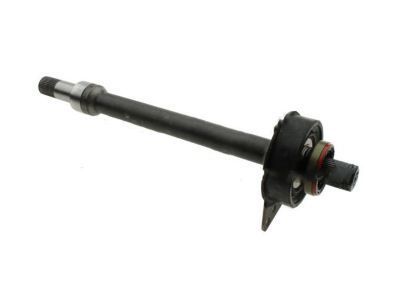
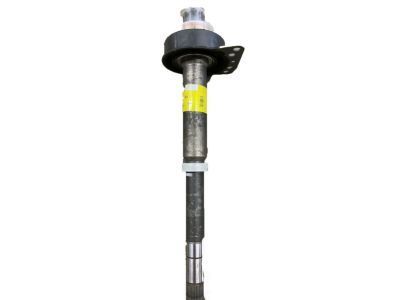
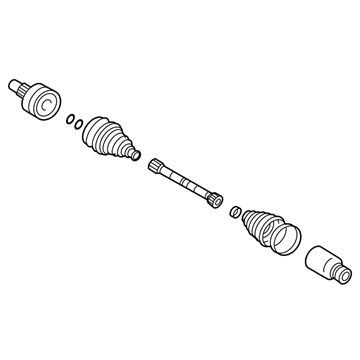
Part Number: CV6Z-3B437-A$176.00 MSRP: $290.91You Save: $114.91 (40%)Ships in 1-2 Business DaysFord Escape Front Axle Shaft
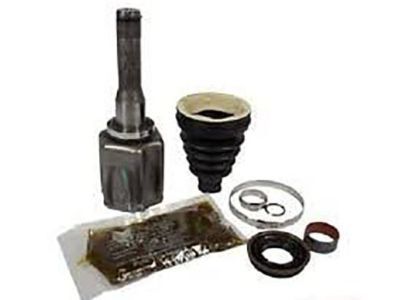
Part Number: 9L8Z-3A427-D$108.57 MSRP: $179.45You Save: $70.88 (40%)Ships in 1-2 Business DaysFord Escape Joint And Stub Shaft Assembly
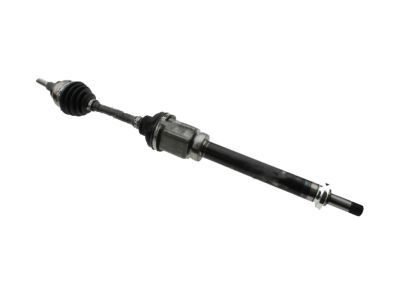
Part Number: AL8Z-3B414-A$47.42 MSRP: $75.64You Save: $28.22 (38%)Ships in 1-2 Business DaysFord Escape Joint And Stub Shaft Assy
Part Number: YL8Z-3B414-BA$96.86 MSRP: $132.34You Save: $35.48 (27%)Ford Escape Front Axle Shaft
Part Number: 5M6Z-3A427-AA$99.77 MSRP: $164.91You Save: $65.14 (40%)Ships in 1-2 Business DaysFord Escape Front Axle Shaft
Part Number: YL8Z-3A427-DA$116.60 MSRP: $192.73You Save: $76.13 (40%)Ships in 1-2 Business Days
| Page 1 of 5 |Next >
1-20 of 98 Results
Ford Escape Axle Shaft
The Axle Shaft in Ford Escape automobiles is a significant power transmitting mechanism situated in place of rotating the differential to the drive wheels to improve grip. These steel shafts can be of different types including the solid axles applicable to trucks and old model cars and the halfshafts for those vehicles with the independent suspension systems. The differential unit and the axle shafts are accommodated in solid axles; half shafts connect the transaxle to the wheels. Axle shafts may wear out due to friction with barriers on the ground, thus developing problems such as rackets and vibration, while half shafts, often, call for replacement since their CV Joints may have worn out or their boots develop tears. In summary, the Axle Shaft is significant for providing weight bearing, for torque transfer and for keeping wheel alignment in the Ford Escape automobiles.
We provide a wide range of Ford Escape Axle Shaft at the best prices possible. If you need Ford Escape Axle Shaft, you can shop with confidence on our website. All our OEM parts come with a manufacturer's warranty and are delivered to your door step with a fast delivery service.
Ford Escape Axle Shaft Parts Questions & Experts Answers
- Q: How do I remove the front driveaxle/hub assembly on Ford Escape?A: To remove the front, start by loosening the wheel lug nuts, raise the vehicle and support it securely on jackstands, then remove the wheel. Next, remove the axle shaft/hub nut from the axle and discard it, and if equipped with antilock brakes, remove the wheel speed sensor and set it aside. Separate the lower control arm from the steering knuckle. Swing the knuckle/hub assembly out until the end of the axle shaft is free of the hub. If the axle shaft splines stick in the hub, tap on the end of the axle shaft with a plastic hammer. Support the outer end of the axle shaft with a piece of wire to avoid unnecessary strain on the inner CV joint. If removing the right axle shaft, carefully pry the inner CV joint off the intermediate shaft using a large screwdriver or prybar positioned between the CV joint housing and the intermediate shaft bearing support. If removing the left axle shaft, pry the inner CV joint out of the transaxle using a large screwdriver or prybar positioned between the transaxle and the CV joint housing. Be careful not to damage the Differential seal. Support the CV joints and carefully remove the axle shaft from the vehicle. To install, pry the old spring clip from the inner end of the axle shaft (left side) or outer end of the intermediate shaft (right side) and install a new one. Lubricate the differential or intermediate shaft seal with multipurpose grease and raise the axle shaft into position while supporting the CV joints. Position the spring clip with the opening facing down. Push the splined end of the inner CV joint into the differential side gear (left side) or onto the intermediate shaft (right side) and make sure the spring clip locks in its groove. Apply a light coat of multi-purpose grease to the outer CV joint splines, pull out on the steering knuckle assembly and install the stub axle into the hub. Insert the ball joint stud into the steering knuckle and tighten the pinch bolt. Install a new axle shaft/hub nut and tighten it before the vehicle is lowered in order to keep the vehicle's weight from damaging the wheel bearing. This can be done by having an assistant use the brake to lock the hub while you tighten the nut, or by bracing a long prybar across two of the wheel studs. Grasp the inner CV joint housing (not the axle shaft) and pull out to make sure the axle shaft has seated securely in the transaxle or on the intermediate shaft. Install the wheel and lug nuts, then lower the vehicle and tighten the lug nuts.For the intermediate shaft removal, remove the right side wheel cover or hub cap and break the hub nut loose with a socket and large breaker bar. Loosen the wheel lug nuts, raise the vehicle and support it securely on jackstands, then remove the wheel. Separate the lower control arm from the steering knuckle. Remove the axle shaft/hub nut from the axle and discard it. Swing the knuckle/hub assembly out until the end of the axle shaft is free of the hub. If the axle shaft splines stick in the hub, tap on the end of the axle shaft with a plastic hammer. Support the outer end of the axle shaft with a piece of wire to avoid unnecessary strain on the inner CV joint. Remove the axle shaft. Remove the bearing support nuts and slide the intermediate shaft out of the transaxle. Be careful not to damage the differential seal when pulling the shaft out. Check the support bearing for smooth operation by turning the shaft while holding the bearing. If you feel any roughness, take the intermediate shaft to an automotive machine shop or other qualified repair facility to have a new bearing installed. For the installation, lubricate the lips of the transaxle seal with multi-purpose grease. Carefully guide the intermediate shaft into the transaxle side gear then install the mounting nuts for the bearing support and tighten them. The remainder of installation is the reverse of removal.For 2004 and earlier models rear removal, block the front wheels to prevent the vehicle from rolling. Loosen the wheel lug nuts, raise the rear of the vehicle and support it securely on jackstands, then remove the wheel. Remove the axle shaft/hub nut and discard it. Remove the coil spring. Remove the nut and detach the trailing arm from the lower suspension arm ball joint. Pry the trailing arm outward and remove the outer end of the axle shaft from the hub. Don't let the axle shaft hang by the inner CV joint. Pry the inner end of the axle shaft out of the differential and remove it from the vehicle. For installation, pry the old spring clip from the inner end of the axle shaft and install a new one. Apply a light film of grease to the area on the inner CV joint stub shaft where the seal rides, then insert the splined end of the inner CV joint into the differential. Make sure the spring clip locks in its groove. Apply a light film of grease to the outer CV joint splines, pry the trailing arm outward and insert the outer end of the axle shaft into the hub. Install the coil spring. Connect the trailing arm to the lower suspension arm and install the nut. Using a floor jack, raise the trailing arm to simulate normal ride height, then tighten the nut. Install a new axle shaft/hub nut and tighten it before the vehicle is lowered in order to keep the vehicle's weight from damaging the wheel bearing. This can be done by having an assistant use the brake to lock the hub while you tighten the nut, or by bracing a long prybar across two of the wheel studs. Install the wheel and lug nuts, then lower the vehicle and tighten the lug nuts. Block the front wheels to keep the vehicle from rolling. Loosen the rear wheel lug nuts, raise the vehicle and support it securely on jackstands, then remove the wheel. Remove the rear wheel axle shaft hub nut and discard it. Remove the coil spring. Remove the wheel speed sensor wiring harness mounting bolt. Remove the four bolts from the stabilizer bar bracket and discard them. Place a floor jack under the knuckle and support it. Remove the bolt from the lower ball joint, then separate the ball joint from the knuckle. Separate the inner and outer ends of the axle shaft from the differential and the hub. Work carefully to avoid damaging the CV joints and boots. Installation is the reverse of removal. Tighten the axle shaft/hub nut before the vehicle is lowered in order to keep the vehicle's weight from damaging the wheel bearing. This can be done by having an assistant use the brake to lock the hub while you tighten the nut, or by bracing a long prybar across two of the wheel studs.
Related Ford Escape Parts
Browse by Year
2023 Axle Shaft 2022 Axle Shaft 2021 Axle Shaft 2020 Axle Shaft 2019 Axle Shaft 2018 Axle Shaft 2017 Axle Shaft 2016 Axle Shaft 2015 Axle Shaft 2014 Axle Shaft 2013 Axle Shaft 2012 Axle Shaft 2011 Axle Shaft 2010 Axle Shaft 2009 Axle Shaft 2008 Axle Shaft 2007 Axle Shaft 2006 Axle Shaft 2005 Axle Shaft 2004 Axle Shaft 2003 Axle Shaft 2002 Axle Shaft 2001 Axle Shaft
