×
- Live Chat
- 1-888-788-9341


My Garage
My Account
Cart
Genuine Ford Escape Hood Cable
Hood Release Cable- Select Vehicle by Model
- Select Vehicle by VIN
Select Vehicle by Model
orMake
Model
Year
Select Vehicle by VIN
For the most accurate results, select vehicle by your VIN (Vehicle Identification Number).
8 Hood Cables found
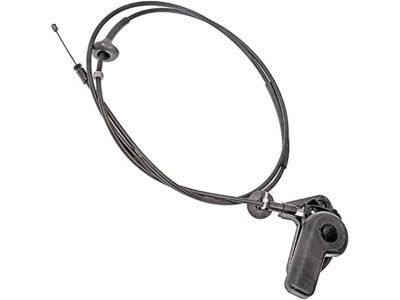
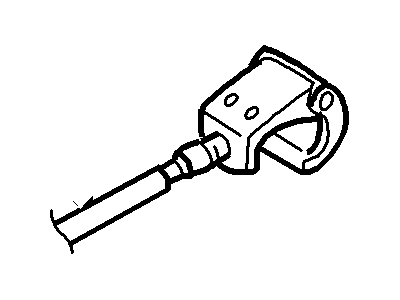
Ford Escape Cable Assembly - Control
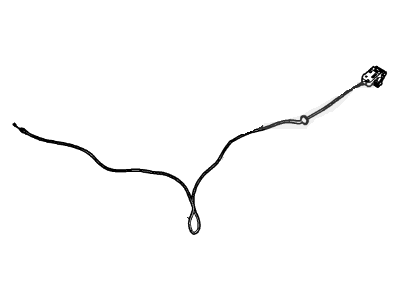
Part Number: CJ5Z-16916-B$16.47 MSRP: $24.08You Save: $7.61 (32%)Ships in 1-2 Business DaysFord Escape CABLE ASY - HOOD CONTROL
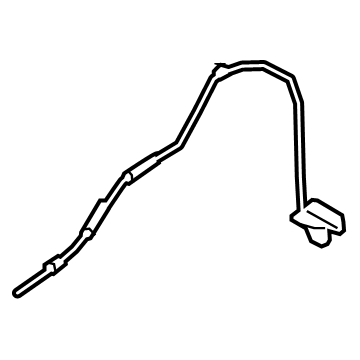
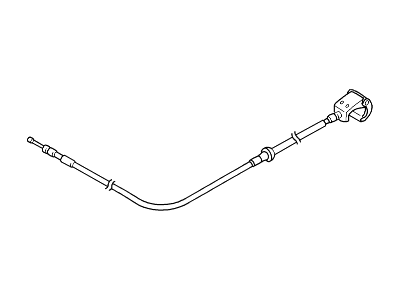
Part Number: LJ6Z-16916-E$25.34 MSRP: $37.05You Save: $11.71 (32%)Ships in 1-2 Business DaysFord Escape CABLE ASY - CONTROL
Part Number: PJ6Z-16916-A$34.20 MSRP: $48.72You Save: $14.52 (30%)Ships in 1-2 Business DaysFord Escape Cable Assembly - Control
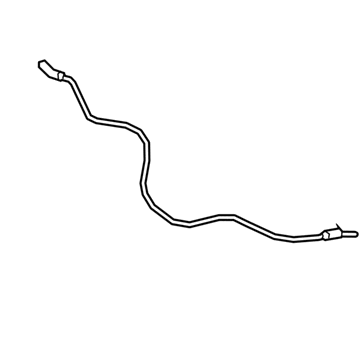
Part Number: CJ5Z-16916-A$16.47 MSRP: $24.08You Save: $7.61 (32%)Ships in 1-2 Business DaysFord Escape Cable Assembly - Hood Control
Part Number: 6L8Z-16916-AA$38.11 MSRP: $54.75You Save: $16.64 (31%)Ships in 1-3 Business DaysFord Escape Cable Assembly - Hood Control
Part Number: 5L8Z-16916-AB$38.11 MSRP: $54.75You Save: $16.64 (31%)Ships in 1-3 Business Days
Ford Escape Hood Cable
We provide a wide range of Ford Escape Hood Cable at the best prices possible. If you need Ford Escape Hood Cable, you can shop with confidence on our website. All our OEM parts come with a manufacturer's warranty and are delivered to your door step with a fast delivery service.
Ford Escape Hood Cable Parts Questions & Experts Answers
- Q: How to remove and install a hood latch and Hood Cable on a Ford Escape?A: Mark the position of the latch to aid in alignment on installation by drawing alignment marks around the Hood Hinges to ensure proper alignment of the hood when it's reinstalled. On 2004 models, remove the mounting nut. On 2005 and later models, loosen the nut but don't remove it. Remove the hood latch mounting bolts. Release the Hood Cable outer sleeve, then unhook the end of the Hood Cable. Remove the latch. Installation is the reverse of removal. Adjust the latch so that the hood engages securely when closed and the hood bumpers are slightly compressed. Working in the passenger compartment, remove the driver's side kick panel. Lift the hood release handle lever upward, then rotate the Hood Cable housing end and disengage the Hood Cable from the hood release handle. If the handle lever needs to be replaced, remove the handle mounting bolts to release it from the instrument panel. Attach a piece of thin wire or string to the end of the cable. Working in the engine compartment, disconnect the Hood Cable from the latch assembly. Unclip all the cable retaining clips on the radiator support and the inner fender well.
Related Ford Escape Parts
Browse by Year
2023 Hood Cable 2022 Hood Cable 2021 Hood Cable 2020 Hood Cable 2019 Hood Cable 2018 Hood Cable 2017 Hood Cable 2016 Hood Cable 2015 Hood Cable 2014 Hood Cable 2013 Hood Cable 2012 Hood Cable 2011 Hood Cable 2010 Hood Cable 2009 Hood Cable 2008 Hood Cable 2007 Hood Cable 2006 Hood Cable 2005 Hood Cable 2004 Hood Cable 2003 Hood Cable 2002 Hood Cable 2001 Hood Cable
