×
- Live Chat
- 1-888-788-9341


My Garage
My Account
Cart
Genuine Ford Escape Radiator
Cooling Radiator- Select Vehicle by Model
- Select Vehicle by VIN
Select Vehicle by Model
orMake
Model
Year
Select Vehicle by VIN
For the most accurate results, select vehicle by your VIN (Vehicle Identification Number).
27 Radiators found
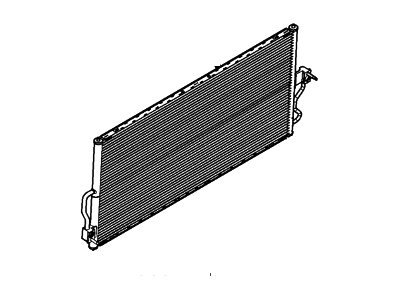
Ford Escape Radiator Assembly
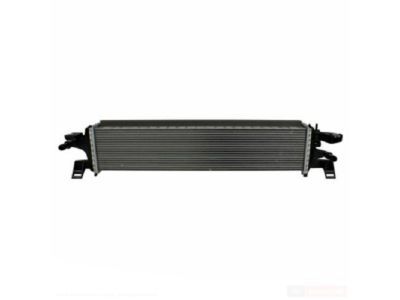
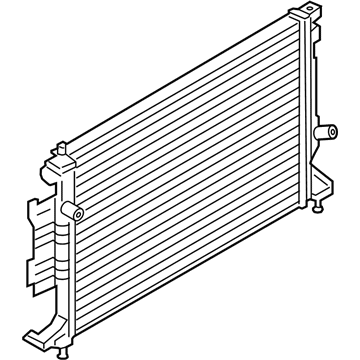
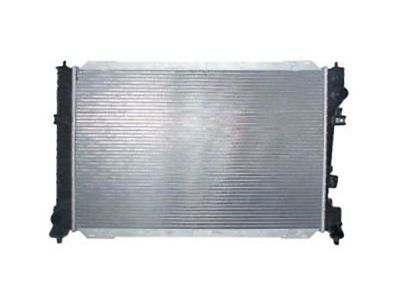
Part Number: F1FZ-8005-B$137.28 MSRP: $208.00You Save: $70.72 (34%)Ships in 1-2 Business DaysFord Escape Radiator Assembly
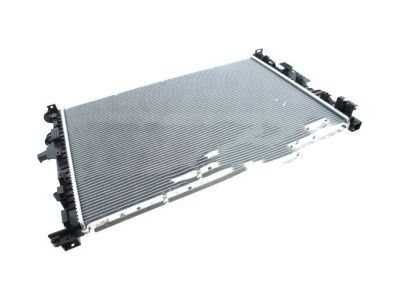
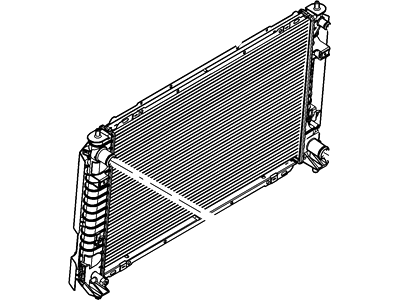
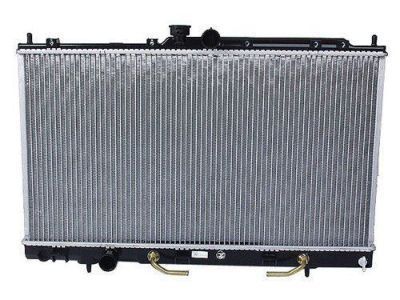
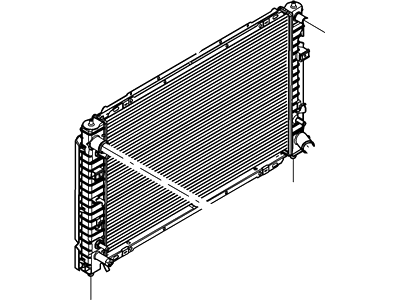
Part Number: CV6Z-8005-B$265.61 MSRP: $406.13You Save: $140.52 (35%)Ships in 1-2 Business DaysFord Escape Radiator Assembly
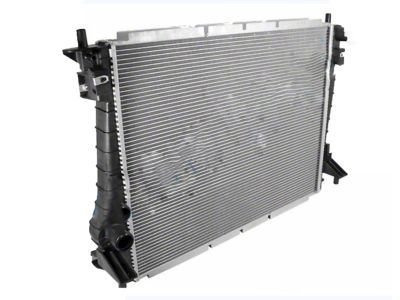
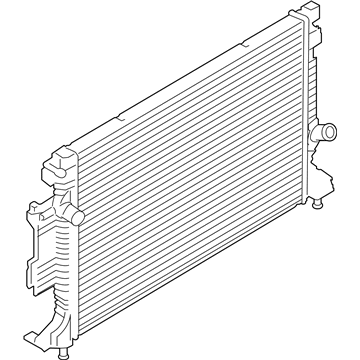
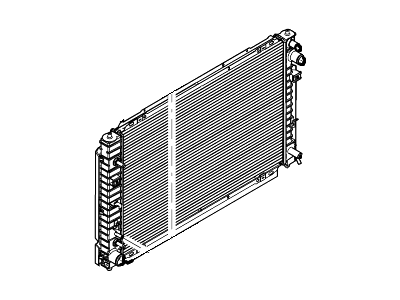
Part Number: CV6Z-8005-X$265.88 MSRP: $406.55You Save: $140.67 (35%)Ships in 1-2 Business DaysFord Escape Radiator Assembly
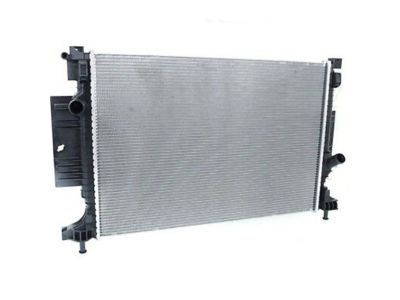
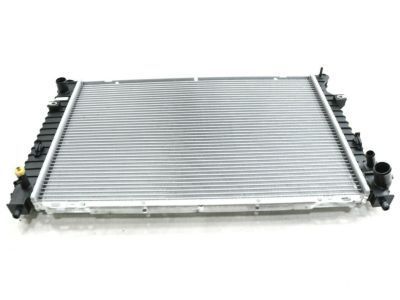
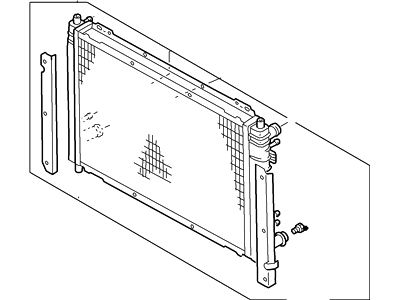
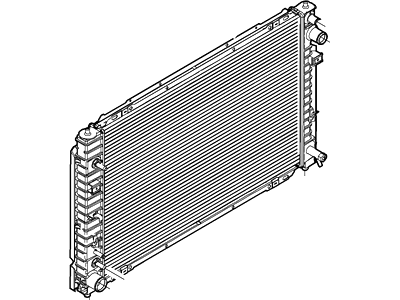
Part Number: EJ7Z-8005-B$186.85 MSRP: $283.10You Save: $96.25 (34%)Ships in 1-2 Business DaysFord Escape Radiator Assembly
Part Number: FV4Z-8005-A$215.04 MSRP: $336.53You Save: $121.49 (37%)Ships in 1-2 Business DaysFord Escape Radiator Assembly
Part Number: 6L8Z-8005-AA$316.31 MSRP: $435.77You Save: $119.46 (28%)Ships in 1-2 Business DaysFord Escape RADIATOR ASY
Part Number: LX6Z-8005-G$151.45 MSRP: $221.42You Save: $69.97 (32%)Ships in 1-2 Business DaysFord Escape RADIATOR ASY
Part Number: LX6Z-8005-M$204.10 MSRP: $301.03You Save: $96.93 (33%)Ships in 1-2 Business DaysFord Escape RADIATOR ASY
Part Number: MX6Z-8005-B$245.38 MSRP: $361.92You Save: $116.54 (33%)Ships in 1-2 Business DaysFord Escape RADIATOR ASY
Part Number: LX6Z-8005-C$127.91 MSRP: $187.00You Save: $59.09 (32%)Ships in 1-2 Business DaysFord Escape RADIATOR ASY
Part Number: LX6Z-8005-Q$231.44 MSRP: $341.35You Save: $109.91 (33%)Ships in 1-2 Business Days
| Page 1 of 2 |Next >
1-20 of 27 Results
Ford Escape Radiator
The Ford Escape Radiator works by assisting the engine cooling system in removing heat from the specially formulated engine coolant then expelling it into the surroundings in a manner reminiscent of a heat exchanger. Generally, Ford Escape Radiators have core or fins and tubes with inlet and outlet tanks; these usually came with aluminum cores and tanks but can also been copper/brass radiators. It is indeed positioned at the front of the vehicle so that a large amount of air will be able to flow over its surface for the purpose of enhancing the heat exchange process normally associated with the radiator. This it is because performance radiators, including those presented as upgrades, are usually made with light aluminum and are additionally designed to optimize thermal and fluid characteristics. Higher numbers of tubes and fin density is available on these radiators than the factory ones, which increases the coolant transfer rate and improves heat transfer rate. Performance radiators come in direct fit form for easy bolt-on while the universal form is designed to be fabricated to fit the car in question. All in all, Ford Escape Radiators are essential components the check and regulate the temperature of the car engines.
We provide a wide range of Ford Escape Radiator at the best prices possible. If you need Ford Escape Radiator, you can shop with confidence on our website. All our OEM parts come with a manufacturer's warranty and are delivered to your door step with a fast delivery service.
Ford Escape Radiator Parts Questions & Experts Answers
- Q: How to remove and install a radiator in a Ford Escape?A: Disconnect the cable from the negative battery terminal. Raise the vehicle and place it securely on jackstands. Remove the lower splash shields. Drain the cooling system. If the coolant is relatively new and in good condition, save it and reuse it. Unbolt the cooling fan shrouds from the radiator. Remove the hood latch and the center support. Disconnect the lower radiator hose and expansion tank hose from the left side tank of the radiator. If the vehicle is equipped with an automatic transaxle, also detach the cooler hose from its fitting on the side tank. Lower the vehicle and disconnect the expansion tank hose and upper radiator hose from the right side of the radiator. Also, if the vehicle is equipped with an automatic transaxle, disconnect the other fluid cooler hose from the upper left side of the radiator. Remove the radiator support brackets from the radiator support beam and the radiator. Carefully lift out the radiator. Don't spill coolant on the vehicle or scratch the paint. Make sure the rubber radiator insulators that fit on the bottom of the radiator and into the sockets in the body remain in place in the body for proper reinstallation of the radiator. Remove bugs and dirt from the radiator with compressed air and a soft brush. Don't bend the cooling fins. Inspect the radiator for leaks and damage. If it needs repair, have a radiator shop or a dealer service department do the work.For 2009 and later models, drain the engine coolant. Remove the Engine Cooling Fans. Detach all hoses from the radiator. Remove the two upper bolts that attach the condenser to the radiator. Move the air conditioning condenser away from the radiator. Carefully remove the radiator. Inspect the rubber insulators in the lower crossmember for cracks and deterioration. Make sure that they're free of dirt and gravel. When installing the radiator, make sure that it's correctly seated on the insulators before fastening the top brackets. Installation is otherwise the reverse of the removal procedure. After installation, fill the cooling system with the correct mixture of anti-freeze and water. Reconnect the battery. After you're done, the Powertrain Control Module (PCM) must relearn its idle and fuel trim strategy for optimum driveability and performance. Start the engine and check for leaks. Allow the engine to reach normal operating temperature, indicated by the upper radiator hose becoming hot. Recheck the coolant level and add more if required. If you're working on an automatic transaxle equipped vehicle, check and add fluid as needed.
Related Ford Escape Parts
Browse by Year
2023 Radiator 2022 Radiator 2021 Radiator 2020 Radiator 2019 Radiator 2018 Radiator 2017 Radiator 2016 Radiator 2015 Radiator 2014 Radiator 2013 Radiator 2012 Radiator 2011 Radiator 2010 Radiator 2009 Radiator 2008 Radiator 2007 Radiator 2006 Radiator 2005 Radiator 2004 Radiator 2003 Radiator 2002 Radiator 2001 Radiator
