×
- Live Chat
- 1-888-788-9341


My Garage
My Account
Cart
Genuine Ford Explorer Evaporator
A/C Evaporator Core- Select Vehicle by Model
- Select Vehicle by VIN
Select Vehicle by Model
orMake
Model
Year
Select Vehicle by VIN
For the most accurate results, select vehicle by your VIN (Vehicle Identification Number).
35 Evaporators found
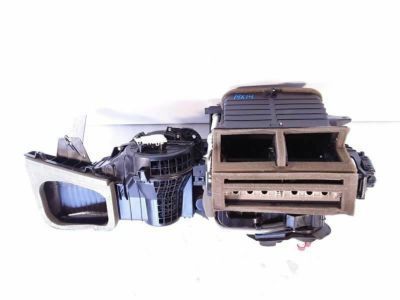
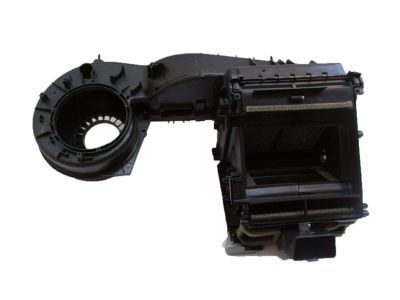
Ford Explorer Evaporator Assembly
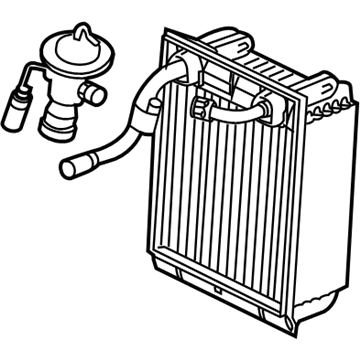
Part Number: DG1Z-19850-B$255.38 MSRP: $376.67You Save: $121.29 (33%)Ships in 1-3 Business DaysFord Explorer Core - Air Conditioning Evaporator
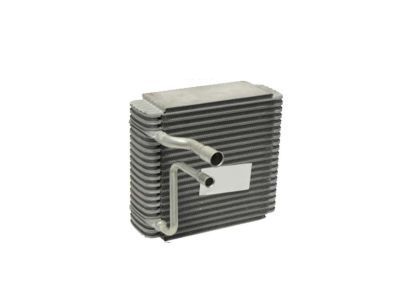
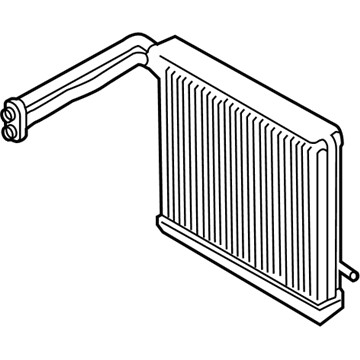
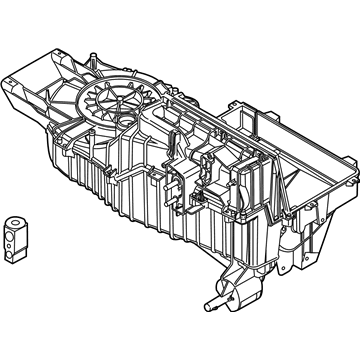
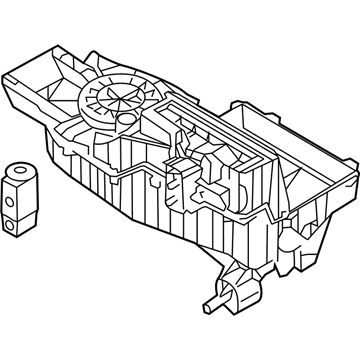
Part Number: 4L2Z-19860-AA$149.15 MSRP: $207.19You Save: $58.04 (29%)Ships in 1-2 Business DaysFord Explorer HOUSING
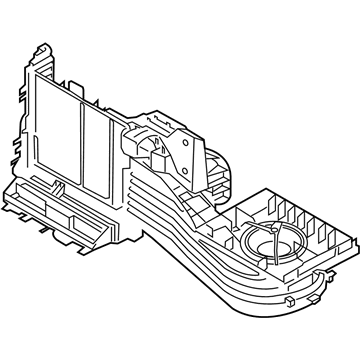
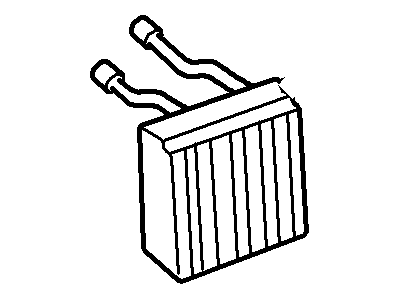
Part Number: L1MZ-19930-BF$142.50 MSRP: $208.33You Save: $65.83 (32%)Ships in 1-3 Business DaysFord Explorer RADIATOR ASY - HEATER
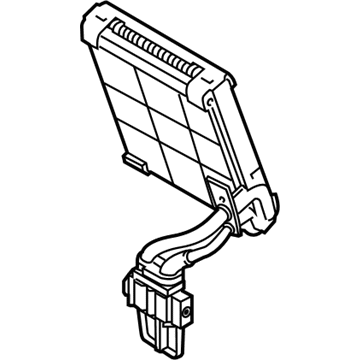
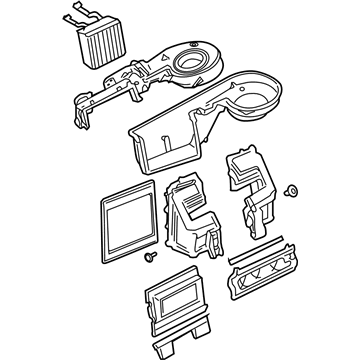
Part Number: L1MZ-19860-CC$155.04 MSRP: $247.27You Save: $92.23 (38%)Ships in 1-3 Business DaysFord Explorer Core - Air Conditioning Evaporator
Part Number: 2L2Z-19860-AA$135.18 MSRP: $187.79You Save: $52.61 (29%)Ships in 1-2 Business DaysFord Explorer Core - Air Conditioning Evaporator
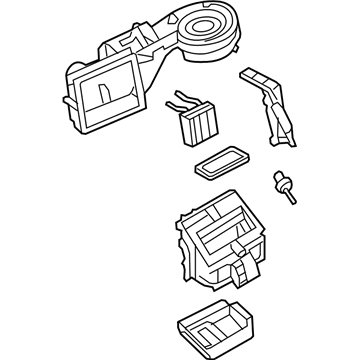
Part Number: 6L2Z-19860-EB$185.71 MSRP: $257.98You Save: $72.27 (29%)Ships in 1-2 Business DaysFord Explorer Core - Air Conditioning Evaporator
Part Number: L1MZ-19860-BC$103.40 MSRP: $164.91You Save: $61.51 (38%)Ships in 1-3 Business DaysFord Explorer RADIATOR ASY - HEATER
Part Number: L1MZ-19860-A$231.65 MSRP: $372.73You Save: $141.08 (38%)Ships in 1-3 Business DaysFord Explorer Evaporator Assembly
Part Number: DG1Z-19850-A$255.38 MSRP: $376.67You Save: $121.29 (33%)Ships in 1-3 Business DaysFord Explorer Core - Air Conditioning Evaporator
Part Number: 4L2Z-19860-BA$125.47 MSRP: $174.30You Save: $48.83 (29%)Ships in 1-2 Business Days
| Page 1 of 2 |Next >
1-20 of 35 Results
Ford Explorer Evaporator
The Evaporator in Ford Explorer vehicles part of the A/C system and is responsible for removing heat by passing cold refrigerant liquid into vapor form. Sitting in position beneath the bonnet alongside the heater core, the evaporator is made up of aluminum tubes containing fins which exchange heat between the hot air and refrigerant. Also, the evaporator is used as a dehumider to reduce the amount of moisture in the air by taking in the air. As it is typical with all components of the Explorer A/C system, the A/C Evaporator is normally replaced owing to leakage arising from its age, thermal expansion, and contraction or debris accumulation, the A/C Evaporator has a critical role in cooling the passenger's compartment.
We provide a wide range of Ford Explorer Evaporator at the best prices possible. If you need Ford Explorer Evaporator, you can shop with confidence on our website. All our OEM parts come with a manufacturer's warranty and are delivered to your door step with a fast delivery service.
Ford Explorer Evaporator Parts Questions & Experts Answers
- Q: How to remove and replace the evaporator core and A/C Expansion Valve in Ford Explorer?A: For models through 2000, the removal of the evaporator core involves disconnecting refrigerant lines at the firewall, removing the coolant recovery tank, disconnecting Blower Motor wiring, and disconnecting the vacuum connector inside the vehicle. On the engine-compartment side of the firewall, three nuts are removed from the housing studs, allowing the blower motor/evaporator housing assembly to be pulled out of the vehicle. The two halves of the case are separated by removing 11 screws, and the evaporator core is taken out. Installation follows the reverse process, with the addition of 3 ounces of new refrigerant oil to the new accumulator/drier inlet tube and the possible replacement of the evaporator core orifice before reconnecting the lines. The system is then evacuated, recharged, and leak-tested. For 2001 and later models, the evaporator core replacement involves evacuating the system, recovering refrigerant, removing the suction accumulator, pinching off and disconnecting heater hoses, disconnecting electrical connectors, using a spring-lock-coupling tool to disconnect the evaporator tube-to-condenser refrigerant line, and rotating and leaning the housing forward for removal. Installation is the reverse process, utilizing new O-rings at the connections lubricated with 134A-compatible refrigerant oil.
Related Ford Explorer Parts
Browse by Year
2023 Evaporator 2022 Evaporator 2021 Evaporator 2020 Evaporator 2019 Evaporator 2018 Evaporator 2017 Evaporator 2016 Evaporator 2015 Evaporator 2014 Evaporator 2013 Evaporator 2012 Evaporator 2011 Evaporator 2010 Evaporator 2009 Evaporator 2008 Evaporator 2007 Evaporator 2006 Evaporator 2005 Evaporator 2004 Evaporator 2003 Evaporator 2002 Evaporator 2001 Evaporator 2000 Evaporator 1999 Evaporator 1998 Evaporator 1997 Evaporator 1994 Evaporator 1993 Evaporator 1992 Evaporator 1991 Evaporator
