×
- Live Chat
- 1-888-788-9341


My Garage
My Account
Cart
Genuine Ford Explorer Sport Trac Fuel Tank
Gas Tank- Select Vehicle by Model
- Select Vehicle by VIN
Select Vehicle by Model
orMake
Model
Year
Select Vehicle by VIN
For the most accurate results, select vehicle by your VIN (Vehicle Identification Number).
7 Fuel Tanks found
Ford Explorer Sport Trac Fuel Tank
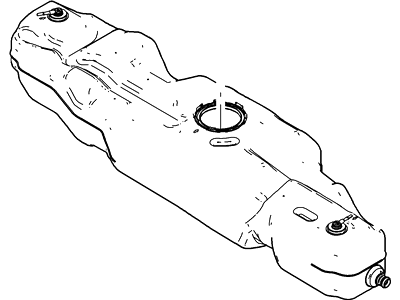
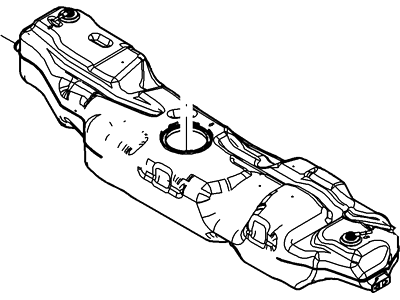
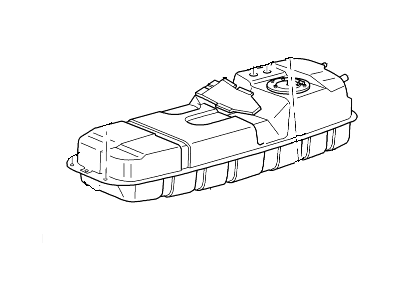
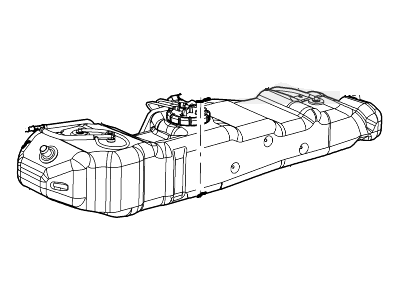
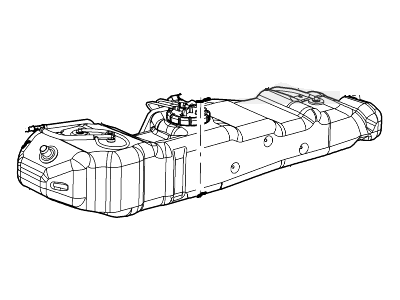
The Fuel Tank in Ford Explorer Sport Trac vehicles contains fuel and the parts like the electric fuel pump and fuel gauge sender. It also helps in a very important system known as the Evaporative Emission Control System (EVAP), aimed at not letting fuels vapors go. These tanks are usually made of metal/steel or plastic; it is important to note that metal ones are stamped and welded while the plastic ones are blow molded out of High Density Polyethylene or HDPE. For safety and Serviceability each tank is flow tested at factory and you will receive necessary parts such as locks and sealing rings. Furthermore, to meet the daily need intake you can opt for high-capacity fuel tanks constructed from military-grade polymer for a mileage range of up to 500 miles with a corrosion free polymer fiberglass body that is quite flexible compared to metal steel tanks.
We provide a wide range of Ford Explorer Sport Trac Fuel Tank at the best prices possible. If you need Ford Explorer Sport Trac Fuel Tank, you can shop with confidence on our website. All our OEM parts come with a manufacturer's warranty and are delivered to your door step with a fast delivery service.
Ford Explorer Sport Trac Fuel Tank Parts Questions & Experts Answers
- Q: How to remove and install a fuel tank on Ford Explorer Sport Trac?A: Don't begin this procedure until the gauge indicates that the tank is empty or nearly empty. If the tank must be removed when it's full, for example, if the Fuel Pump malfunctions, siphon any remaining fuel from the tank prior to removal. This procedure requires a special fuel line disconnect tool which is available at most auto part stores. Some models may be equipped with a fuel line disconnect tool which is installed on the vehicle about ten inches behind the fuel filter. Unless the vehicle has been driven far enough to completely empty the tank, it's a good idea to siphon the residual fuel out before removing the tank from the vehicle. Relieve the fuel pressure. Disconnect the cable from the negative terminal of the battery. Raise the vehicle and support it securely on jackstands. On 4WD models, remove the shield, skid plate and the front retaining strap. Loosen the hose clamps and disconnect the fuel filler and vent hose at the fuel tank. Remove the fuel tank ground strap. On models through 2000, disconnect the fuel pump electrical connector located on the left frame rail. On 2001 and later models, you can access and disconnect the fuel pump/sending unit electrical connector only when the tank has been lowered from the vehicle. Support the fuel tank with a floor jack. Position a piece of wood between the jack head and the fuel tank to protect the tank. Remove the bolt from the rear retaining strap and pivot the strap down until it is hanging out of the way. Remove the bolts securing the front of the fuel tank, then move the tank rearward until it clears the front retaining bracket. Lower the tank enough to disconnect the fuel line connectors from the fuel pump and vapor valve. The fuel feed and return lines and the vapor return line are three different diameters, so reattachment is simplified. If you have any doubts, however, clearly label the three lines and the fittings. Be sure to plug the hoses to prevent leakage and contamination of the fuel system. On early models, disconnect the fuel pump and fuel gauge sending unit connectors. Remove the tank from the vehicle. Installation is the reverse of removal. The manufacturer recommends that new tank retaining strap bolts be used. Remove and install the fuel pump or sending unit. Installation is the reverse of removal. Clean engine oil can be used as an assembly aid when pushing the fuel filler hose back onto the fuel tank.
- Q: What are the precautions and how to repair and service fuel tanks in Ford Explorer Sport Trac?A: Non-corrosive steel or polyethylene plastic is used in making the fuel tanks of these vehicles. Polyethylene plastic fuel tanks have no reliable repair options, so they must be replaced. Any repairs to be done on steel fuel tanks and filler necks should be done by a professional only. When removing the fuel tank, keep it away from sparks or open flames. There is need for caution when walking through garages with natural gas appliances because the pilot light can ignite an explosion. If the tank has been steam cleaned or serviced, replace the vapor valve assembly and all grommets and seals to prevent leaks.
