×
- Live Chat
- 1-888-788-9341


My Garage
My Account
Cart
Genuine Ford Explorer Sport Trac Spindle
Axle Spindle- Select Vehicle by Model
- Select Vehicle by VIN
Select Vehicle by Model
orMake
Model
Year
Select Vehicle by VIN
For the most accurate results, select vehicle by your VIN (Vehicle Identification Number).
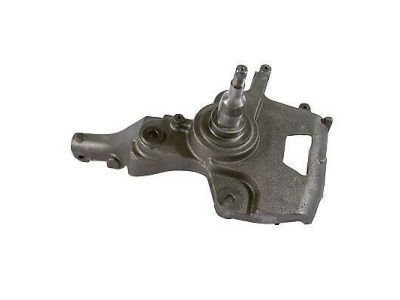
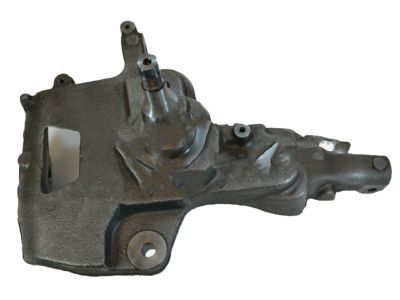
2 Spindles found
Ford Explorer Sport Trac Spindle
We provide a wide range of Ford Explorer Sport Trac Spindle at the best prices possible. If you need Ford Explorer Sport Trac Spindle, you can shop with confidence on our website. All our OEM parts come with a manufacturer's warranty and are delivered to your door step with a fast delivery service.
Ford Explorer Sport Trac Spindle Parts Questions & Experts Answers
- Q: How to remove and install the spindle on Ford Explorer Sport Trac?A: To remove 1991 through 1994 2WD models, first, you will need to have the front wheel and brake disc out, then the brake dust shield. Remove the cotter pin and nut holding the tie-rod end to the spindle, then, remove the cotter pin from the lower Ball Joint stud nut then remove the nut. Unscrew the clamp bolt of the upper ball joint and the camber adjuster and use the ball joiner remover to pull apart the upper ball joint. Tap the inside of the spindle near the lower balljoint to free it, but do not use fork-type separators because they cause the balljoint to disintegrate. Download the spindle that contains the balljoints. During the pre-installation, one should ensure that the ball joint seals are worn out or damaged and when so, they should be replaced. Set the position of the spindle and balljoints in the axle arm and then fit the camber adjuster, followed by tightening the lower balljoint nut to this torque and then fitted with a new cotter pin. Torque the clamp bolt of the upper ball joint to proper value than put on the dust cap, brake rotor and front wheel. This common problem should be taken to have the front-end alignment checked. In case of 4WD models, the axleshaft must be removed in such a way as prescribed hereunder: For 1995 and later 2WD models, unlatch the steering wheel, is loosen the wheel lug nut and lift the car securely, to remove the wheel and switch off the air suspension if equipped with Automatic Ride Control. Disconnect the disc brake caliper and fasten it aside so as not to interfere, next, if the car is equipped with an ABS sensor, remove the brake disc and the sensor, and finally the dust shield. Lose the nut of tie-rod end and keep the lower arm with a jack during the performance of these steps. Take off the lower ball joint nut and upper ball joint pinch bolt, then relieve the Torsion Bar and also take off the spindle. After installation, all fasteners are to be tightened to required torque and front end alignment is to be checked. In the 4WD models, the spindle is called the steering knuckle and DMHL is the driveaxle hub nut whereas the procedures for the removal of the knuckle as well as the installation are as mentioned above for the 2WD models, certain additional requirements are required especially the torque values and the alignment check for the spindle.


