×
- Live Chat
- 1-888-788-9341


My Garage
My Account
Cart
Genuine Ford F-150 Axle Shaft
Car Axle Shaft- Select Vehicle by Model
- Select Vehicle by VIN
Select Vehicle by Model
orMake
Model
Year
Select Vehicle by VIN
For the most accurate results, select vehicle by your VIN (Vehicle Identification Number).
95 Axle Shafts found
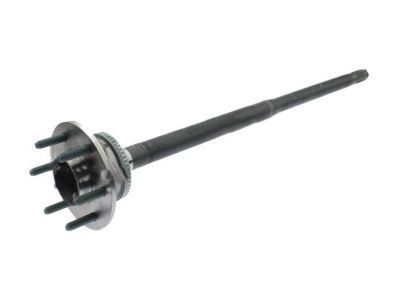
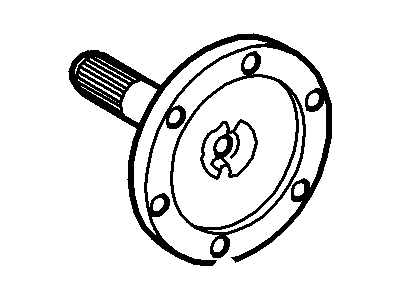
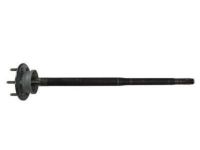
Ford F-150 Shaft Assembly - Rear Axle
Part Number: FL3Z-4234-E$283.50 MSRP: $355.00You Save: $71.50 (21%)Ford F-150 Front Axle Shaft
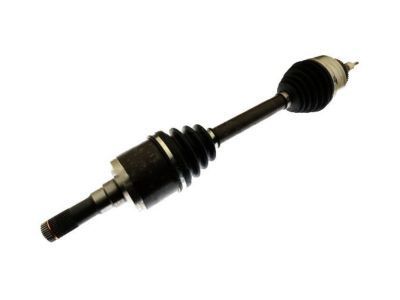
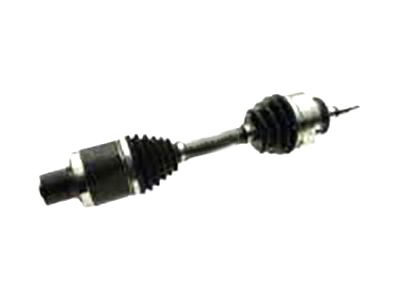
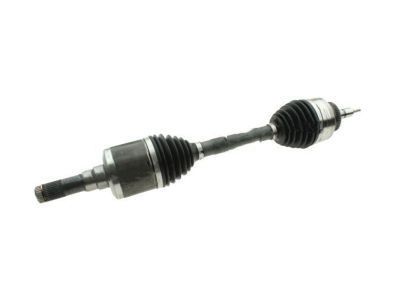
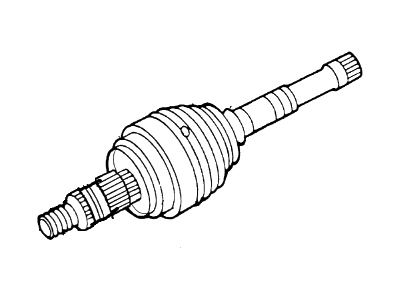
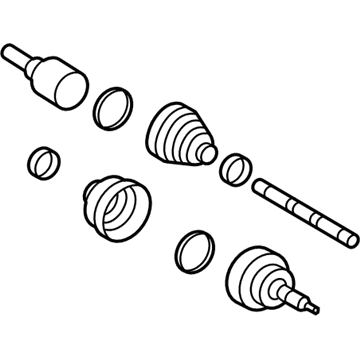
Part Number: AL1Z-3A428-B$171.60 MSRP: $283.64You Save: $112.04 (40%)Ships in 1-2 Business DaysFord F-150 Front Axle Shaft
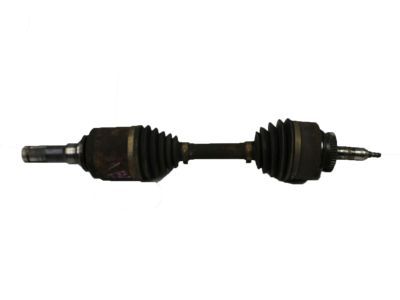
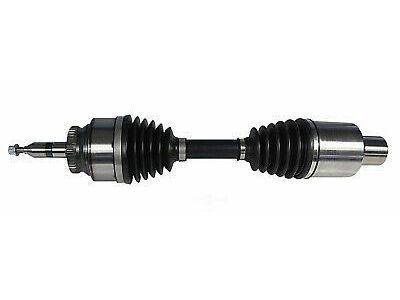
Part Number: GL3Z-3A428-A$165.00 MSRP: $272.73You Save: $107.73 (40%)Ships in 1-2 Business DaysFord F-150 Front Axle Shaft
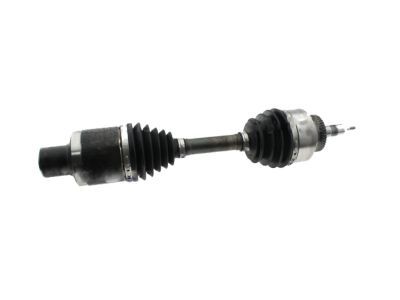
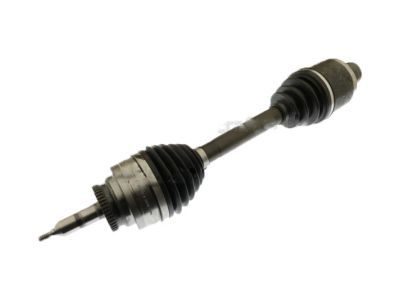
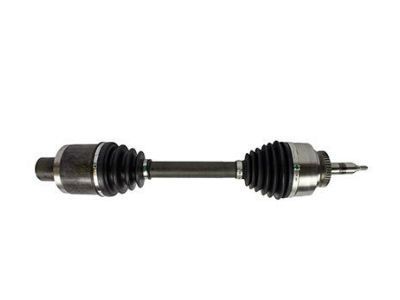
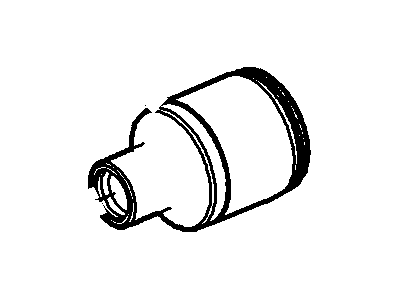
Part Number: GL3Z-3A427-A$163.90 MSRP: $270.91You Save: $107.01 (40%)Ships in 1-2 Business DaysFord F-150 Front Axle Shaft
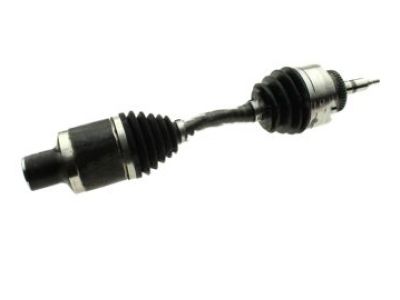
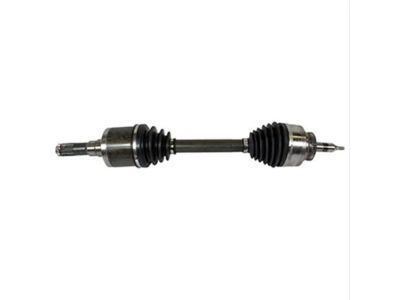
Part Number: AL1Z-3A427-B$182.03 MSRP: $303.64You Save: $121.61 (41%)Ships in 1-2 Business DaysFord F-150 Front Axle Shaft
Part Number: AL3Z-3A428-C$182.03 MSRP: $303.64You Save: $121.61 (41%)Ships in 1-2 Business DaysFord F-150 Front Axle Shaft
Part Number: FL3Z-3A428-A$167.70 MSRP: $283.64You Save: $115.94 (41%)Ships in 1-2 Business DaysFord F-150 Front Axle Shaft
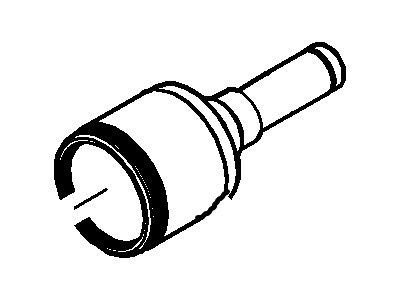
Part Number: AL3Z-3A428-B$182.03 MSRP: $303.64You Save: $121.61 (41%)Ships in 1-2 Business DaysFord F-150 Joint And Stub Shaft Assembly
Part Number: AL1Z-3B436-A$145.91 MSRP: $249.09You Save: $103.18 (42%)Ships in 1-2 Business DaysFord F-150 Shaft Assembly - Rear Axle
Part Number: HL3Z-4234-A$271.41 MSRP: $415.00You Save: $143.59 (35%)Ships in 1-3 Business DaysFord F-150 Shaft - Front Axle
Part Number: 2L3Z-3220-AB$1305.21 MSRP: $2081.67You Save: $776.46 (38%)Ford F-150 SHAFT - FRONT AXLE
Part Number: ML3Z-3A428-A$148.50 MSRP: $245.45You Save: $96.95 (40%)Ships in 1-2 Business DaysFord F-150 Shaft - Intermediate
Part Number: AL1Z-3B414-B$226.00 MSRP: $333.33You Save: $107.33 (33%)Ships in 1-3 Business DaysFord F-150 Joint And Stub Shaft Assembly
Part Number: 3L3Z-3B413-AA$211.07 MSRP: $288.41You Save: $77.34 (27%)Ford F-150 Joint And Stub Shaft Assembly
Part Number: 7L1Z-3B436-B$147.28 MSRP: $249.09You Save: $101.81 (41%)Ships in 1-2 Business DaysFord F-150 Shaft - Intermediate
Part Number: 7L1Z-3B414-A$226.00 MSRP: $333.33You Save: $107.33 (33%)Ships in 1-3 Business DaysFord F-150 Front Axle Shaft
Part Number: FL3Z-3A427-A$168.30 MSRP: $278.18You Save: $109.88 (40%)Ships in 1-2 Business Days
| Page 1 of 5 |Next >
1-20 of 95 Results
Ford F-150 Axle Shaft
The Axle Shaft of Ford F-150 vehicles is an essential factor that connects the differential to the drive wheels for independent revolving to improve tractions. The main types of Axle Shafts include the solid axles widely used in trucks and old car versions, and halfshafts suitable for car models with independent suspension. Differential and axle shafts are enclosed by the solid axles while half-shafts transmit the power from the transaxle to the wheels. Axle shafts wear from contact with obstacles and can cause, for instance, noise and vibration; meanwhile, worn seals cause the lubricant to leak and the brakes to be contaminated. In general, Axle Shafts are responsible for load bearing, power transfer and wheel camber in the Ford F-150 brand of vehicles.
We provide a wide range of Ford F-150 Axle Shaft at the best prices possible. If you need Ford F-150 Axle Shaft, you can shop with confidence on our website. All our OEM parts come with a manufacturer's warranty and are delivered to your door step with a fast delivery service.
Ford F-150 Axle Shaft Parts Questions & Experts Answers
- Q: What is the description of the rear axle assembly and differential in a Ford F-150?A: The rear axle assembly is a hypoid, semi-floating type, where the centerline of the pinion gear is below the centerline of the ring gear. This allows the outer rear tire to turn more quickly than the inner tire when the vehicle goes around a corner. The axleshafts are splined to the differential side gears, so the inner tire turns its side gear more slowly than the outer tire. The differential pinion gears roll around the slower side gear, driving the outer side gear and tire - more quickly. The differential is housed within a casting, known as a "carrier", with a pressed steel cover and the steel axletubes are pressed into and welded to the carrier. An optional locking limited-slip rear axle is also available. This differential allows for normal operation until one wheel loses traction. A limited-slip unit is similar in design to a conventional differential, but includes a series of alternating clutch friction discs and plates which slow the rotation of the differential case when one wheel is on a firm surface and the other on a slippery one. The difference in wheel rotational speed produced by this condition applies additional force to the pinion gears and through the clutch friction discs, which are splined to the axleshafts, equalizes the rotation speed of the axleshaft driving the wheel with traction. Due to the need for special tools and equipment, it is recommended that operations on these models be limited to those described. Where repair or overhaul is required, remove the axle assembly and take it to a rebuilder, or exchange it for a new or reconditioned unit. Always make sure that an axle unit is exchanged for one of identical type and gear ratio.
- Q: How to remove and install the front axle on Ford F-150?A: Loosen lug nuts, raise vehicle on jackstands, remove wheel. Remove dust cap from hub. Remove Axle Shaft/hub nut and discard. Disconnect vent and vacuum lines from integrated wheel end. Remove fasteners securing integrated wheel end to steering knuckle. Separate upper control arm and tie-rod end from steering knuckle. Swing knuckle/hub assembly out until Axle Shaft is free. Support Axle Shaft with wire. Remove integrated wheel end from Axle Shaft. Mark CV joint to flange relationship, remove Axle Shaft flange bolts. Remove Axle Shaft from vehicle. Compress integrated wheel end, place caps on ports. Install integrated wheel end on Axle Shaft. Reverse removal steps. Use new nuts and bolts. Tighten to torque. Connect vent and vacuum lines. Install wheel, lower vehicle, tighten lug nuts.
- Q: How to remove and install the front axle assembly on a Ford F-150?A: Loosen the wheel lug nuts, raise the front of the vehicle and support it securely on jackstands placed under the frame. Block the rear wheels to keep the vehicle from rolling off the stands. Remove the front wheels. If equipped, remove the front skid plate. Remove the front driveshaft. Disconnect the front driveaxles from the axleshalt flanges. Support the driveaxles with wire or rope - don't let them hang by the outer CV joints. Remove the front crossmember. Support the front axle with a pair of floor jacks, then remove the upper, lower and axle tube mounting bolts. Lower the axle assembly and remove it from under the vehicle. Installation is the reverse of removal. Be sure to tighten all fasteners securely.
- Q: How to remove and install a rear axle assembly on a Ford F-150?A: Raise rear of vehicle, support with jackstands under frame rails. Remove rear wheels. Disconnect driveshaft, ABS sensor, parking brake cable, vent hose fitting, brake lines, axle vent tube, and rear brake hose. Remove rear brake calipers. Support rear axle with floor jack(s). Remove lower mounting bolts for rear shocks. Remove nuts and U-bolts securing axle to springs. Lower axle and remove. Reverse steps for installation. Tighten U-bolt nuts and caliper mounting bolts. Check and fill axle with specified lubricant if needed.
- Q: How to remove and install the rear axle shaft on a Ford F-150?A: Raise the rear of the vehicle, support it securely on jackstands and block the front wheels. Remove the wheel and brake disc. Remove the cover from the differential carrier and drain the lubricant. Remove the lock bolt from the differential pinion shaft. Slide the notched end of the pinion shaft out of the differential case. Use a screwdriver to prevent the differential case from turning. Rotate the differential case 180-degrees and slide the pinion shaft out until it contacts the ring gear. Push the outer end of the axleshaft in and remove the C-lock from the inner end. Withdraw the axleshaft, being careful not to damage the oil seal. Installation is the reverse of removal. Use a new pinion shaft lock bolt if available, otherwise use thread locking compound. Install the differential cover. Install the brake disc/caliper. Refill the axle with the correct lubricant. Tighten the wheel lug nuts.
Related Ford F-150 Parts
Browse by Year
2023 Axle Shaft 2022 Axle Shaft 2021 Axle Shaft 2020 Axle Shaft 2019 Axle Shaft 2018 Axle Shaft 2017 Axle Shaft 2016 Axle Shaft 2015 Axle Shaft 2014 Axle Shaft 2013 Axle Shaft 2012 Axle Shaft 2011 Axle Shaft 2010 Axle Shaft 2009 Axle Shaft 2008 Axle Shaft 2007 Axle Shaft 2006 Axle Shaft 2005 Axle Shaft 2004 Axle Shaft 2003 Axle Shaft 1989 Axle Shaft 1988 Axle Shaft 1987 Axle Shaft 1986 Axle Shaft 1985 Axle Shaft 1984 Axle Shaft 1983 Axle Shaft 1982 Axle Shaft 1981 Axle Shaft 1980 Axle Shaft
