×
- Live Chat
- 1-888-788-9341


My Garage
My Account
Cart
Genuine Ford F-150 Engine Mount
Engine Motor Mount- Select Vehicle by Model
- Select Vehicle by VIN
Select Vehicle by Model
orMake
Model
Year
Select Vehicle by VIN
For the most accurate results, select vehicle by your VIN (Vehicle Identification Number).
162 Engine Mounts found
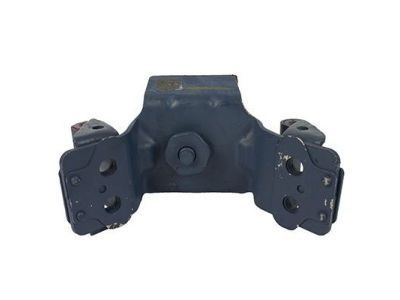
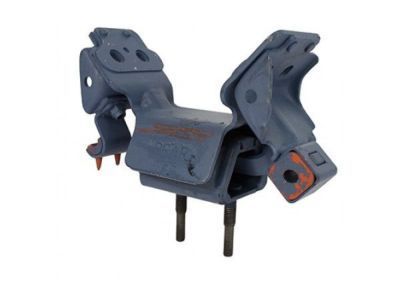
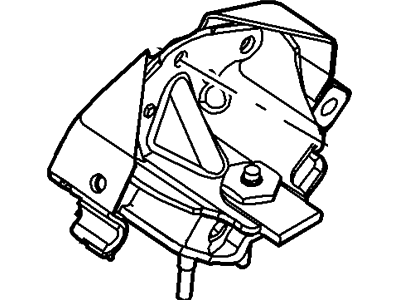
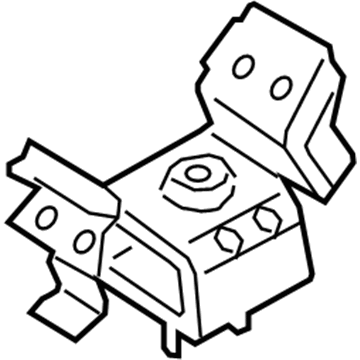
Ford F-150 Engine Support Insulator Assembly
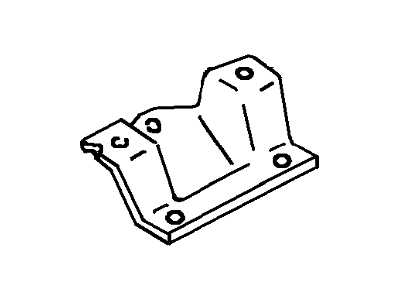
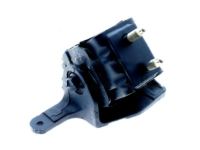
Part Number: JL3Z-6068-F$159.60 MSRP: $233.33You Save: $73.73 (32%)Ships in 1-2 Business DaysFord F-150 Engine Support Insulator Assembly
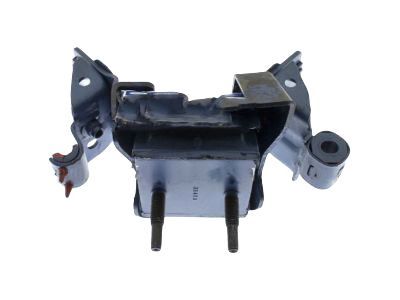
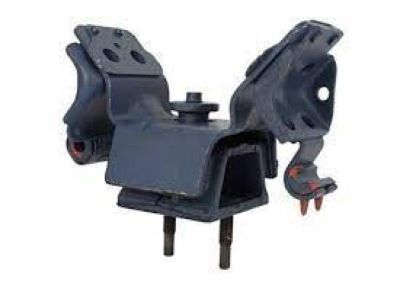
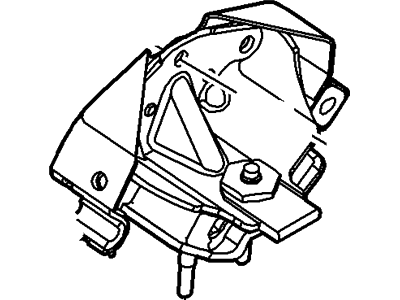
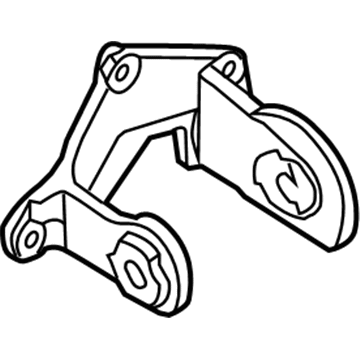
Part Number: HL3Z-6068-A$100.21 MSRP: $151.83You Save: $51.62 (34%)Ford F-150 Engine Support Insulator Assembly
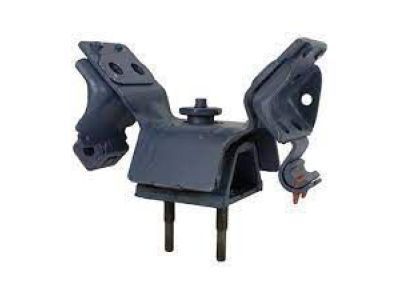
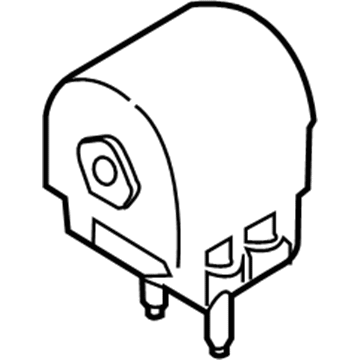
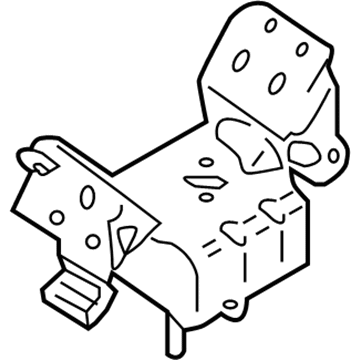
Part Number: AL3Z-6038-E$111.10 MSRP: $168.33You Save: $57.23 (34%)Ships in 1-2 Business DaysFord F-150 Insulator Assembly
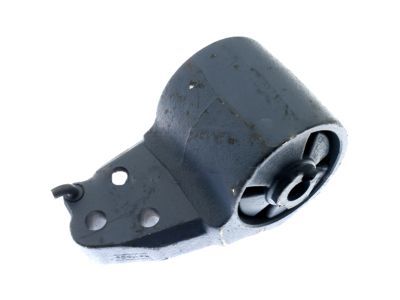
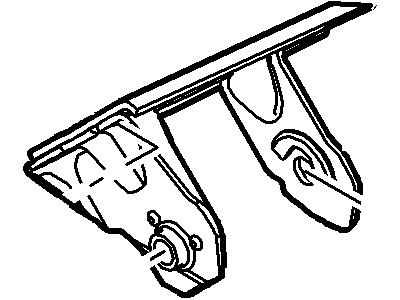
Part Number: JL3Z-6038-F$74.27 MSRP: $114.83You Save: $40.56 (36%)Ships in 1-3 Business DaysFord F-150 Engine Support Insulator Assembly
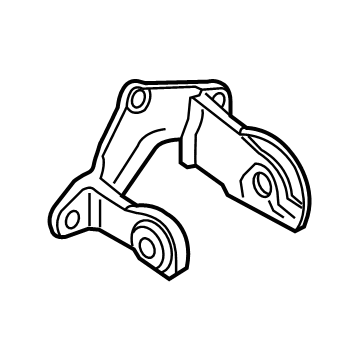
Part Number: 9L3Z-6068-B$79.46 MSRP: $116.17You Save: $36.71 (32%)Ford F-150 Engine Support Insulator Assembly
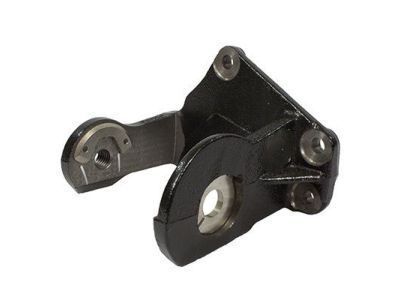
Part Number: FL3Z-6068-F$159.60 MSRP: $233.33You Save: $73.73 (32%)Ford F-150 Engine Support Insulator Assembly
Part Number: BL3Z-6068-E$91.79 MSRP: $114.00You Save: $22.21 (20%)Ships in 1-2 Business DaysFord F-150 Engine Support Insulator Assembly
Part Number: BL3Z-6068-G$79.46 MSRP: $116.17You Save: $36.71 (32%)Ford F-150 Engine Support Insulator Assembly
Part Number: GL3Z-6068-D$101.69 MSRP: $148.67You Save: $46.98 (32%)Ships in 1-3 Business DaysFord F-150 Engine Support Insulator Assembly
Part Number: GL3Z-6068-E$79.46 MSRP: $116.17You Save: $36.71 (32%)Ships in 1-2 Business DaysFord F-150 Motor Mount
Part Number: HL3Z-6038-F$89.49 MSRP: $130.83You Save: $41.34 (32%)Ships in 1-2 Business DaysFord F-150 Insulator Assembly
Part Number: JL3Z-6038-G$70.93 MSRP: $109.67You Save: $38.74 (36%)Ships in 1-3 Business DaysFord F-150 Engine Support Insulator Assembly
Part Number: GL3Z-6068-B$79.46 MSRP: $116.17You Save: $36.71 (32%)Ford F-150 Insulator Assembly
Part Number: HL3Z-6038-H$65.00 MSRP: $100.50You Save: $35.50 (36%)Ships in 1-2 Business DaysFord F-150 Engine Support Insulator Assembly
Part Number: BL3Z-6068-A$101.69 MSRP: $148.67You Save: $46.98 (32%)Ships in 1-3 Business DaysFord F-150 Engine Support Insulator Assembly
Part Number: FL3Z-6068-A$101.69 MSRP: $148.67You Save: $46.98 (32%)Ships in 1-3 Business DaysFord F-150 Engine Support Insulator Assembly
Part Number: GL3Z-6068-A$101.69 MSRP: $148.67You Save: $46.98 (32%)Ships in 1-3 Business DaysFord F-150 Insulator Assembly
Part Number: FL3Z-6038-D$61.13 MSRP: $94.33You Save: $33.20 (36%)Ships in 1-2 Business Days
| Page 1 of 9 |Next >
1-20 of 162 Results
Ford F-150 Engine Mount
We provide a wide range of Ford F-150 Engine Mount at the best prices possible. If you need Ford F-150 Engine Mount, you can shop with confidence on our website. All our OEM parts come with a manufacturer's warranty and are delivered to your door step with a fast delivery service.
Ford F-150 Engine Mount Parts Questions & Experts Answers
- Q: How to check and replace engine mounts in 4.2L V6 engine on Ford F-150?A: There are three powertrain mounts on the vehicles; left and right engine mounts attached to the engine block and frame, and a rear mount attached to the transmission and frame. Engine mounts seldom require attention, but broken or deteriorated mounts should be replaced immediately to prevent damage or wear on driveline components. During the check, the engine must be raised slightly to remove the weight from the mounts. Raise the vehicle and support it securely on jackstands, then position a jack under the engine Oil Pan with a large wood block between the jack head and the oil pan, carefully raising the engine just enough to take the weight off the mounts. Check for relative movement between the inner and outer portions of the mount using a large screwdriver or prybar; if movement is noted, lower the engine and tighten the mount fasteners. Inspect the mounts for cracked, hardened, or separated rubber, indicating a need for replacement, and apply rubber preservative to slow deterioration. Disconnect the cable from the negative terminal of the battery, remove the engine cooling fan and shroud, and raise the front of the vehicle securely on jackstands. Support the engine with a lifting device from above, ensuring not to connect it to the intake manifold, and raise the engine just enough to relieve the weight on the engine mounts. For 2WD models, remove the engine mount-to-frame support bracket through-bolt, then the mount-to-engine block bolts, and remove the mount and heat shield if equipped. Place the heat shield and new mount in position, install and tighten the mount-to-engine block bolts securely. For 4WD models, remove the engine skidplate, support the front axle with a floor jack and jackstands, and lower the front axle for additional clearance. Remove the front crossmember and the bolts attaching the front axle to the frame, then remove the engine mount-to-frame support bracket through-bolt and the engine mount to engine support bracket bolt and nuts. Install the new engine mount onto the engine support bracket and tighten the bolts securely. After installing the engine mounts onto the engine, lower the engine while guiding the engine mount and through-bolt into the frame support bracket, then install and tighten the through-bolt nut securely. The remainder of the installation follows the reverse order of removal, after which the engine hoist and jackstands can be removed, and the vehicle lowered.
Related Ford F-150 Parts
Browse by Year
2023 Engine Mount 2022 Engine Mount 2021 Engine Mount 2020 Engine Mount 2019 Engine Mount 2018 Engine Mount 2017 Engine Mount 2016 Engine Mount 2015 Engine Mount 2014 Engine Mount 2013 Engine Mount 2012 Engine Mount 2011 Engine Mount 2010 Engine Mount 2009 Engine Mount 2008 Engine Mount 2007 Engine Mount 2006 Engine Mount 2005 Engine Mount 2004 Engine Mount 2003 Engine Mount 2002 Engine Mount 2001 Engine Mount 2000 Engine Mount 1999 Engine Mount 1998 Engine Mount 1997 Engine Mount 1996 Engine Mount 1995 Engine Mount 1994 Engine Mount 1993 Engine Mount 1992 Engine Mount 1991 Engine Mount 1990 Engine Mount 1989 Engine Mount 1988 Engine Mount 1987 Engine Mount 1986 Engine Mount 1985 Engine Mount 1984 Engine Mount 1983 Engine Mount 1982 Engine Mount 1981 Engine Mount 1980 Engine Mount
