×
- Live Chat
- 1-888-788-9341


My Garage
My Account
Cart
Genuine Ford F-250 Hood
Engine Hood- Select Vehicle by Model
- Select Vehicle by VIN
Select Vehicle by Model
orMake
Model
Year
Select Vehicle by VIN
For the most accurate results, select vehicle by your VIN (Vehicle Identification Number).
2 Hoods found
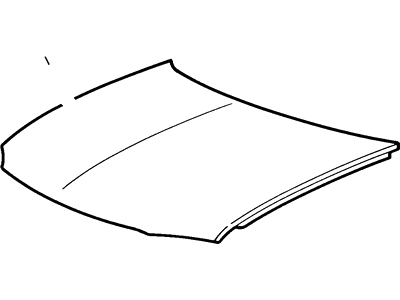
Ford F-250 Hood
We provide a wide range of Ford F-250 Hood at the best prices possible. If you need Ford F-250 Hood, you can shop with confidence on our website. All our OEM parts come with a manufacturer's warranty and are delivered to your door step with a fast delivery service.
Ford F-250 Hood Parts Questions & Experts Answers
- Q: How to remove, install, and alignment of the hood on Ford F-250?A: The removal process is rather complex and should be performed by at least two individuals, this is in a bid to avoid some serious injuries and damages to the hood and the other components in the car. First, draw an X-ray of the car while the hoods up, placing reference markers for the link assemblies and hinges. If unlucky enough to have an under-hood light, this should be disconnected. With one man inside and the other outside, take off the link assembly and the bolts that connect the hood to the hinge with the link, but should first paste a mark on the positions of the hinge and link on the hood so as to have it well supported to have all the bolts removed. Gently turn the nose of the hood downwards until it is horizontal and then slide the hood forward and remove it. To install the hood, the reverse of the above steps has to be followed, make sure that the hood is in the correct position according to the earlier made marks, and tight the bolts as recommended, after which check that the hood is operational and fits well. If adjustment is required tor a correct fit of the hood then turn the hinge to fender inner screws anticlockwise to make them rotate freely, drop the hood and scrue the hinge in as required to achieve a close fit with the cowling. Ask an assistant to lift the hood so that you can check the location of the hinge-to-fender screws before tightening them. You can remove the front radiator support to access these bolts but all you need to do is loosen the screws holding the latch assembly and make some marks in order to make adjustments in the hinge to hood screws so that there is adequate room for the correct fit. After adjustments loosen and then tighten the hinge to hood screws and locate the hood bumpers and ensure that the closed hood lies flush with the car fenders. For proper positioning of the latch, lower the hood almost shut and turned the latch assembly so that it fits well with the hood striker and then raised the hood to put the screws tight. Make sure that the latch engages properly, and if the hood rocks slightly forward and backward, turn the latch assembly down; if the hood does not close, or closes with force, turn the latch assembly up. Side to side should always be attempted during these processes, as it is more comfortable.


