×
- Live Chat
- 1-888-788-9341


My Garage
My Account
Cart
Genuine Ford Focus Door Lock Actuator Motor
- Select Vehicle by Model
- Select Vehicle by VIN
Select Vehicle by Model
orMake
Model
Year
Select Vehicle by VIN
For the most accurate results, select vehicle by your VIN (Vehicle Identification Number).
5 Door Lock Actuator Motors found
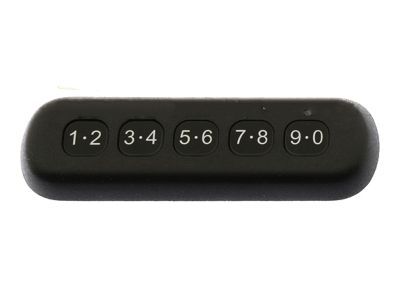
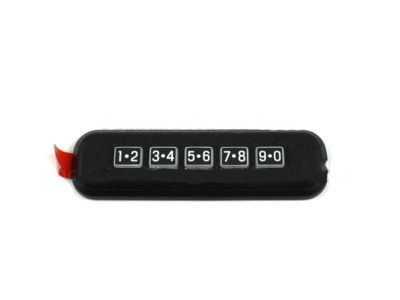
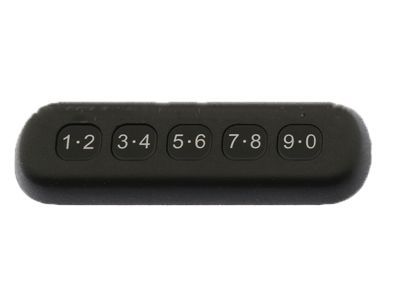
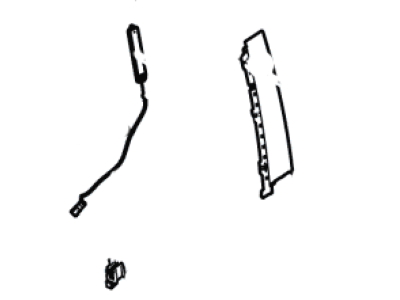
Ford Focus Keyless Entry Keypad
Part Number: ES7Z-14A626-A$101.06 MSRP: $125.00You Save: $23.94 (20%)Ford Focus Keyless Entry Keypad
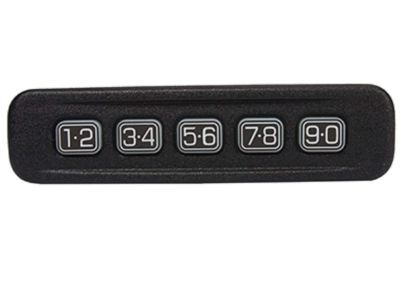
Part Number: 7L2Z-14A626-BA$101.06 MSRP: $125.00You Save: $23.94 (20%)Ford Focus Actuator Assembly
Part Number: F1EZ-14A626-AA$104.77 MSRP: $167.09You Save: $62.32 (38%)Ships in 1-3 Business Days
Ford Focus Door Lock Actuator Motor
We provide a wide range of Ford Focus Door Lock Actuator Motor at the best prices possible. If you need Ford Focus Door Lock Actuator Motor, you can shop with confidence on our website. All our OEM parts come with a manufacturer's warranty and are delivered to your door step with a fast delivery service.
Ford Focus Door Lock Actuator Motor Parts Questions & Experts Answers
- Q: How to remove and install door handles,Door Lock Actuator Motor and Door Lock Cylinder on Ford Focus?A: To unlock the exterior handle on the front side, there is a need to first remove the door inner trim panel, then there is a side impact bolster that should be turned anticlockwise to unlodge the clips and then removal of the clips in the door panel. Take out all the screws of the speaker and dismantle the wiring. Pull the inner door release handle out clipped and withdrawn and you will only have the door handle on the cable. To open the weather shield use the knife or scraper to make an incision through the butyl strip so that you can pull the weather shield away without compromising on its integrity. To take out the outer lock cylinder bezel you have to unfasten 'T', the channel of which is installed in inside door handle, and it is possible to remove a small plug to have access to it. Slacken the screw for the outside handle but do not take it out then move the handle backward and pull it out and detach the door handle grommets. The procedure is almost similar to that of the rear exterior handle; the first step is to unscrew the window runner guide, then pull out the grommet from the access hole, similar to the previous case; the retaining screw of the outer door handle bezel is also to be loosened to remove it. Do the same for the exterior handle and un-hook the seals. For the interior handle here are some brief steps; you will first have to undo the door inner trim panel, then have to disconnect the door release handle, set the lever switch to the locked position, and then unclip the outer cable before releasing the inner operating cable. To reach the lock motor/module at the front you need to take off the exterior handles, cut the connective wire, and use a manager to untwist the Torx bolt of the lock. Pull off the door lock/handle reinforcement bracket by unclipping the assembly and take it out of the vehicle; likewise, retract the trim on the security shield, and take out the screws. Unlock the mode of adjustment by pulling up the locking clip on the remote control rod, and then, check the length of the thread, open the connecting rod, and releases the outer cable before rotating the inner cable in order to take it off. For the lock cylinder put a little force to pry the retaining tab, then insert the key and pull out the lock cylinder. The process is similar to the above, but the measurements here should be taken of the thread of the rear lock motor/module; step by step: remove the exterior handle, unscrew the Torx bolts, unclip the reinforcement bracket, unplug the wiring, remove the connecting rod/adjusting clip. The location of the striker/contact switch should be marked and the mounting screws as well as the wiring should be detached. For the check strap, therefore, one needs to unscrew the mounting bolt, remove the rubber grommet and take out the check strap. The process of removal is the opposite to the installation: all the parts should be properly aligned and placed back, in particular, the outer cable and the striker.
Related Ford Focus Parts
Browse by Year
2018 Door Lock Actuator Motor 2017 Door Lock Actuator Motor 2016 Door Lock Actuator Motor 2015 Door Lock Actuator Motor 2014 Door Lock Actuator Motor 2013 Door Lock Actuator Motor 2012 Door Lock Actuator Motor 2011 Door Lock Actuator Motor 2010 Door Lock Actuator Motor 2009 Door Lock Actuator Motor 2008 Door Lock Actuator Motor 2007 Door Lock Actuator Motor 2006 Door Lock Actuator Motor 2005 Door Lock Actuator Motor 2004 Door Lock Actuator Motor
