
My Garage
My Account
Cart
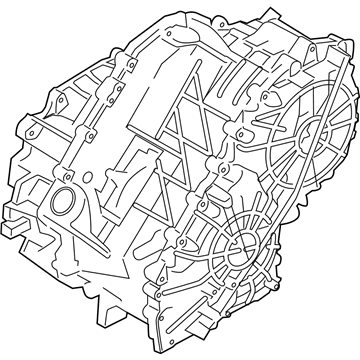
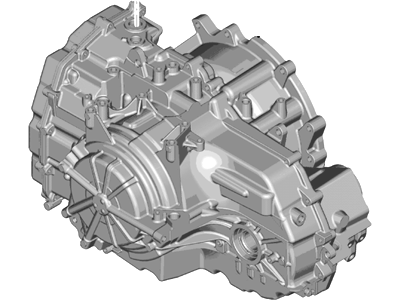
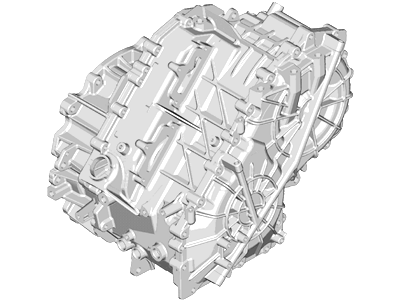
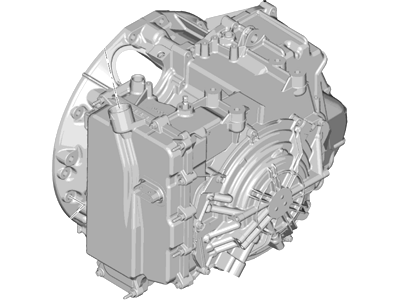
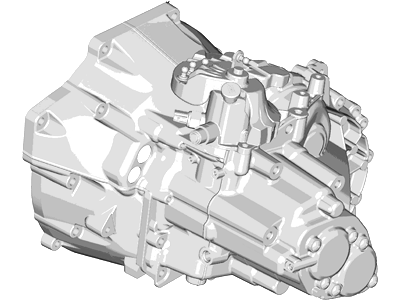
Genuine Ford Fusion Transmission Assembly
Trans Assembly- Select Vehicle by Model
- Select Vehicle by VIN
Select Vehicle by Model
orMake
Model
Year
Select Vehicle by VIN
For the most accurate results, select vehicle by your VIN (Vehicle Identification Number).
125 Transmission Assemblies found
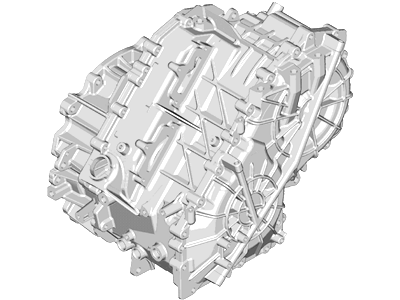
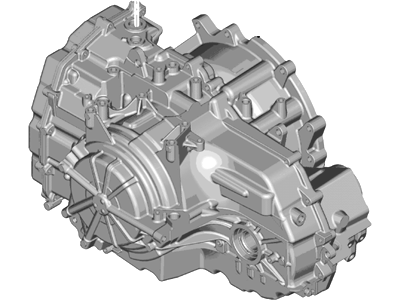
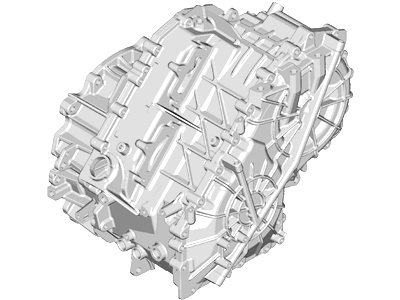
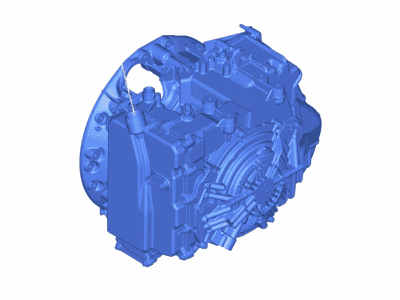
Ford Fusion Automatic Transmission Assembly
Part Number: FM5Z-7000-D$3734.63 MSRP: $4542.67You Save: $808.04 (18%)Ships in 1-2 Business DaysFord Fusion Automatic Transmission Assembly
Part Number: FG9Z-7000-C$4597.91 MSRP: $5598.67You Save: $1000.76 (18%)Ships in 1-2 Business DaysFord Fusion Automatic Transmission Assembly
Part Number: HS7Z-7000-C$3834.91 MSRP: $4665.33You Save: $830.42 (18%)Ships in 1-2 Business DaysFord Fusion Automatic Transmission Assembly
Part Number: DG9Z-7000-S$3507.91 MSRP: $4265.33You Save: $757.42 (18%)Ships in 1-2 Business DaysFord Fusion Automatic Transmission Assembly
Part Number: FG9Z-7000-E$3587.48 MSRP: $4362.67You Save: $775.19 (18%)Ships in 1-2 Business DaysFord Fusion Automatic Transmission Assembly
Part Number: DG9Z-7000-KB$3507.91 MSRP: $4265.33You Save: $757.42 (18%)Ships in 1-2 Business DaysFord Fusion Automatic Transmission Assembly
Part Number: DG9Z-7000-FD$3507.91 MSRP: $4265.33You Save: $757.42 (18%)Ships in 1-2 Business DaysFord Fusion Automatic Transmission Assembly
Part Number: EG9Z-7000-AD$3507.91 MSRP: $4265.33You Save: $757.42 (18%)Ships in 1-2 Business DaysFord Fusion Automatic Transmission Assembly
Part Number: EG9Z-7000-C$3507.91 MSRP: $4265.33You Save: $757.42 (18%)Ships in 1-2 Business DaysFord Fusion Automatic Transmission Assembly
Part Number: DG9Z-7000-MC$3507.91 MSRP: $4265.33You Save: $757.42 (18%)Ships in 1-2 Business DaysFord Fusion Automatic Transmission Assembly
Part Number: G3GZ-7000-B$3633.41 MSRP: $4398.67You Save: $765.26 (18%)Ships in 1-3 Business DaysFord Fusion Reman Automatic Transmission Assembly
Part Number: HG9Z-7000-CRM$3685.64 MSRP: $4362.67You Save: $677.03 (16%)Ships in 1-3 Business DaysFord Fusion Automatic Transmission Assembly
Part Number: EG9Z-7000-DRM$3603.88 MSRP: $4265.33You Save: $661.45 (16%)Ships in 1-3 Business DaysFord Fusion Automatic Transmission Assembly
Part Number: DM5Z-7000-E$4723.88 MSRP: $5598.67You Save: $874.79 (16%)Ships in 1-3 Business DaysFord Fusion Automatic Transmission Assembly
Part Number: EG9Z-7000-FRM$3603.88 MSRP: $4265.33You Save: $661.45 (16%)Ships in 1-3 Business DaysFord Fusion Automatic Transmission Assembly
Part Number: EG9Z-7000-CRM$3603.88 MSRP: $4265.33You Save: $661.45 (16%)Ships in 1-3 Business DaysFord Fusion Automatic Transmission Assembly
Part Number: DM5Z-7000-J$3836.84 MSRP: $4542.67You Save: $705.83 (16%)Ships in 1-3 Business DaysFord Fusion Reman Automatic Transmission Assembly
Part Number: GG9Z-7000-FRM$3603.88 MSRP: $4265.33You Save: $661.45 (16%)Ships in 1-3 Business DaysFord Fusion Automatic Transmission Assembly
Part Number: DA8Z-7000-PRM$3715.88 MSRP: $4398.67You Save: $682.79 (16%)Ships in 1-3 Business DaysFord Fusion Transaxle Assembly
Part Number: DG9Z-7002-B$2457.56 MSRP: $2910.67You Save: $453.11 (16%)
| Page 1 of 7 |Next >
1-20 of 125 Results
Ford Fusion Transmission Assembly
We provide a wide range of Ford Fusion Transmission Assembly at the best prices possible. If you need Ford Fusion Transmission Assembly, you can shop with confidence on our website. All our OEM parts come with a manufacturer's warranty and are delivered to your door step with a fast delivery service.
Ford Fusion Transmission Assembly Parts Questions & Experts Answers
- Q: How to remove the Automatic transaxle on Ford Fusion?A:To remove the transaxle, first disconnect the cables from the battery and remove the battery and tray. Next, take out the air filter housing and duct, then disconnect the TCM harness electrical connector at the transmission range sensor, along with the ground straps and bolts holding the electrical harness to the transaxle. Disconnect the shift cable from the transaxle shift control arm, remove the bolts and nut securing the transaxle cable mount, and take off the front and rear wire harness brackets from the transaxle. Disconnect the electrical connectors for the vehicle speed sensor and the transaxle control module. Attach an engine support fixture to the lifting hook at the transaxle end of the engine, ensuring proper support while removing the transmission and subframe. For V6 engines, the upper intake manifold must be removed. Remove the upper engine-to-transmission mounting bolts, and for specific models, remove the charge air cooler pipe from the oil pan. Loosen the driveaxle/hub nuts and wheel lug nuts, raise the front of the vehicle securely on jackstands or a lift, and remove the wheels. Disconnect the shift cable from the transaxle and remove the bolts securing the shift cable brackets. Unbolt the power steering hose bracket, disconnect the flexible exhaust pipe sections and Y-pipe, remove the right-side exhaust heat shield, and take out the catalytic converter. Remove the heat shield over the roll restrictor and unbolt it, then remove the driveaxles. For certain models, remove the transaxle fluid auxiliary pump mounting bolts, then remove the pump and discard the bolts and O-rings, taking care to heat the bolts to prevent stripping. Remove the splash aprons from the fenderwells, place a block of wood above the lower control arm to protect the outer CV joint on the left side, and remove the left steering knuckle. Remove the starter, and for AWD models, remove the rear driveshaft and wire it aside. Drain the transaxle lubricant, disconnect and plug the transmission fluid hoses, and remove the bolts securing the transaxle support insulator brackets. If working on an AWD model, remove the transfer case, then remove the front suspension subframe. Support the transaxle with a jack, preferably a transmission jack, and disconnect the oxygen sensors. Remove the torque converter cover, mark the relationship of the torque converter to the driveplate, and remove the converter mounting nuts. Remove the remaining bolts securing the transaxle to the engine, then move the transaxle away from the engine to disengage it from the engine block dowel pins, carefully lowering the transmission jack to the floor to remove the transaxle. For installation, reverse the removal procedure while ensuring the torque converter engages properly with the transaxle fluid pump inner gear, aligning the match marks made on the torque converter and driveplate. Install all driveplate-to-torque converter nuts before tightening, then tighten them, the transaxle mounting bolts, suspension crossmember mounting bolts, driveaxle/hub nuts, and wheel lug nuts to the specified torque. Fill the transaxle with the correct type and amount of automatic transmission fluid, adjust the shift cable, and for specific models, replace the transaxle fluid auxiliary pump mounting bolts and O-rings with new ones, applying a non-hardening thread locking compound to the pump mounting bolts.
Related Ford Fusion Parts
Browse by Year
2020 Transmission Assembly 2019 Transmission Assembly 2018 Transmission Assembly 2017 Transmission Assembly 2016 Transmission Assembly 2015 Transmission Assembly 2014 Transmission Assembly 2013 Transmission Assembly 2012 Transmission Assembly 2011 Transmission Assembly 2010 Transmission Assembly 2009 Transmission Assembly 2008 Transmission Assembly 2007 Transmission Assembly 2006 Transmission Assembly
