×
- Live Chat
- 1-888-788-9341


My Garage
My Account
Cart
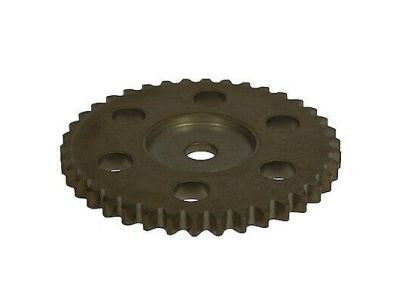
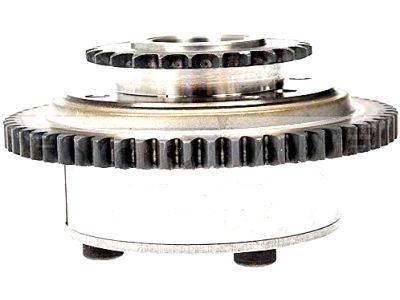
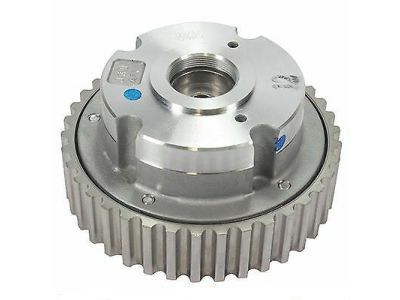
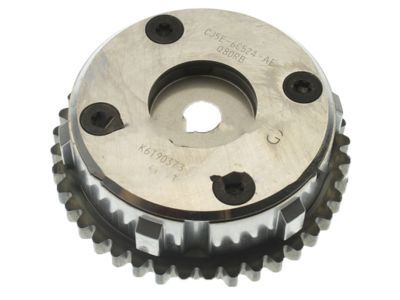
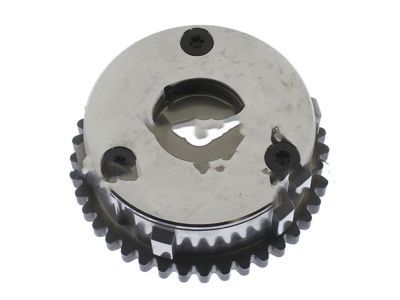
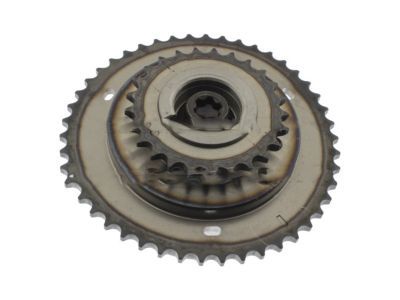
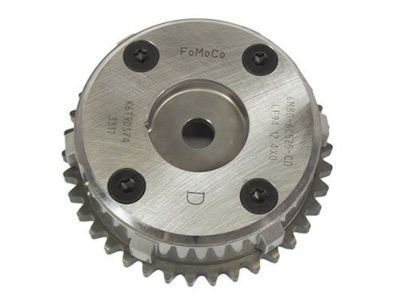
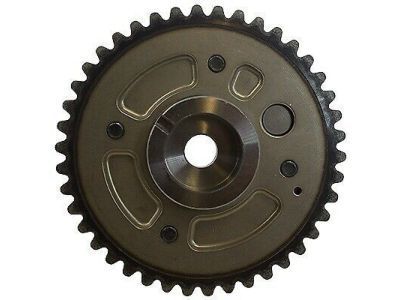
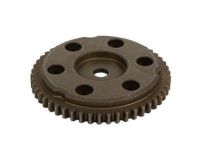
Genuine Ford Fusion Variable Timing Sprocket
Timing Gear Sprocket- Select Vehicle by Model
- Select Vehicle by VIN
Select Vehicle by Model
orMake
Model
Year
Select Vehicle by VIN
For the most accurate results, select vehicle by your VIN (Vehicle Identification Number).
26 Variable Timing Sprockets found
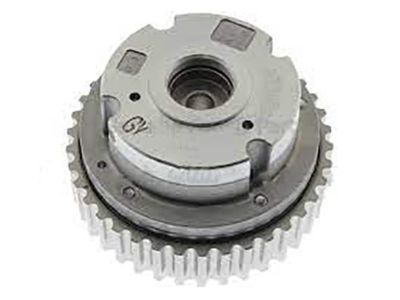
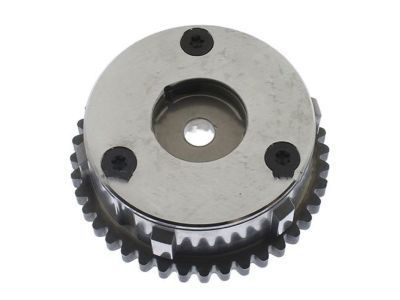
Ford Fusion Sprocket - Camshaft
Part Number: DS7Z-6256-B$105.22 MSRP: $153.83You Save: $48.61 (32%)Ships in 1-2 Business DaysFord Fusion Sensor - Camshaft Position
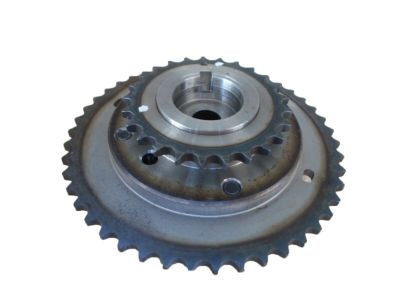
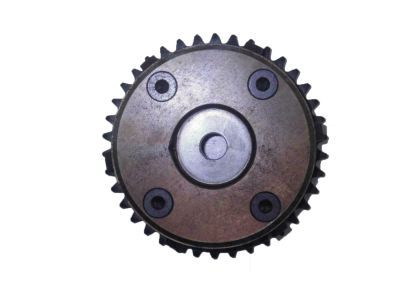
Part Number: 7T4Z-6A257-B$154.80 MSRP: $240.00You Save: $85.20 (36%)Ships in 1-2 Business DaysFord Fusion Sprocket - Camshaft
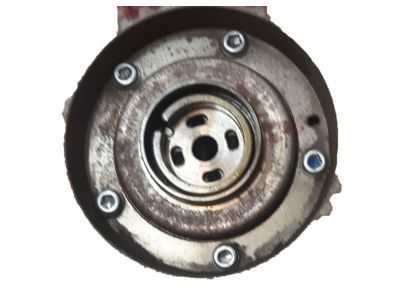
Part Number: BM5Z-6256-A$105.22 MSRP: $153.83You Save: $48.61 (32%)Ships in 1-2 Business DaysFord Fusion Sprocket - Camshaft
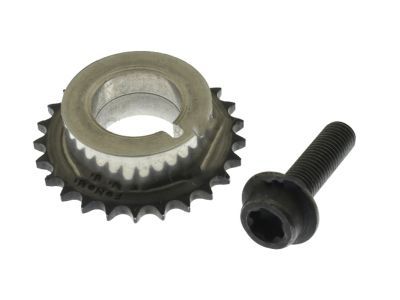
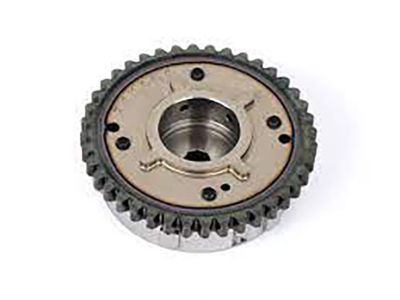
Part Number: 7T4Z-6256-A$18.81 MSRP: $27.50You Save: $8.69 (32%)Ships in 1-2 Business DaysFord Fusion Sprocket - Camshaft
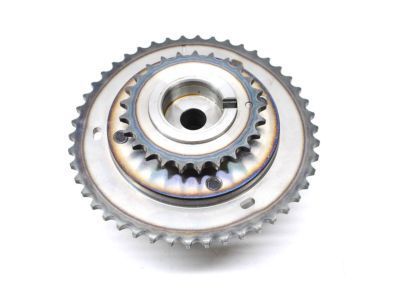
Part Number: 1S7Z-6256-AA$19.15 MSRP: $28.00You Save: $8.85 (32%)Ships in 1-2 Business DaysFord Fusion Sensor - Camshaft Position
Part Number: BA5Z-6A257-D$164.16 MSRP: $240.00You Save: $75.84 (32%)Ships in 1-2 Business DaysFord Fusion Sprocket - Camshaft
Part Number: DS7Z-6256-A$90.63 MSRP: $132.50You Save: $41.87 (32%)Ships in 1-2 Business DaysFord Fusion Sprocket - Camshaft
Part Number: CJ5Z-6256-C$90.06 MSRP: $131.67You Save: $41.61 (32%)Ships in 1 Business DayFord Fusion Cam
Part Number: CJ5Z-6C525-B$81.97 MSRP: $119.83You Save: $37.86 (32%)Ships in 1-3 Business DaysFord Fusion Sensor - Camshaft Position
Part Number: 8T4Z-6A257-B$152.65 MSRP: $236.67You Save: $84.02 (36%)Ships in 1 Business DayFord Fusion Cam
Part Number: 6M8Z-6C525-D$180.60 MSRP: $280.00You Save: $99.40 (36%)Ships in 1-3 Business DaysFord Fusion Sprocket - Camshaft
Part Number: CJ5Z-6256-B$90.06 MSRP: $131.67You Save: $41.61 (32%)Ships in 1 Business DayFord Fusion Cam
Part Number: CJ5Z-6C525-A$81.97 MSRP: $119.83You Save: $37.86 (32%)Ships in 1-3 Business DaysFord Fusion Cam
Part Number: 6M8Z-6C525-A$180.60 MSRP: $280.00You Save: $99.40 (36%)Ships in 1-3 Business DaysFord Fusion Sprocket - Camshaft
Part Number: CJ5Z-6256-A$90.06 MSRP: $131.67You Save: $41.61 (32%)Ships in 1 Business DayFord Fusion Sensor - Camshaft Position
Part Number: BA5Z-6A257-C$148.20 MSRP: $216.67You Save: $68.47 (32%)Ships in 1-3 Business DaysFord Fusion Sprocket - Camshaft
Part Number: FT4Z-6256-A$123.12 MSRP: $180.00You Save: $56.88 (32%)Ships in 1-3 Business DaysFord Fusion Cam
Part Number: FT4Z-6C525-A$93.71 MSRP: $137.00You Save: $43.29 (32%)Ships in 1-2 Business DaysFord Fusion Sprocket - Camshaft
Part Number: 7T4Z-6A257-A$154.80 MSRP: $240.00You Save: $85.20 (36%)Ships in 1-2 Business Days
| Page 1 of 2 |Next >
1-20 of 26 Results
Ford Fusion Variable Timing Sprocket
We provide a wide range of Ford Fusion Variable Timing Sprocket at the best prices possible. If you need Ford Fusion Variable Timing Sprocket, you can shop with confidence on our website. All our OEM parts come with a manufacturer's warranty and are delivered to your door step with a fast delivery service.
Ford Fusion Variable Timing Sprocket Parts Questions & Experts Answers
- Q: How to remove and install timing chains,Timing Chain Guide and Timing Sprocket in V6 engine on Ford Fusion?A: For engines up to 3.5L, the procedure may only be performed with the engine removed: omit the steps that do not apply. For 3.0L engines, start by pulling off the timing chain cover and shifting the crankshaft position sensor trigger wheel from the crankshaft; the position of the pulse wheel must be remembered to be reused later. Take out the spark plugs and then fit the crankshaft pulley and bolt; rotate the crankshaft till the position of the key way is at 11 O'clock for TDC number 1 cylinder. Checking of TDC can be done by aligning index marks available on the camshaft sprockets, if two index marks are not aligned then the crankshaft should be turned and checked again. Sustain it by labeling chain links in case, rotate crankshaft to align camshafts to their no operation position, and lastly by removing all the VCT assembly mounting screws. Go ahead to dismantle the tensioner of timing chain along with timing chain arm, lift the rear timing chain off the cam sprockets and then slipping off the sprocket on crankshaft. Turn the crankshaft 600 degrees in anticlockwise directions in order to position the front camshafts to their middle zones and then pull out the front timing chain tensioner and chain. If necessary, it is possible to remove the sprocket of the crankshaft. Owing to 3.5L engines, two special bearing holding tools are necessary, and it is recommended to change the water pump in the process. Take off the timing chain cover, put back the crankshaft sprocket bolt and turn the engine until it is at TDC for cylinder number one. Put on the camshaft holding tools, unbolt the VCT assembly, and the primary timing chain tensioner and arm. Place the timing chain on a chain clipboard and then unlock the primary timing chain and then remove the upper chain guide. When secondary timing chains are the objects of inspection, firmly compress the tensioners, then remove the sprockets and the chains. For 2.7L engines, remove the negative battery terminal, the valve cover and the timing chain cover, and tighten the crankshaft pulley bolt. You need to rotate the engine to confirm timing marks, then unbolt the right-side tensioner and guide, lift the timing chain off and slide the crankshafts' outer sprocket off. The same for the left-side chain with the necessary alignment of the timing marks. In order to remove the VCT units, some special tools are needed to lock the camshafts, next the center bolts of the VCT units need to be detached and the units themselves can be slid off. Clean and check for wear and tear on any of the parts and remove any parts which are not in good condition. The procedure of installing timing chain tensioners is as follows, which is almost the reverse of the removal process: make sure that tensioners are fully compressed prior to assembling the housing. Ensure that the timing marks are aligned as earlier labeled, fit the VCT housings, and ensure that there is no interference when the engine is turned on. Last but not least, the timing chain cover should be fitted again, the engine flooded with oil and coolant as in the beginning, and after starting the engine, it should bechecked for leaks.
Related Ford Fusion Parts
Browse by Year
2020 Variable Timing Sprocket 2019 Variable Timing Sprocket 2018 Variable Timing Sprocket 2017 Variable Timing Sprocket 2016 Variable Timing Sprocket 2015 Variable Timing Sprocket 2014 Variable Timing Sprocket 2013 Variable Timing Sprocket 2012 Variable Timing Sprocket 2011 Variable Timing Sprocket 2010 Variable Timing Sprocket 2009 Variable Timing Sprocket 2008 Variable Timing Sprocket 2007 Variable Timing Sprocket 2006 Variable Timing Sprocket
