×
- Live Chat
- 1-888-788-9341


My Garage
My Account
Cart
Genuine Ford Thunderbird Antenna
Radio Antenna- Select Vehicle by Model
- Select Vehicle by VIN
Select Vehicle by Model
orMake
Model
Year
Select Vehicle by VIN
For the most accurate results, select vehicle by your VIN (Vehicle Identification Number).
6 Antennas found
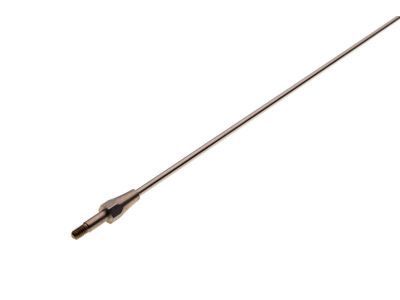
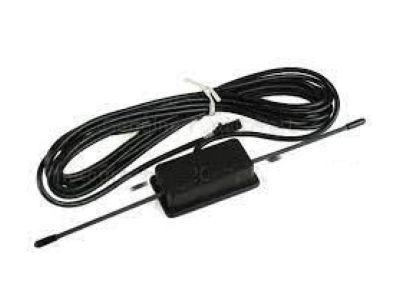
Ford Thunderbird Rod Assembly - Replacement - Aerial
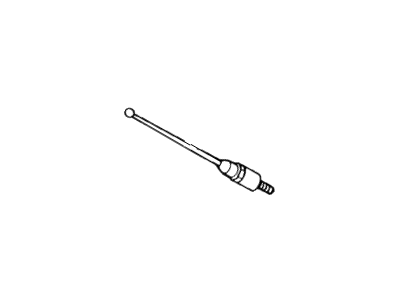
Part Number: D3AZ-18A886-A$15.87 MSRP: $22.60You Save: $6.73 (30%)Ships in 1-2 Business DaysFord Thunderbird Rod Assy - Replacement - Aerial
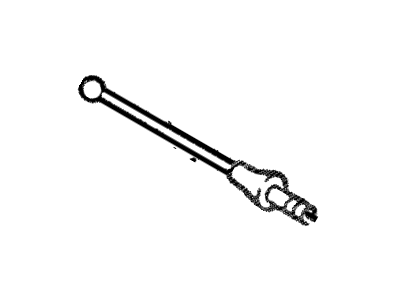
Part Number: F5DZ-18A886-A$23.14 MSRP: $31.62You Save: $8.48 (27%)Ford Thunderbird Rod Assembly - Replacement
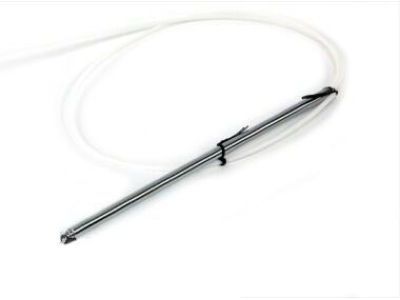
Part Number: E5SZ-18A886-A$31.98 MSRP: $45.55You Save: $13.57 (30%)Ships in 1-3 Business Days
Ford Thunderbird Antenna
We provide a wide range of Ford Thunderbird Antenna at the best prices possible. If you need Ford Thunderbird Antenna, you can shop with confidence on our website. All our OEM parts come with a manufacturer's warranty and are delivered to your door step with a fast delivery service.
Ford Thunderbird Antenna Parts Questions & Experts Answers
- Q: How to check and replace the antenna and cable assembly on a Ford Thunderbird?A: With the antenna cable installed on the vehicle and the cable unplugged from the radio, check the antenna with an ohmmeter at the points shown in the accompanying illustration (Antenna resistance check). If any readings are not as specified, replace the antenna and cable assembly. Disconnect the negative battery cable. For a power antenna, lower the antenna, remove the rear screws from the right side front splash shield for access and remove the lower antenna bolt. Remove the nut at the top of the antenna stanchion and remove the antenna through the fender opening. Installation is the reverse of removal. For a manual antenna, detach the holding straps from the instrument panel and lower the glove compartment. Remove the screws and detach the right cowl side trim panel. Unplug the cable from the radio. Disengage the antenna cable from the clips and retainers along the top of the heater/air conditioning assembly. Remove the radio antenna base cap, remove the mounting screws, pull the base and cable assembly out through the holes in the door hinge pillar and remove the assembly from the vehicle. Installation is the reverse of removal.
