
My Garage
My Account
Cart
Genuine Ford Thunderbird Battery Cable
Car Battery Cable- Select Vehicle by Model
- Select Vehicle by VIN
Select Vehicle by Model
orMake
Model
Year
Select Vehicle by VIN
For the most accurate results, select vehicle by your VIN (Vehicle Identification Number).
19 Battery Cables found
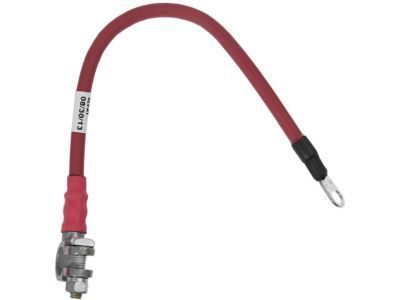
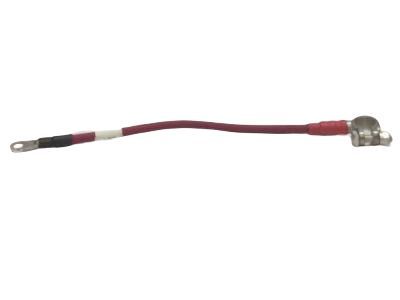
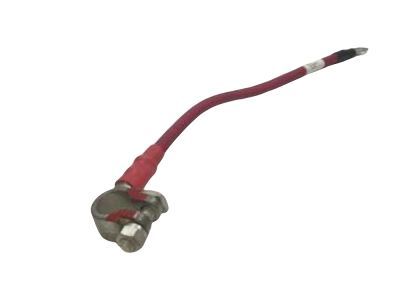
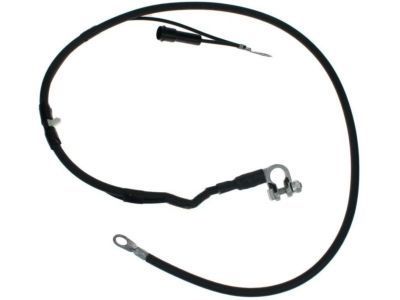
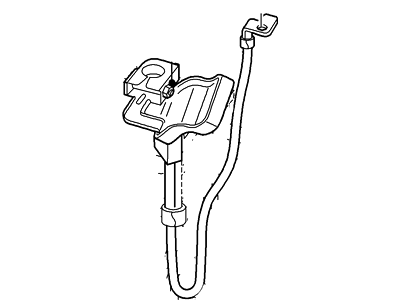
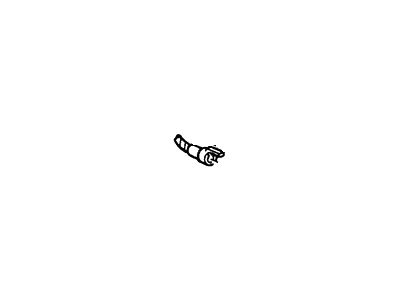
Ford Thunderbird Battery To Starter Motor Cable
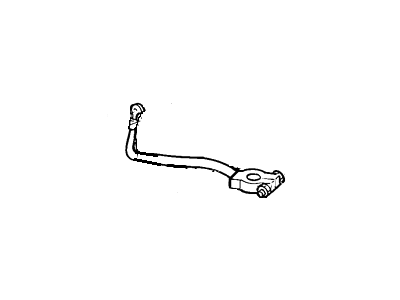
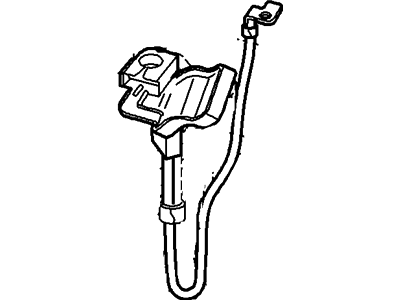
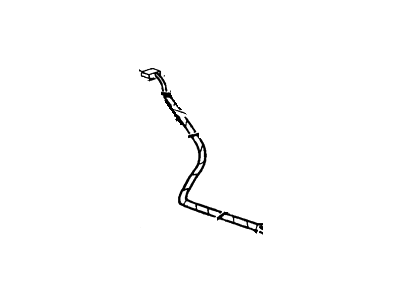
Part Number: E8ZZ-14300-A$17.08 MSRP: $26.55You Save: $9.47 (36%)Ships in 1-3 Business DaysFord Thunderbird Negative Cable
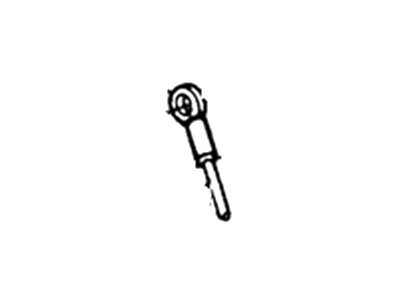
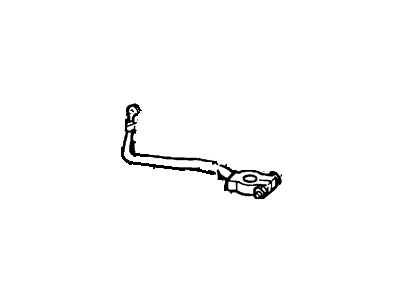
Part Number: E7SZ-14301-A$35.09 MSRP: $55.00You Save: $19.91 (37%)Ships in 1-3 Business DaysFord Thunderbird Cable Assembly Battery To B
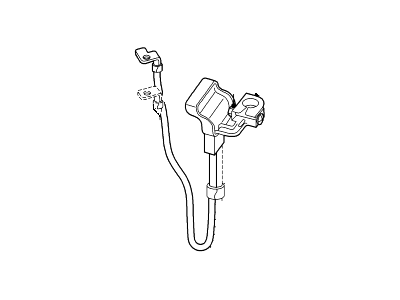
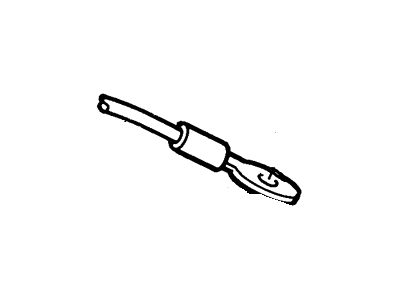
Part Number: F2AZ14300B$39.61 MSRP: $54.13You Save: $14.52 (27%)
Ford Thunderbird Battery Cable
Battery Cable in Ford Thunderbird are some of the parts of the vehicle that enable the flow of electrical current from the battery to power such items in the vehicle as the starter for igniting the engine. Eventually they become problematic, they can have things like hard starting or no start at all with the cables. Areas such as corrosion, heat or 'hot spots', oxidation, fatigue and old age affects the service delivery of the battery cables. To make it possible to achieve a reliable engine start-up, then the battery cables have to be inspected and changed when they have outlived their useful life.
We provide a wide range of Ford Thunderbird Battery Cable at the best prices possible. If you need Ford Thunderbird Battery Cable, you can shop with confidence on our website. All our OEM parts come with a manufacturer's warranty and are delivered to your door step with a fast delivery service.
Ford Thunderbird Battery Cable Parts Questions & Experts Answers
- Q: How to inspect and replace battery cables for the Ford Thunderbird?A:Periodically inspect the entire length of each battery cable for damage, cracked or burned insulation and corrosion. Poor battery cable connections can cause starting problems and decreased engine performance. Check the cable-to-terminal connections at the ends of the cables for cracks, loose wire strands and corrosion. The presence of white, fluffy deposits under the insulation at the cable terminal connection is a sign that the cable is corroded and should be replaced. Check the terminals for distortion, missing mounting bolts and corrosion. When replacing the cables, always disconnect the negative cable first and hook it up last, or the battery may be shorted by the tool used to loosen the cable clamps. Even if only the positive cable is being replaced, be sure to disconnect the negative cable from the battery first. Disconnect and remove the cable. Make sure the replacement cable is the same length and diameter as the cable being replaced. Clean the threads of the relay or ground connection with a wire brush to remove rust and corrosion. Apply a light coat of petroleum jelly to the threads to help prevent future corrosion. Attach the cable to the relay or ground connection and tighten the mounting nut/bolt securely. Before connecting the new cable to the battery, make sure that it reaches the battery post without having to be stretched. Connect the positive cable first, followed by the negative cable.
Related Ford Thunderbird Parts
Browse by Year
2005 Battery Cable 2004 Battery Cable 2003 Battery Cable 2002 Battery Cable 1997 Battery Cable 1996 Battery Cable 1995 Battery Cable 1994 Battery Cable 1993 Battery Cable 1992 Battery Cable 1991 Battery Cable 1990 Battery Cable 1989 Battery Cable 1988 Battery Cable 1987 Battery Cable 1986 Battery Cable 1985 Battery Cable 1984 Battery Cable 1983 Battery Cable 1982 Battery Cable 1981 Battery Cable 1980 Battery Cable
