
My Garage
My Account
Cart
Genuine Ford Thunderbird Parking Brake Cable
Emergency Parking Brake Release Cable- Select Vehicle by Model
- Select Vehicle by VIN
Select Vehicle by Model
orMake
Model
Year
Select Vehicle by VIN
For the most accurate results, select vehicle by your VIN (Vehicle Identification Number).
8 Parking Brake Cables found
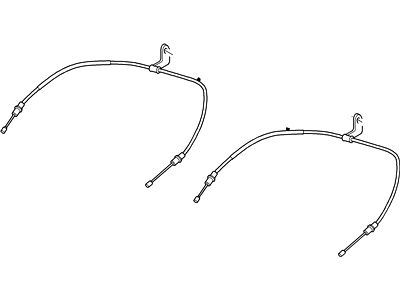
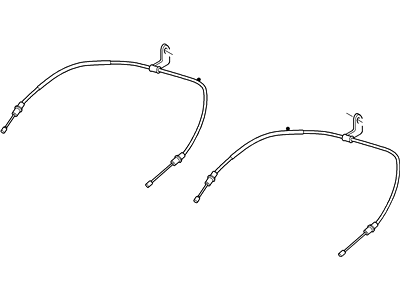
Ford Thunderbird Cable Assembly - Parking
Part Number: 6W6Z-2A635-BA$4.06 MSRP: $5.63You Save: $1.57 (28%)Ships in 1-2 Business Days
Ford Thunderbird Parking Brake Cable
The Parking Brake Cable refers to the parking brake cable, emergency brake cable commonly used in Ford Thunderbird vehicles is a very important aspect of the automobile's safety measures. It links the parking brake to the braking system, with the function of preventing the car from rolling on inclined parking and as a backup braking system. Signs of a bad Brake Cable include; inability to engage the parking brake tightly, complete disablement of the parking brake if the cable is snapped, and the park brake light coming on. Consequently, to facilitate the efficiency and safety of the vehicle, proper maintenance of the Brake Cable has to be done.
We provide a wide range of Ford Thunderbird Parking Brake Cable at the best prices possible. If you need Ford Thunderbird Parking Brake Cable, you can shop with confidence on our website. All our OEM parts come with a manufacturer's warranty and are delivered to your door step with a fast delivery service.
Ford Thunderbird Parking Brake Cable Parts Questions & Experts Answers
- Q: How do you replace parking brake cables on Ford Thunderbird?A:To replace the parking brake cables, start by raising and securely supporting the vehicle on jack stands and fully releasing the parking brake. Relieve the parking brake cable tension with an assistant depressing the parking brake, then remove the tensioner, taking care to secure the spring. For foot-operated type front cables, disconnect the electrical connector from the parking brake warning switch, remove the side trim panel, and detach the cable end from the foot control assembly. Remove the control cable conduit retainer and disconnect the front cable from the intermediate cable at the connector, then pull the cable and grommet up through the floor pan. For rear cables, remove the cable tensioner, disconnect the front cable from the intermediate cable, and remove the cable routing clips. Afterward, remove the rear wheel and brake drum (if equipped), disconnect the cable end from the parking brake lever, and on drum brake systems, depress the tangs on the cable housing retainer and remove the cable and housing. For hand-operated type front cables, disconnect the front cable from the rear cable at the cable connector, remove the cable routing clip, and inside the vehicle, remove the rear seat and console to disconnect the cable from the hand control assembly and pull it out from under the carpet. Installation is the reverse of the removal procedure for all cable types, with adjustments required for the parking brake as needed.


