×
- Live Chat
- 1-888-788-9341


My Garage
My Account
Cart
Genuine Lincoln MKX Car Speakers
Audio Speakers- Select Vehicle by Model
- Select Vehicle by VIN
Select Vehicle by Model
orMake
Model
Year
Select Vehicle by VIN
For the most accurate results, select vehicle by your VIN (Vehicle Identification Number).
58 Car Speakers found
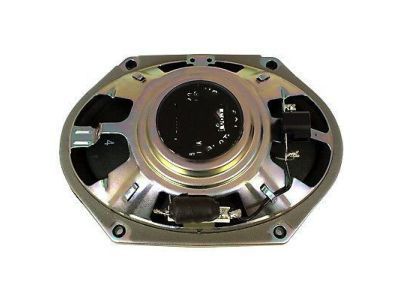
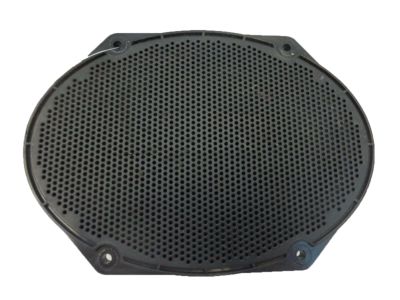
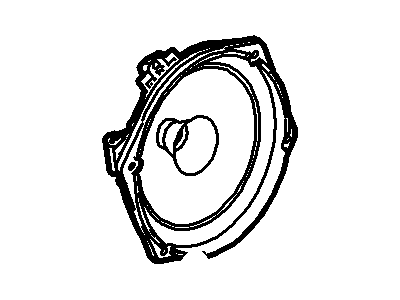
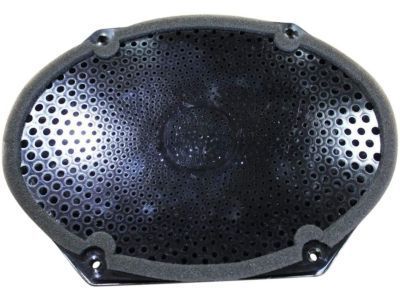
Lincoln MKX Speaker Assembly
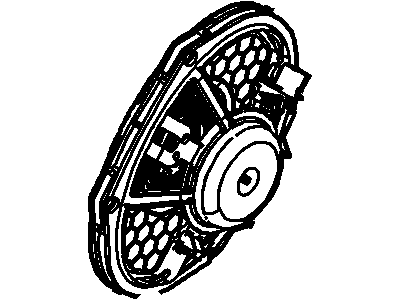
Part Number: 8L8Z-18808-BA$44.56 MSRP: $64.02You Save: $19.46 (31%)Ships in 1-2 Business DaysLincoln MKX Speaker Assembly
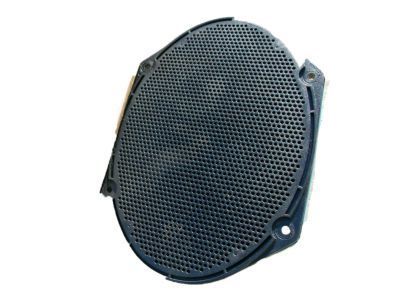
Part Number: 9U5Z-18808-A$23.24 MSRP: $33.10You Save: $9.86 (30%)Ships in 1-3 Business DaysLincoln MKX Speaker Assembly
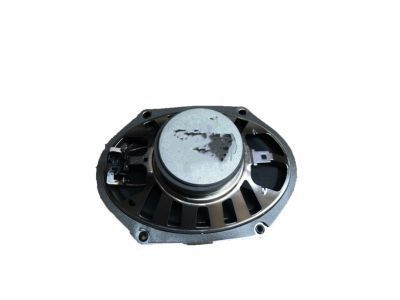
Part Number: 6U5Z-18808-CA$23.24 MSRP: $33.10You Save: $9.86 (30%)Ships in 1-3 Business DaysLincoln MKX Speaker Assembly
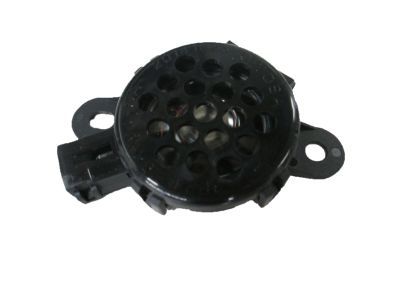
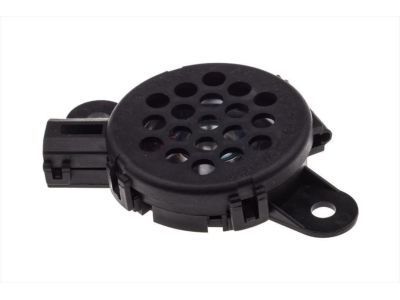
Part Number: 7U5Z-18808-C$23.24 MSRP: $33.10You Save: $9.86 (30%)Ships in 1-3 Business DaysLincoln MKX Speaker Assy - Parking Control Aid
Part Number: 3F2Z-15K864-BA$9.91 MSRP: $18.82You Save: $8.91 (48%)Ships in 1-2 Business DaysLincoln MKX Speaker Assy - Parking Control Aid
Part Number: 4L1Z-15K864-A$14.63 MSRP: $27.78You Save: $13.15 (48%)Ships in 1-2 Business DaysLincoln MKX Speaker Assembly
Part Number: 7E5Z-18808-A$32.03 MSRP: $43.76You Save: $11.73 (27%)Ships in 1 Business DayLincoln MKX Speaker Assembly
Part Number: CT4Z-18808-A$35.62 MSRP: $49.48You Save: $13.86 (29%)Ships in 1-2 Business DaysLincoln MKX Speaker Assembly
Part Number: 7A1Z-18808-AA$22.42 MSRP: $30.64You Save: $8.22 (27%)Ships in 1 Business DayLincoln MKX Speaker Assembly
Part Number: DT4Z-18808-B$35.23 MSRP: $48.14You Save: $12.91 (27%)Ships in 1 Business DayLincoln MKX Speaker Assembly
Part Number: DT4Z-18808-A$45.09 MSRP: $65.92You Save: $20.83 (32%)Ships in 1-3 Business DaysLincoln MKX Speaker Assembly
Part Number: FA1Z-18808-J$62.91 MSRP: $97.08You Save: $34.17 (36%)Ships in 1-3 Business DaysLincoln MKX Speaker Assembly
Part Number: BT4Z-18808-B$45.09 MSRP: $65.92You Save: $20.83 (32%)Ships in 1-3 Business DaysLincoln MKX Speaker Assembly
Part Number: BT4Z-18808-E$45.09 MSRP: $65.92You Save: $20.83 (32%)Ships in 1-3 Business DaysLincoln MKX Speaker Assembly
Part Number: FA1Z-18808-K$43.59 MSRP: $63.73You Save: $20.14 (32%)Ships in 1-3 Business Days
| Page 1 of 3 |Next >
1-20 of 58 Results
Lincoln MKX Car Speakers
We provide a wide range of Lincoln MKX Car Speakers at the best prices possible. If you need Lincoln MKX Car Speakers, you can shop with confidence on our website. All our OEM parts come with a manufacturer's warranty and are delivered to your door step with a fast delivery service.
Lincoln MKX Car Speakers Parts Questions & Experts Answers
- Q: How to remove and install the radio and Speakers on Lincoln MKX?A: The radio consists of the Front Controls Interface Module (FCIM) and the Audio Control Module (ACM), with the FCIM located in the center trim panel and the ACM positioned behind it in the dash. While the FCIM can be replaced at home, the ACM requires dealer service for replacement due to necessary module configuration programming. To begin, disconnect the negative battery terminal cable, then remove the center console side trim moldings and the fasteners securing the FCIM before disconnecting its electrical connector. If removing the ACM, take out its mounting screws, pull it out, and disconnect the antenna cable and electrical connectors. For the FCIM, remove its mounting screws, pull it out, and disconnect the electrical connectors. Installation follows the reverse order. For 2015 through 2018 Edge models, remove the left and right floor console side trim panels and the U-shaped trim around the floor shift console, followed by the shift console/cup holder trim panel and storage compartment fasteners. Remove the floor console support fasteners and the instrument panel center vents using a plastic trim tool, then disengage the FCIM retaining screws and remove the FCIM from the instrument panel. For 2019 Edge models, open the floor console storage armrest, disengage the retaining clips around the shift console/cup holder trim panel, and disconnect electrical connectors. Remove the storage bin edge trim fasteners, storage compartment fasteners, gear shift module console frame fasteners, and the instrument panel center vents, then remove the FCIM retaining screws and the FCIM itself. For 2016 and later MKX models, open the floor console storage armrest, disengage the retaining clips around the floor console/cup holder trim panel, and disconnect electrical connectors. Remove the left and right floor console upper side trim panels, the USB/media port trim, and the storage compartment fasteners, then lift and slide the storage compartment away from the instrument panel. Disengage the center speaker grille fasteners, remove the FCIM retaining screws, and take out the FCIM. If removing the FCIM from the trim panel, remove the mounting screws. For the Front Display Interface Module (FDIM), remove the FCIM, then take out the FDIM fasteners, pull the FDIM from the instrument panel, and disconnect its electrical connectors, with installation being the reverse of removal. For door speakers, remove the door trim panel, speaker mounting screws, and pull the speaker out while disconnecting its electrical connectors, with installation following the reverse order. For the front door tweeter speaker, remove the front door trim panel, disconnect the electrical connector, depress the retaining tabs, and remove the speaker, snapping it back into the door trim panel with an audible click, completing the installation in reverse order.
