×
- Live Chat
- 1-888-788-9341


My Garage
My Account
Cart
Genuine Lincoln Navigator Coolant Reservoir
Coolant Tank Reservoir- Select Vehicle by Model
- Select Vehicle by VIN
Select Vehicle by Model
orMake
Model
Year
Select Vehicle by VIN
For the most accurate results, select vehicle by your VIN (Vehicle Identification Number).
8 Coolant Reservoirs found
Lincoln Navigator Tank Assembly - Radiator Overflow
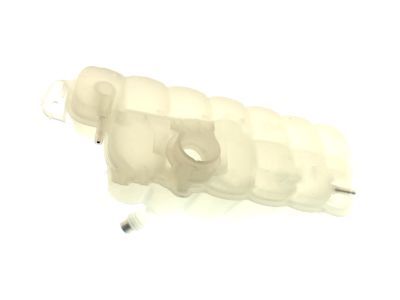
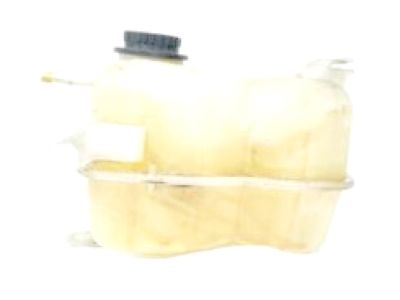
Part Number: FL3Z-8A080-A$85.69 MSRP: $106.42You Save: $20.73 (20%)Lincoln Navigator Tank Assembly - Radiator Overflow
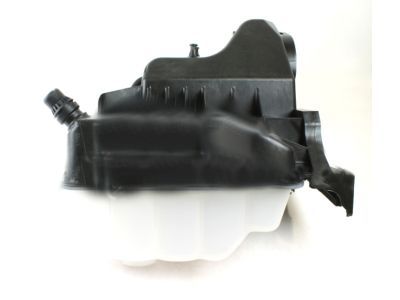
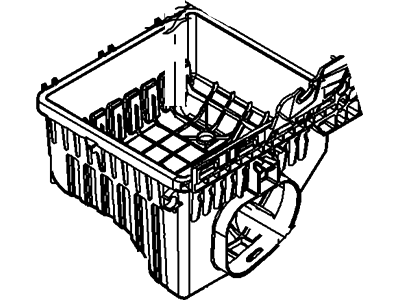
Part Number: BL3Z-8A080-B$183.28 MSRP: $277.70You Save: $94.42 (34%)Ships in 1 Business DayLincoln Navigator Tank Assembly - Radiator Overflow
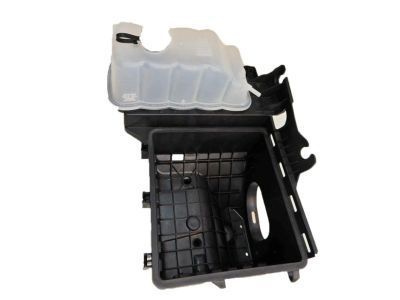
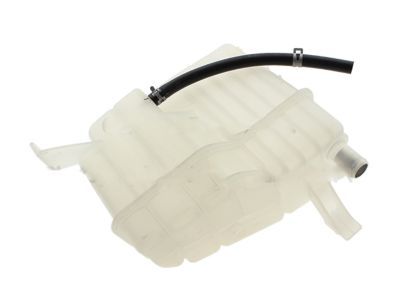
Part Number: AL1Z-8A080-A$151.29 MSRP: $225.13You Save: $73.84 (33%)Ships in 1-3 Business DaysLincoln Navigator Tank Assembly - Radiator Overflow
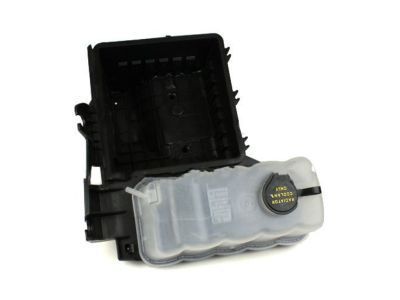
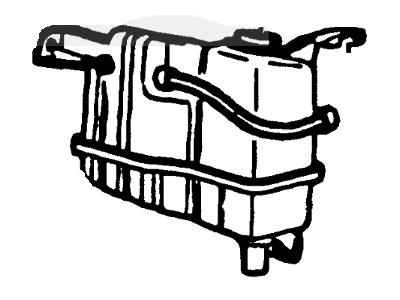
Part Number: 9L3Z-8A080-A$99.35 MSRP: $145.25You Save: $45.90 (32%)Ships in 1-3 Business DaysLincoln Navigator Tank Assembly - Radiator Overflow
Part Number: 5L3Z-8A080-AA$110.75 MSRP: $161.92You Save: $51.17 (32%)Lincoln Navigator Tank Assembly - Radiator
Part Number: 7L1Z-8A080-A$239.59 MSRP: $356.53You Save: $116.94 (33%)Ships in 1-3 Business Days
Lincoln Navigator Coolant Reservoir
The Lincoln Navigator Coolant Reservoir sometimes known as the coolant tank is a part and parcel of vehicle's cooling system. It works mainly to contain the excess of coolant fluid which may be used to manage the temperature of the engine. There are two main types of Coolant Reservoirs used in Navigator vehicles: into pressurized and non-pressurized automotive hydraulic brake systems. The pressurized Coolant Reservoir has a metal cap with the Pressure Rating affixed on it while the non-pressurized will just have a plastic cap. It is advised to inspect it periodicals to ensure that there is no sign of cracking, leaks or change in color of the component since they are subjected to a constant heat cycle and age.
We provide a wide range of Lincoln Navigator Coolant Reservoir at the best prices possible. If you need Lincoln Navigator Coolant Reservoir, you can shop with confidence on our website. All our OEM parts come with a manufacturer's warranty and are delivered to your door step with a fast delivery service.
Lincoln Navigator Coolant Reservoir Parts Questions & Experts Answers
- Q: How to remove and install a radiator and Coolant Reservoir on a Lincoln Navigator?A: Disconnect the cable from the negative battery terminal. Drain the cooling system, then disconnect the lower hose from the coolant reservoir. Disconnect the overflow hose, then remove the bolts and pull the coolant reservoir straight up. Prior to installation make sure the coolant reservoir is clean and free of debris which could be drawn into the radiator. Installation is the reverse of removal. On 2007 and later models, have the refrigerant recovered before beginning this procedure. Remove the cooling fan and shroud assembly. On 2007 and later models, also remove the two end panels that are secured by pushpins. If equipped with an automatic transmission, detach the cooler lines from the radiator. Disconnect the upper and lower radiator hoses. Remove both headlight housings and, on 2008 and later models, remove the front bumper cover. Disconnect and plug the refrigerant lines at the condenser. Disconnect the horn wiring at the side of the radiator and remove the horns. Remove the bolts on the sides of the radiator. Push the radiator assembly toward the engine and push on the two lower condenser-to-radiator clips until the radiator is separated from the condenser. On earlier models, remove the mounting bolts and take off the two upper radiator mounts and the mounts that hold the lug wrench and jack handle. On all models, carefully lift the radiator out of the vehicle. Prior to installation of the radiator, replace any damaged hose clamps and radiator hoses. Radiator installation is the reverse of removal. When installing the radiator on earlier models, make sure it seats properly in the lower saddles and that the rubber mounts are intact. After installation, fill the system with the proper mixture of antifreeze, and also check the automatic transmission fluid level.
Related Lincoln Navigator Parts
Browse by Year
2024 Coolant Reservoir 2023 Coolant Reservoir 2022 Coolant Reservoir 2021 Coolant Reservoir 2020 Coolant Reservoir 2019 Coolant Reservoir 2018 Coolant Reservoir 2017 Coolant Reservoir 2016 Coolant Reservoir 2015 Coolant Reservoir 2014 Coolant Reservoir 2013 Coolant Reservoir 2012 Coolant Reservoir 2011 Coolant Reservoir 2010 Coolant Reservoir 2009 Coolant Reservoir 2008 Coolant Reservoir 2007 Coolant Reservoir 2006 Coolant Reservoir 2005 Coolant Reservoir 2002 Coolant Reservoir
