×
- Live Chat
- 1-888-788-9341


My Garage
My Account
Cart
Genuine Mercury Cougar Engine Mount
Engine Motor Mount- Select Vehicle by Model
- Select Vehicle by VIN
Select Vehicle by Model
orMake
Model
Year
Select Vehicle by VIN
For the most accurate results, select vehicle by your VIN (Vehicle Identification Number).
28 Engine Mounts found
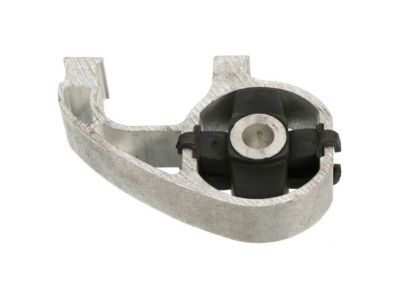
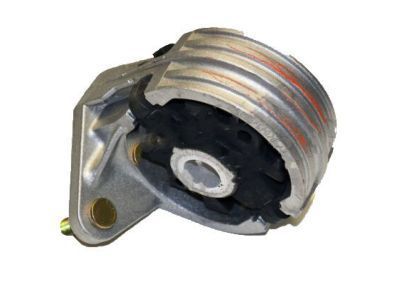
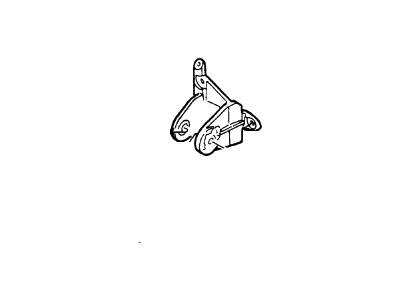
Mercury Cougar Engine Motor Mount Torque Strut
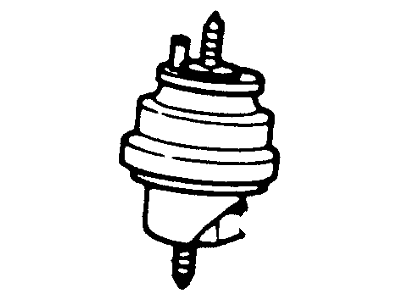
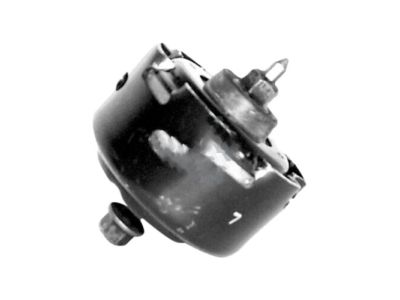
Part Number: YS2Z-6068-BA$66.16 MSRP: $91.90You Save: $25.74 (29%)Ships in 1-2 Business DaysMercury Cougar Insulator Assembly Engine S
Part Number: E83Z6068BA$64.89 MSRP: $88.67You Save: $23.78 (27%)Ships in 1-2 Business DaysMercury Cougar Housing
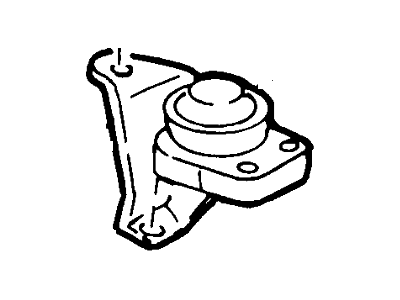
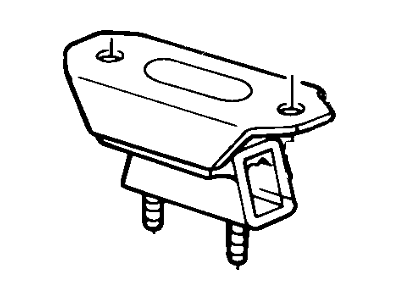
Part Number: YS2Z-6038-DA$26.77 MSRP: $37.19You Save: $10.42 (29%)Ships in 1-2 Business DaysMercury Cougar Torque Restrictor
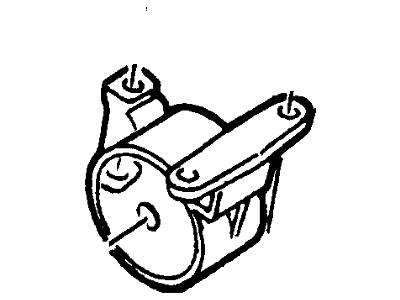
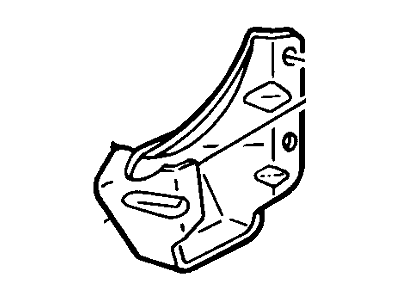
Part Number: F7RZ-6068-BA$23.96 MSRP: $33.29You Save: $9.33 (29%)Ships in 1-2 Business DaysMercury Cougar Bracket Engine Mounting
Part Number: F4SZ6038A$24.55 MSRP: $34.11You Save: $9.56 (29%)Ships in 1-2 Business Days
| Page 1 of 2 |Next >
1-20 of 28 Results
Mercury Cougar Engine Mount
We provide a wide range of Mercury Cougar Engine Mount at the best prices possible. If you need Mercury Cougar Engine Mount, you can shop with confidence on our website. All our OEM parts come with a manufacturer's warranty and are delivered to your door step with a fast delivery service.
Mercury Cougar Engine Mount Parts Questions & Experts Answers
- Q: What should be done if engine mounts are broken or deteriorated on Mercury Cougar?A: Engine mounts seldom require attention, but broken or deteriorated mounts should be replaced immediately to prevent damage to driveline components. During the check, the engine must be raised slightly to remove the weight from the mounts, and the negative battery cable should be disconnected. The vehicle should be raised and securely supported on jackstands, with a jack positioned under the engine Oil Pan, using a large block of wood between the jack head and the oil pan to carefully raise the engine just enough to relieve the weight on the mounts. The mounts should be inspected for cracked, hardened, or separated rubber, which may sometimes split down the center, and rubber preservative can be applied to slow deterioration. Relative movement between the mount plates and the engine or frame should be checked using a large screwdriver or prybar; if movement is noted, the engine should be lowered and the mount fasteners tightened. For replacement on non-supercharged models, the fan shroud mounting screws should be removed, and the shroud disengaged from the lower clips, followed by detaching the air cleaner duct. The engine mount through bolts and retaining strap bolt should be removed, and the shift linkage disconnected. Accessories and oil cooler line retaining clips must be removed from the engine mount brackets, and the engine should be raised high enough to clear the brackets without forcing it too high. A block of wood can be temporarily placed between the oil pan and subframe for safety. The mounting bracket should be unbolted from the engine block and removed, with self-locking nuts and bolts replaced with new ones whenever disassembled. Hardened residual adhesive should be removed from the engine block holes with an appropriate size bottoming tap. If a new mount is being installed, the nut and bracket should be removed from the old mount and transferred to the new one, along with the two bolts from the underside. The new mount should be attached to the engine block, with bolts and studs installed in the appropriate locations and tightened securely. The engine should then be lowered into place, and the through bolts installed and tightened. Finally, all parts removed to gain access to the mounts should be reinstalled to complete the installation.
Related Mercury Cougar Parts
Browse by Year
2002 Engine Mount 2001 Engine Mount 2000 Engine Mount 1999 Engine Mount 1997 Engine Mount 1996 Engine Mount 1995 Engine Mount 1994 Engine Mount 1993 Engine Mount 1992 Engine Mount 1991 Engine Mount 1990 Engine Mount 1989 Engine Mount 1988 Engine Mount 1987 Engine Mount 1986 Engine Mount 1985 Engine Mount 1984 Engine Mount 1983 Engine Mount 1982 Engine Mount 1981 Engine Mount 1980 Engine Mount
