×
- Live Chat
- 1-888-788-9341


My Garage
My Account
Cart
Genuine Mercury Lynx Timing Belt
Engine Timing Belt- Select Vehicle by Model
- Select Vehicle by VIN
Select Vehicle by Model
orMake
Model
Year
Select Vehicle by VIN
For the most accurate results, select vehicle by your VIN (Vehicle Identification Number).
1 Timing Belt found
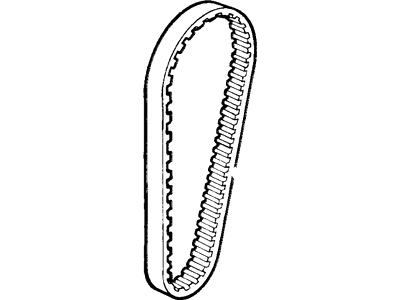
Mercury Lynx Timing Belt
We provide a wide range of Mercury Lynx Timing Belt at the best prices possible. If you need Mercury Lynx Timing Belt, you can shop with confidence on our website. All our OEM parts come with a manufacturer's warranty and are delivered to your door step with a fast delivery service.
Mercury Lynx Timing Belt Parts Questions & Experts Answers
- Q: How to replace the timing belt on Mercury Lynx?A: The manufacturer advises the replacement of the timing belt with a new one each time the tension is released or the belt is pulled out say in the water pump removal or replacement of the timing belt. This procedure should be done on cold engine and the timing belt tension should not be adjusted on a hot engine. Start with the removal of the battery negative cable, followed by the remover of the accessory drive belts and then the final remover of the timing belt cover. Turn the engine with the wrench on the crankshaft pulley bolt until the timing mark on the cam pulley mates with one on the cylinder head and look at the crank pulley mark to see if it's lined with the TDC mark on the cover before you start to remove the front cover. Subsequently pull out the starter and place the flywheel ring gear while securing its position with a screwdriver and pull out the crankshaft pulley bolt. Ease the belt tensioner-you can loosen its bolts and shift the tensioner to shift the tensioner to either side, and then tighten the bolts to freeze the tensioner in place-then remove the crankshaft pulley, timing belt. Place the new belt over the crankshaft in a clockwise manner over the pulleys so that the camshaft and crankshaft timing marks are sited and at the same time making the belt span as tight as possible. Detoeche the belt tensioner attaching bolts to enable the tensioner to snap over the belt, then tighten the tensioner's bolt, Mercer stresses. Replace the crankshaft pulley and bolt it to the specified torque, and using a screw driver through the opening of the starter engage the flywheel ring gear and re-fit the starter. Turn the crankshaft two full turns, but stop after the second turn once the crankshaft sprocket is again at TDC and ensure the cam sprocket in same position. Place the timing belt cover for 1989 and later models just to observe if the pulley and timing cover marks are aligned and to be extremely careful as any resistance when turning the crankshaft means you're 'out of time'. Connect the battery negative terminal and start the engine to settle the belt into place; remove the battery negative terminal. Correct the tension of the tightening torque of the timing belt tensioner bolt which was tightened in step 2 and for 1988 and earlier models, find an assistant to hold a wrench on the crankshaft bolt so that the crankshaft does not rotate whilst apply the tension to the timing belt using a torque wrench on the camshaft sprocket. For the later model vehicles of 1989 and after, turn the tensioner bolts counterclockwise to release the tension from the timing belt to make the tensioner to snap against the beltthen tighten the bolts, in a clockwise manner to a specified torque setting. Last but not the least, fit the timing belt cover, align the drive belts and reconnect the car's negative terminal of the battery.


