
My Garage
My Account
Cart
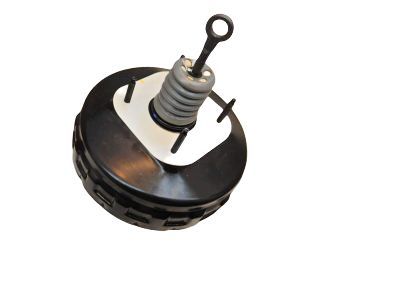
Genuine Mercury Mariner Brake Booster
Brake Power Booster- Select Vehicle by Model
- Select Vehicle by VIN
Select Vehicle by Model
orMake
Model
Year
Select Vehicle by VIN
For the most accurate results, select vehicle by your VIN (Vehicle Identification Number).
8 Brake Boosters found
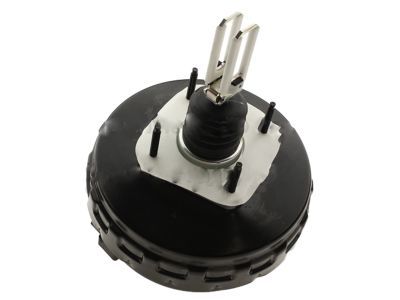
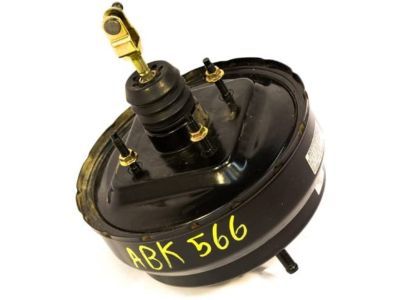
Mercury Mariner Booster Assembly - Brake
Part Number: 9M6Z-2005-A$496.16 MSRP: $805.45You Save: $309.29 (39%)Mercury Mariner Booster Assembly - Brake
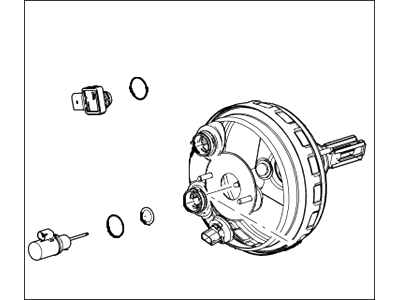
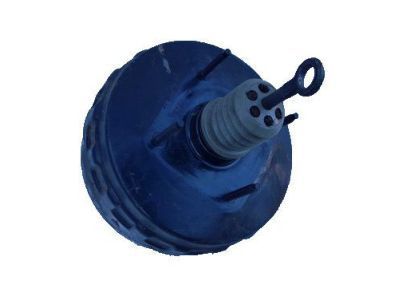
Part Number: 8L8Z-2005-A$155.04 MSRP: $247.27You Save: $92.23 (38%)Ships in 1-2 Business DaysMercury Mariner Kit - Brake Booster Repair
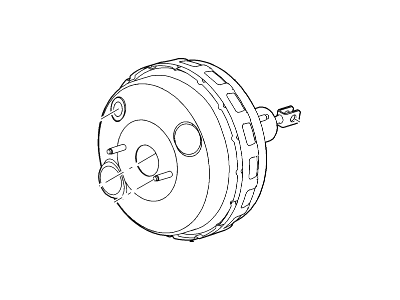
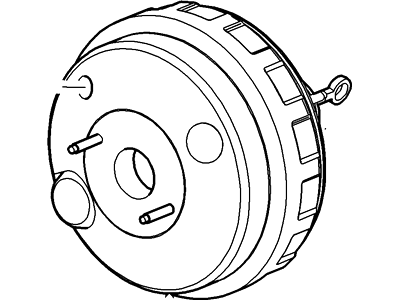
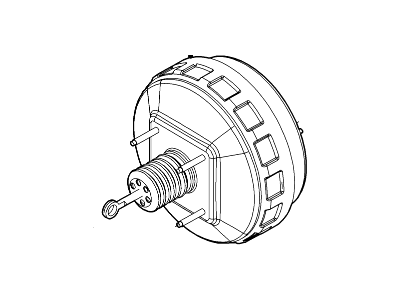
Part Number: 6L8Z-2002-A$109.44 MSRP: $152.03You Save: $42.59 (29%)Ships in 1-2 Business DaysMercury Mariner Booster Assembly - Brake
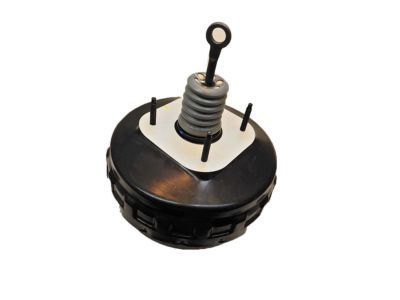
Part Number: 9L8Z-2005-A$155.04 MSRP: $247.27You Save: $92.23 (38%)Mercury Mariner Kit - Brake Booster
Part Number: 8L8Z-2002-A$155.04 MSRP: $247.27You Save: $92.23 (38%)
Mercury Mariner Brake Booster
The Brake Booster found in Mercury Mariner is an optional system that works to improve the efficiency of the breaking system by minimizing the effort that the driver has to make. Its actions are mainly mechanical and involve, for instance, a vacuum operation that enhances the force used to engage the brake pedal and passes it by means of the master cylinder resulting in easy braking. The system uses engine vacuum or an auxiliary pump to make the required pressure difference. There are two main types of Brake Boosters used in Mariner vehicles: These are vacuum-operated and hydraulic boosters. There are vacuum boosters which use the pressure difference of the engine vacuum and atmospheric pressure and hydraulic boosters that use pressure from the power steering pump or an electric motor. As much as vacuum boosters are employed to auto start cars, they sometimes develop faults. There are various performances of air wet brake which based on various diaphragms and sizes being used in different versions, most suitable for bespoke cars or restoration projects.
We provide a wide range of Mercury Mariner Brake Booster at the best prices possible. If you need Mercury Mariner Brake Booster, you can shop with confidence on our website. All our OEM parts come with a manufacturer's warranty and are delivered to your door step with a fast delivery service.
Mercury Mariner Brake Booster Parts Questions & Experts Answers
- Q: How to make operating check, airtightness check, and removal and installation of a power brake booster on Mercury Mariner?A:Depress the brake pedal multiple times with the engine off to ensure no change in pedal reserve distance. Start the engine and depress the pedal, noting a slight downward movement if normal. AIRTIGHTNESS CHECK: Start the engine and turn it off after a minute or two. Slowly depress the brake pedal multiple times, observing if the pedal goes down further the first time but gradually rises after subsequent depressions, indicating an airtight booster. Depress the brake pedal while the engine is running and stop the engine with the pedal depressed, checking for no change in pedal reserve travel after holding for 30 seconds, indicating an airtight booster. REMOVAL AND INSTALLATION: Disassembly of the power unit requires special tools and is not recommended for home mechanics. If a problem arises, it is advised to install a new or factory rebuilt unit. In the engine compartment, remove the nuts attaching the master cylinder to the booster and carefully pull the master cylinder forward to clear the mounting studs, being cautious not to damage the Brake Lines. Disconnect the vacuum hose from the power brake booster. In the passenger compartment, detach the pushrod from the top of the brake pedal, ensuring to discard and replace the clevis locking pin on 2008 and later models. Remove the nuts attaching the booster to the firewall. Lift the booster unit away from the firewall and out of the engine compartment. To install the booster, position it correctly and tighten the retaining nuts. Connect the pushrod to the brake pedal. Install the master cylinder and reconnect the vacuum hose. Test the brake operation carefully before normal vehicle use.
