×
- Live Chat
- 1-888-788-9341


My Garage
My Account
Cart
Genuine Mercury Mariner Center Console Base
- Select Vehicle by Model
- Select Vehicle by VIN
Select Vehicle by Model
orMake
Model
Year
Select Vehicle by VIN
For the most accurate results, select vehicle by your VIN (Vehicle Identification Number).
63 Center Console Bases found
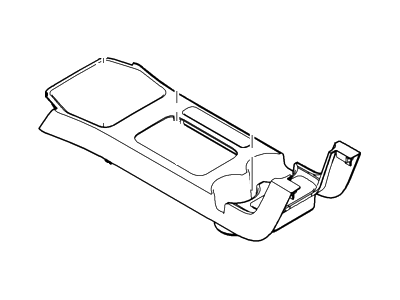
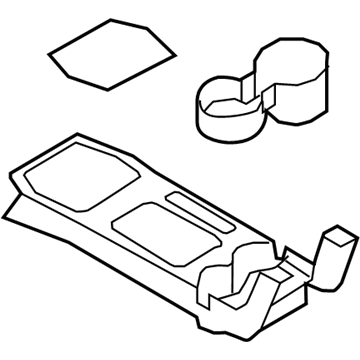
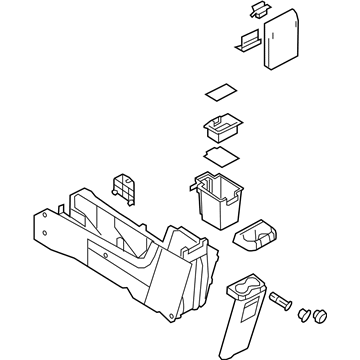
Mercury Mariner Panel Assembly - Console
Part Number: 8L8Z-78045E24-AA$61.73 MSRP: $101.88You Save: $40.15 (40%)Ships in 1-2 Business DaysMercury Mariner Panel Assembly - Console
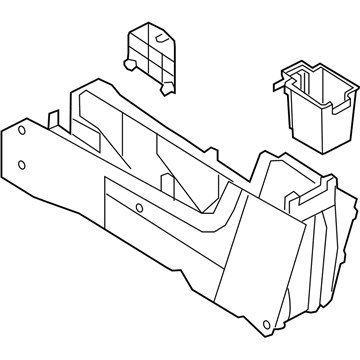
Part Number: BL8Z-78045A76-VA$167.18 MSRP: $301.88You Save: $134.70 (45%)Ships in 1-2 Business DaysMercury Mariner Panel Assembly - Console
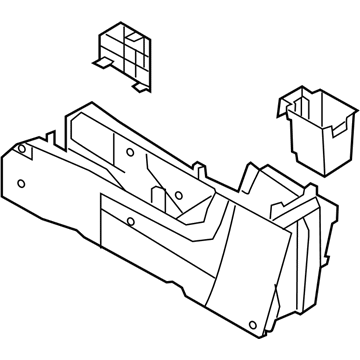
Part Number: 9L8Z-78045A36-EA$359.97 MSRP: $650.00You Save: $290.03 (45%)Ships in 1-2 Business DaysMercury Mariner Panel Assembly - Console
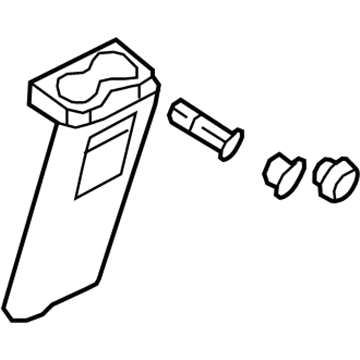
Part Number: 8L8Z-78045A76-DA$167.18 MSRP: $301.88You Save: $134.70 (45%)Ships in 1-2 Business DaysMercury Mariner Panel Assembly - Console
Part Number: 8L8Z-78045A36-AA$359.97 MSRP: $650.00You Save: $290.03 (45%)Ships in 1-2 Business DaysMercury Mariner Panel Assembly - Console
Part Number: 8L8Z-78045A36-AD$359.97 MSRP: $650.00You Save: $290.03 (45%)Ships in 1-2 Business DaysMercury Mariner Panel Assembly - Console
Part Number: 8L8Z-78045A36-AG$359.97 MSRP: $650.00You Save: $290.03 (45%)Ships in 1-2 Business DaysMercury Mariner Panel Assembly - Console
Part Number: 8L8Z-78045A36-BA$359.97 MSRP: $650.00You Save: $290.03 (45%)Ships in 1-2 Business DaysMercury Mariner Panel Assembly - Console
Part Number: 9L8Z-78045A36-AA$359.97 MSRP: $650.00You Save: $290.03 (45%)Ships in 1-2 Business DaysMercury Mariner Panel Assembly - Console
Part Number: 9L8Z-78045A36-BA$359.97 MSRP: $650.00You Save: $290.03 (45%)Ships in 1-2 Business DaysMercury Mariner Panel Assembly - Console
Part Number: 9L8Z-78045A36-CA$359.97 MSRP: $650.00You Save: $290.03 (45%)Ships in 1-2 Business DaysMercury Mariner Panel Assembly - Console
Part Number: 9L8Z-78045A36-DA$359.97 MSRP: $650.00You Save: $290.03 (45%)Ships in 1-2 Business DaysMercury Mariner Panel Assembly - Console
Part Number: BL8Z-78045A76-YA$194.00 MSRP: $320.23You Save: $126.23 (40%)Ships in 1-2 Business DaysMercury Mariner Panel Assembly - Console
Part Number: 8L8Z-78045E24-AC$71.78 MSRP: $101.88You Save: $30.10 (30%)Ships in 1-2 Business DaysMercury Mariner Panel Assembly - Console
Part Number: 8M6Z-78045A76-AA$171.71 MSRP: $283.43You Save: $111.72 (40%)Ships in 1-2 Business DaysMercury Mariner Panel Assembly - Console
Part Number: BL8Z-78045A76-UA$328.51 MSRP: $629.03You Save: $300.52 (48%)Ships in 1-2 Business DaysMercury Mariner Panel Assembly - Console
Part Number: 9L8Z-78045A76-LA$204.98 MSRP: $338.37You Save: $133.39 (40%)Ships in 1-2 Business DaysMercury Mariner Panel Assembly - Console
Part Number: 9L8Z-78045A36-EC$393.96 MSRP: $650.32You Save: $256.36 (40%)Ships in 1-2 Business DaysMercury Mariner Panel Assembly - Console
Part Number: 9L8Z-78045A76-MA$455.12 MSRP: $751.25You Save: $296.13 (40%)Ships in 1-2 Business DaysMercury Mariner Panel Assembly - Console
Part Number: 8L8Z-78045A76-CA$221.47 MSRP: $326.65You Save: $105.18 (33%)
| Page 1 of 4 |Next >
1-20 of 63 Results
Mercury Mariner Center Console Base
We provide a wide range of Mercury Mariner Center Console Base at the best prices possible. If you need Mercury Mariner Center Console Base, you can shop with confidence on our website. All our OEM parts come with a manufacturer's warranty and are delivered to your door step with a fast delivery service.
Mercury Mariner Center Console Base Parts Questions & Experts Answers
- Q: How do you remove and install the center console in a Mercury Mariner?A: Disconnect the cable from the negative battery terminal. Raise the emergency brake handle. Remove the floor console finish panel from the console. Remove the front bolts from the floor console. Remove the bolts from the rear section of the center console. Lilt the center console from the vehicle. Installation is the reverse of removal. Reconnect the battery. After you're done, the Powertrain Control Module (PCM) must relearn its idle and fuel trim strategy for optimum driveability and performance. Remove the manual transaxle shift knob from the shift lever. Remove the floor console front finish panel. Raise the parking brake handle. Remove the floor console rear finish panel. Remove the floor console front and rear bolts. Lift the center console from the vehicle. Installation is the reverse of removal. 2005 THROUGH 2007 MODELS: Slide the front seats fully forward, then remove the bolts at the bottom rear of the console. Slide The seats fully rearward. Disconnect the cable from the negative battery terminal. Pull up the parking brake handle. Use a plastic trim tool or a screwdriver wrapped with tape to carefully pry up the bezel from around the shift lever. On Mariner models, pry off the small forward top panel from the console. Remove the console top panel. Note: On Escape models, squeeze the front and the rear of the storage compartment to release the top panel tabs. Detach the parking brake lever boot from the top panel. Remove the six mounting bolts and remove the console. Installation is the reverse of removal. 2008 AND LATER MODELS: On manual transaxle models, set the parking brake and place the shifter in Neutral. Slide the front seats fully forward, then remove the bolts at the bottom rear of the console. Slide the seats fully rearward. Disconnect the cable from the negative battery terminal. On automatic transaxle models, remove the trim ring from around the shift lever. On manual transaxle models, detach the shift lever boot trim ring. Remove the console storage bin. Use a plastic trim tool or a screwdriver wrapped with tape to pry up and remove the console top panel. Disconnect any wiring. Remove the eight mounting bolts and remove the console. Installation is the reverse of removal.

