×
- Live Chat
- 1-888-788-9341


My Garage
My Account
Cart
Genuine Mercury Mountaineer A/C Compressor
Air Conditioning Compressor- Select Vehicle by Model
- Select Vehicle by VIN
Select Vehicle by Model
orMake
Model
Year
Select Vehicle by VIN
For the most accurate results, select vehicle by your VIN (Vehicle Identification Number).
21 A/C Compressors found
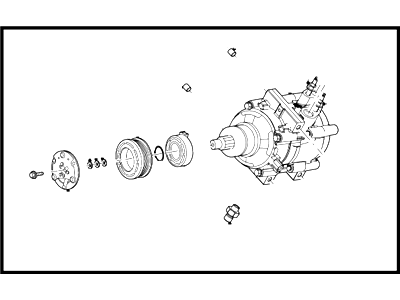
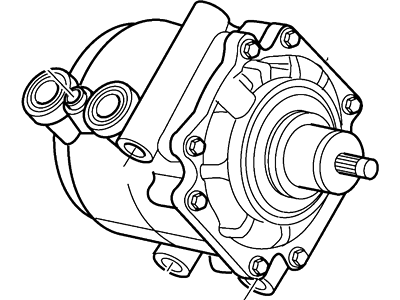
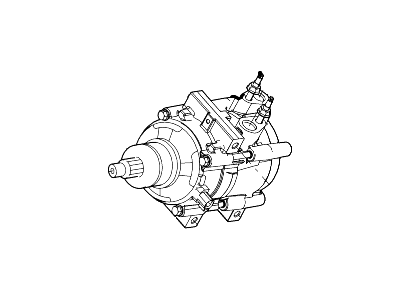
Mercury Mountaineer Compressor Assembly
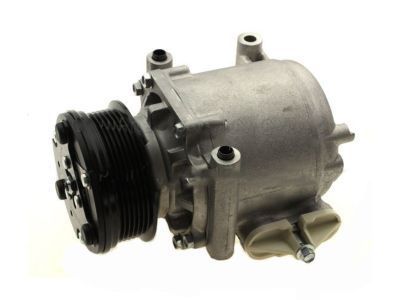
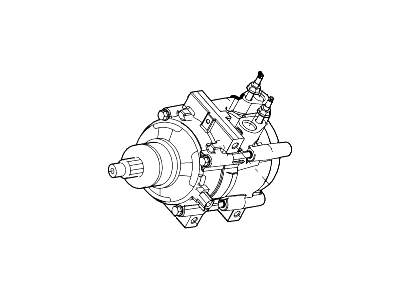
Part Number: 3L2Z-19V703-BC$324.82 MSRP: $541.82You Save: $217.00 (41%)Ships in 1-2 Business DaysMercury Mountaineer Compressor Assembly
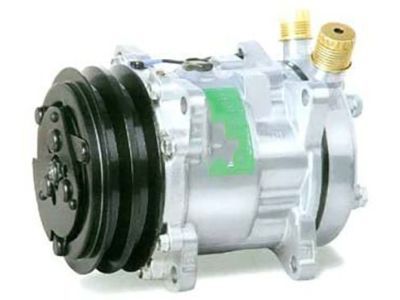
Part Number: 1L2Z-19703-EA$263.63 MSRP: $363.21You Save: $99.58 (28%)Mercury Mountaineer Compressor Assembly
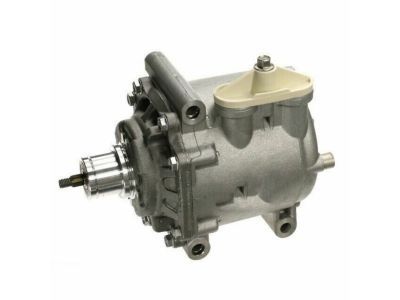
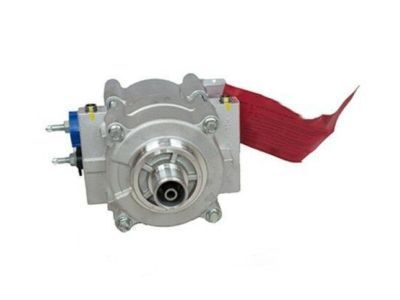
Part Number: AU2Z-19V703-AC$318.28 MSRP: $530.91You Save: $212.63 (41%)Ships in 1-2 Business DaysMercury Mountaineer Compressor Assembly
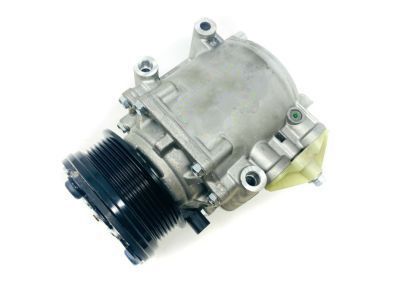
Part Number: 9L2Z-19V703-E$318.28 MSRP: $530.91You Save: $212.63 (41%)Ships in 1-2 Business DaysMercury Mountaineer Compressor Assembly
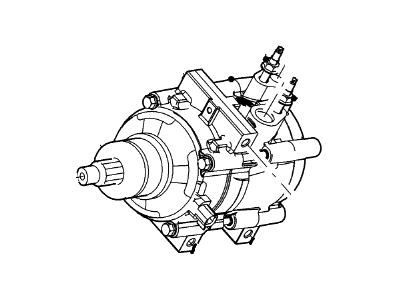
Part Number: G2MZ-19V703-L$345.53 MSRP: $576.36You Save: $230.83 (41%)Ships in 1-2 Business DaysMercury Mountaineer Compressor Assembly
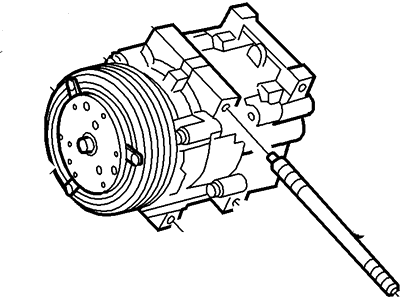
Part Number: AL2Z-19703-A$395.03 MSRP: $548.76You Save: $153.73 (29%)Ships in 1-2 Business Days
| Page 1 of 2 |Next >
1-20 of 21 Results
Mercury Mountaineer A/C Compressor
We provide a wide range of Mercury Mountaineer A/C Compressor at the best prices possible. If you need Mercury Mountaineer A/C Compressor, you can shop with confidence on our website. All our OEM parts come with a manufacturer's warranty and are delivered to your door step with a fast delivery service.
Mercury Mountaineer A/C Compressor Parts Questions & Experts Answers
- Q: How to replace the compressor in an air conditioning system on Mercury Mountaineer?A: If you are replacing the compressor, it's imperative to also replace the accumulator and the evaporator orifice tube. Before removing the compressor, have the air conditioning system discharged by a dealer service department or an automotive air conditioning shop. Next, remove the drive belt. For V6 models: Loosen the upper mounting nut, remove the stud, and disconnect the electrical connector from the compressor clutch field coil. Then, disconnect the compressor inlet and outlet line manifold from the compressor, discarding old O-rings. Raise the vehicle and secure it on jack stands. From below the engine compartment, remove the bracket nuts, separate the wiring harness and the air conditioning compressor line from the compressor, and remove the lower compressor mounting nuts and studs to remove the compressor. For V8 models: After raising the vehicle and securing it, remove the right front wheel and inner fender splash shield. Disconnect the electrical connector from the compressor clutch field coil and the crankshaft position sensor connector, positioning it to the side. Remove the compressor clutch wiring harness bracket nut, setting the wiring harness aside. Then, disconnect the compressor inlet and outlet line manifold from the compressor and discard old O-rings. Loosen the compressor mounting nuts and studs to remove the compressor. For installation: If installing a new compressor, follow the directions accompanying it, particularly concerning the draining of excess oil. Transfer the clutch from the original to the new compressor if needed. Before reconnecting the inlet and outlet lines to the compressor, replace all manifold O-rings and lubricate them with refrigerant oil. Installation is otherwise the reverse of removal. Afterward, replace the orifice tube and have the system evacuated, recharged, and leak tested by the shop that discharged it.
