Make sure this part fits your vehicle

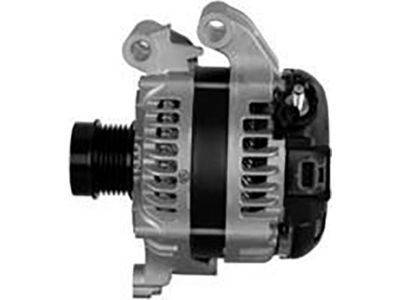
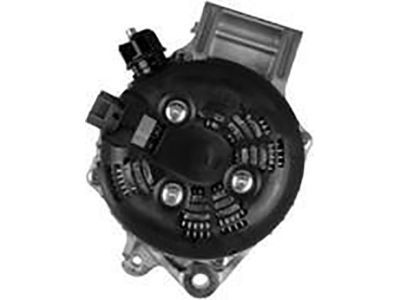
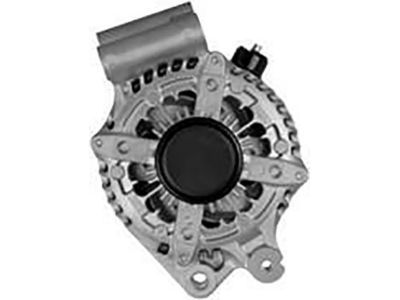
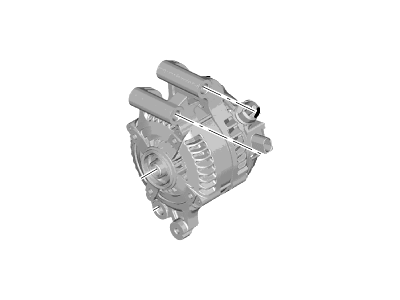
Ford DS7Z-10346-E Alternator Assembly

2013-2019 Ford Fusion DS7Z10346E

Ford DS7Z-10346-E Alternator Assembly
  • Part Description
    Alternator Assy
  • Base No.
    10346
  • Replaced By
    G2GZ-10346-A
  • Manufacturer
    Ford
Customer Questions & Answers
$456.11 MSRP: $758.18
You Save: $302.07 (40%)
Core Charge: $75.00
1
ADD TO CART
Ships in 1-2 Business Days
  • Product Specifications

    BrandGenuine Ford
    Base No.10346
    Manufacturer Part NumberDS7Z-10346-E, DS7Z10346E
    Part DescriptionAlternator Assy
    Item Dimensions10.2 x 9.0 x 8.1 inches
    Item Weight20.10 Pounds
    ConditionNew
    Fitment TypeDirect Replacement
    ManufacturerFord
    SKUDS7Z-10346-E
    WarrantyThis genuine Ford part is guaranteed by Ford's factory warranty.
    Shipping & ReturnShipping Policy Return Policy
    Warning: California’s Proposition 65
  • Vehicle Fitment

    Year Make Model Engine Important vehicle option details
    2013-2019 Ford Fusion4 Cyl 1.5L GTDI, 4 Cyl 1.6L PI TC ETHNL6-Speed Automatic Transmission 6F Mid-Range, 6-Speed Automatic Transmission 6F55, 6-Speed Manual Transmission - B6, ECVT Auto Trans Power Split, Four-Wheel Drive (Full Time) (Left Hand Drive), Front-Wheel Drive (Left Hand Drive), Left Hand Drive

Customer Questions & Answers

Q:
I am wondering if this is the exact part that fits in Posted by FordPartsGiant Specialist
A:
You can Select Your Vehicle to check if DS7Z-10346-E fits your vehicle.
Posted by FordPartsGiant Specialist
Q:
How do you remove and replace an alternator in a Ford Fusion? Posted by Customer
A:
Firstly, disconnect the cable from the negative battery terminal. Following this, remove the drivebelt. For 1.5L and 1.6L four-cylinder models, the engine cover should be lifted off the ballstuds and removed, followed by the removal of the alternator outer stud bolt and bracket from the top of the alternator. Disconnect the electrical connectors and harness retainers above the alternator, positioning the harness out of the way. Pull back the protective cover from the alternator's battery terminal, remove the nut and disconnect the battery cable from the alternator. Set the battery cable aside. Disconnect the electrical connector from the alternator and then remove the inner stud nut and stud from the top of the alternator. The alternator stud can be removed using reverse Torx sockets. Remove the lower mounting bolt and lift the alternator with the idler pulley out of the vehicle. Next, remove the idler pulley mounting bolt and pulley. For 2.0L four-cylinder models, remove the air conditioning compressor drivebelt and the Charge Air Cooler (CAC) lower pipe. After this, remove the air conditioning compressor mounting bolts and move the compressor out of the way. For 2.3L four-cylinder models, start by removing the alternator upper air duct mounting bolt and nuts, and then the upper duct. Continue with the removal of the alternator heat shield mounting fasteners and the heat shield. Next, disengage the locking tabs and remove the intermediate alternator air duct. Disconnect the alternator B+ terminal nut and electrical connector and remove the alternator mounting fasteners.For 2.5L four-cylinder models, loosen the right front wheel lug nuts, raise the front of the vehicle and place it securely on jackstands, and remove the right front wheel. Following this, remove the splash shield screws and pushpins and remove the splash shield. Working from above in the engine compartment, depress the locking tab to disengage the alternator lower cooling duct and remove the duct. Pull the battery harness clip off the alternator lower mounting stud, remove the alternator lower mounting bolt, and remove the nuts from the alternator upper and lower mounting studs. Pull back the protective cover from the alternator's battery terminal, remove the nut and disconnect the battery cable from the alternator. Disconnect the electrical connector from the alternator and remove the two alternator mounting studs and the alternator. Finally, remove the three upper cooling duct screws and remove the duct from the alternator.For 3.0L V6 models, remove the air conditioning compressor. Push back the protective cover from the alternator's battery terminal, remove the nut and disconnect the battery cable from the alternator. Disconnect the electrical connector from the alternator. Remove the upper alternator mounting bolt, pull the harness clip off the stud on the alternator lower mounting bolt, then remove the lower mounting bolts and remove the alternator. For 3.5L V6 models, drain the engine oil and remove the oil filter. Remove the air conditioning compressor. Push back the protective cover from the alternator's battery terminal, remove the nut and disconnect the battery cable from the alternator. Disconnect the electrical connector from the alternator. Remove the alternator upper mounting stud nut. Remove the alternator lower mounting bolt and remove the alternator. For 2.7L V6 models, remove the air conditioning compressor without disconnecting the lines on the compressor and secure it out of the way. Remove the air conditioning compressor mounting bracket fasteners and bracket from the side of the engine. Remove the drivebelt tensioner. Remove the alternator lower fastener and the upper mounting nut. Lift the air conditioning line bracket off the stud. Loosen the alternator mounting stud until the alternator can be lowered, then pull back the protective cover from the alternator's battery terminal. Remove the nut and disconnect the electrical connector to the alternator. When installing the alternator battery cable nut, it must be started by hand, or damage to the alternator may occur.Regardless of model, if you're replacing the alternator, take the old one with you when purchasing the replacement unit. Make sure that the new/rebuilt unit looks identical to the old alternator. Look at the electrical terminals on the backside of the alternator. They should be the same in number, size, and location as the terminals on the old alternator. Also, look at the identification numbers. They will be stamped into the housing or printed on a tag attached to the housing. Make sure that the ID numbers are the same on both alternators. Many new/rebuilt alternators do not have a pulley installed, so you might have to swap the pulley from the old unit to the new/rebuilt one. When buying an alternator, find out the store's policy regarding pulley swaps. Some stores perform this service free of charge. If your local auto parts store doesn't offer this service, you'll have to purchase a puller for removing the pulley and do it yourself. Installation is the reverse of removal. Tighten the alternator mounting bolts securely. Finally, reconnect the cable to the negative terminal of the battery and check the charging voltage to verify that the alternator is operating correctly.
Posted by FordPartsGiant Specialist
If you have any questions about this product, please don't hesitate to ask us. We will be happy to help you!

Genuine Ford Part DS7Z-10346-E, the Right Choice

Your vehicle deserves only genuine OEM Ford parts and accessories. To ensure reliability, purchase Ford part # DS7Z-10346-E Alternator Assembly with base parts number 10346. It is sometimes referred to as Ford Alternator. Our Ford parts and accessories are expedited directly from authorized Ford dealers strategically located all across the U.S. and are backed by the manufacturer's 12 month, 12,000 mile warranty. OEM Ford parts are the best for restoring your vehicle to factory condition performance. This part fits specific Ford Fusion models.

Affordable, reliable and built to last, Ford part # DS7Z10346E Alternator Assembly stands out as the smart option. FordPartsGiant.com is your prime online source with the biggest and best selection of genuine Ford parts and accessories at giant discounted prices. We have the OEM Ford parts and accessories you need at the wholesale prices. FordPartsGiant.com has you covered no matter what type of Ford vehicle you drive. For detailed Ford parts information, click here.

Why choose Ford Parts Giant

  • Dedicated Service

    Your complete satisfaction is our #1 goal

  • Lowest Prices

    Best deals on genuine OE parts from dealerships

  • Fast Delivery

    Orders are processed and delivered promptly