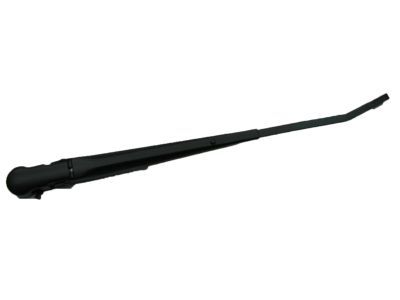
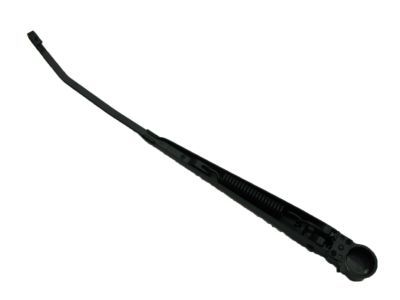
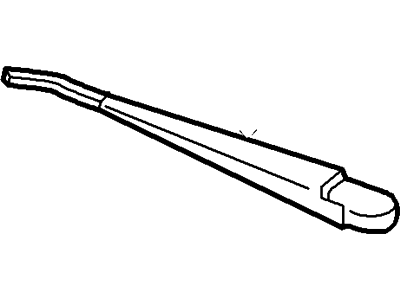
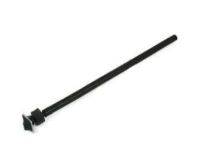
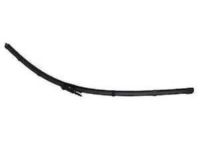
For models from 2010 and earlier, to prevent damage to the windshield and ensure normal wiper operation, keep the windshield wet during the initial step. Begin by turning the windshield wiper switch On, allowing the wipers to cycle several times before turning it Off, which positions the wiper arm parallel to the base of the windshield. Lift the wiper arm and blade assembly away from the windshield, pull out the small latch near the spindle, and lower the arm to rest on the latch, keeping the blade several inches away from the windshield. Wiggle the arm back-and-forth to remove it from the spindle. For installation, position the arm back onto the post in the parked position, ensuring it is not too low to avoid hitting the base of the windshield during operation, and confirm that the latch is seated correctly in the groove of the wiper spindle. For 2011 models, pull up on each wiper pivot arm, remove the retaining tab, and take off the arms. Next, remove the PCM mounting fasteners and set the PCM and harness aside, followed by removing the right wiper arm access cover screws and the cover itself. Then, take out the Power Distribution Box mounting fasteners and set the PDB aside, followed by the left wiper arm access cover screws and the cover. Reach through the access opening to unsnap the wiper motor clip from the mounting bracket and pivot shaft, then remove the right and left wiper arms from the pivot shafts and disconnect them from the wiper motor. Remove the pivot nuts from each side, and through the right access opening, take out the left and right mounting brackets and pivot shafts. For installation, reverse the removal steps, starting with the left wiper arm followed by the right arm, ensuring the wiper motor clip is fully seated on the pivot shaft to prevent damage, and tighten the fasteners securely.
Posted by FordPartsGiant Specialist 

