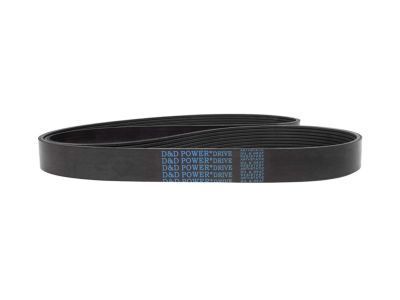
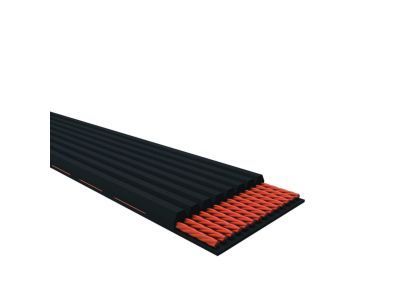
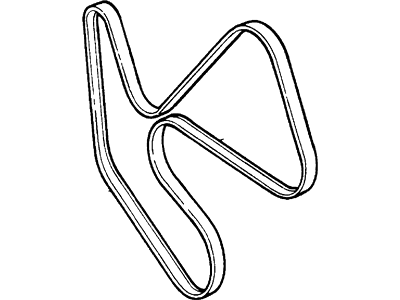
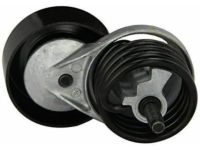
The accessory drivebelt is located at the front of the engine. The single serpentine belt drives the water pump, alternator, power steering pump and air conditioning compressor. The condition and tension of the drivebelt is critical to the operation of the engine and accessories. Excessive tension causes bearing wear, while insufficient tension produces slippage, noise, component vibration and belt failure. Because of their composition and the high stress to which they are subjected, drive belts stretch and continue to deteriorate as they get older. As a result, they must be periodically checked. The serpentine belt has an automatic tensioner and requires no adjustment for the life of the belt. These vehicles use a single V-ribbed belt to drive all of the accessories. This is also known as a "serpentine" belt because of the winding path it follows between various drive, accessory and idler pulleys. The belt's pathway is illustrated on a decal on the radiator support. With the engine off, open the hood and locate the drivebelt at the front of the engine. With a flashlight, check the belt for separation of the rubber plies from each side of the core, a severed core, separation of the ribs from the rubber and torn or worn ribs. Also check for fraying and glazing, which gives the belt a shiny appearance. Cracks in the rib side of V-ribbed belts are acceptable, as are small chunks missing from the ribs. If a V-ribbed belt has lost chunks bigger than 1/2-inch (13mm) from two adjacent ribs, or if the missing chunks cause belt noise, the belt should be replaced. Both sides of the belt should be inspected, which means you'll have to twist it to check the underside. Use your fingers to feel the belt where you can't see it. If any of the above conditions are evident, replace the belt. Tension is set by an automatic tensioner, Manual adjustment is not required. To replace a serpentine belt, rotate the tensioner counter clock-wise (2.3L, 2.5L and 4.0L engines) or clockwise (3.0L engine) to lift it off the belt. To loosen the belt, place a 3/8-inch drive ratchet in the square-shaped hole and rotate it against the spring force in the direction shown to move the tensioner off the belt. Slip the belt off the pulleys. Hold the tensioner in the released position. Install a new belt and make sure it is routed correctly. Be sure the ribs of the new belt engage the pulley ribs correctly. Release the tensioner. To replace a tensioner that can't properly tension the belt, or one that exhibits binding or worn-out bearing/pulley, remove the drivebelt, then unscrew the mounting bolt. On 2011 4.0L V6 models, the air filter intake duct must be removed first. Installation of the tensioner is the reverse of removal. Tighten the bolt to the torque value listed in the Specifications. Install the drivebelt. On 2011 models, install the air filter housing duct.
Posted by FordPartsGiant Specialist 

