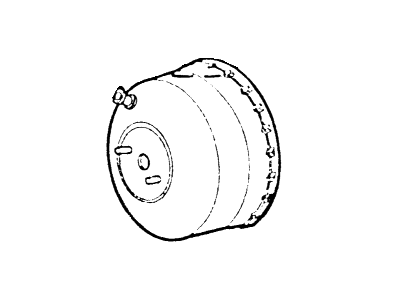
The power brake booster unit requires no special maintenance apart from periodic inspection of the vacuum hose and the case. Dismantling the brake booster requires special tools and should not be attempted by the home mechanic; if a problem develops, a new or factory rebuilt unit should be installed. To check the power booster, begin by depressing the brake pedal several times with the engine running, ensuring there is no change in the pedal reserve distance, which is the distance between the pedal and the floor when fully depressed. After turning off the engine, depress the brake pedal several times slowly; if the pedal goes down farther the first time but gradually rises after the second or third depression, the booster is airtight. Next, depress the pedal and start the engine; if the pedal goes down slightly, operation is normal. Release the brake pedal and let the engine run for a couple of minutes, then depress the brake pedal and stop the engine with the pedal still depressed. If there is no change in the reserve distance after holding the pedal for about 30 seconds, the booster is airtight. If the pedal feels "hard" when the engine is running, the booster isn't operating properly or there is a vacuum leak in the hose to the booster. For removal, remove the nuts attaching the master cylinder to the booster and carefully pull the master cylinder forward until it clears the mounting studs, taking care not to bend or kink the brake lines. Detach the manifold vacuum hose from the booster check valve, then work in the passenger compartment under the steering column to unplug the electrical connector from the brake light switch and remove the pushrod retaining clip and nylon washer from the brake pedal pin, sliding the pushrod off the pin. Remove the nuts attaching the brake booster to the firewall, then carefully detach the booster from the firewall and lift it out of the engine compartment. For installation, place the booster into position on the firewall and tighten the mounting nuts to the specified torque, then connect the pushrod and brake light switch to the brake pedal, installing the retaining clip in the brake pedal pin. Install the master cylinder to the booster, tightening the nuts to the specified torque, and carefully check the operation of the brakes before driving the vehicle in traffic. Some boosters feature an adjustable pushrod, which is typically matched to the booster at the factory and may not require adjustment; however, if a misadjusted pushrod is suspected, a gauge can be fabricated from heavy gauge sheet metal. Common symptoms of a misadjusted pushrod include dragging brakes if the pushrod is too long or excessive brake pedal travel accompanied by a groaning sound from the brake booster if the pushrod is too short. To check the pushrod length, unbolt the master cylinder from the booster and position it to one side without disconnecting the hydraulic lines, being careful not to bend them. Apply vacuum to the booster with a hand-held vacuum pump, then place the pushrod gauge against the end of the pushrod, exerting a force of approximately five pounds to seat the pushrod in the power unit; the rod should just touch the cutout on the gauge. If it doesn't, adjust it by holding the knurled portion of the pushrod with pliers and turning the end with a wrench. Once the adjustment is complete, reinstall the master cylinder and check for proper brake operation before driving the vehicle in traffic.
Posted by FordPartsGiant Specialist 


