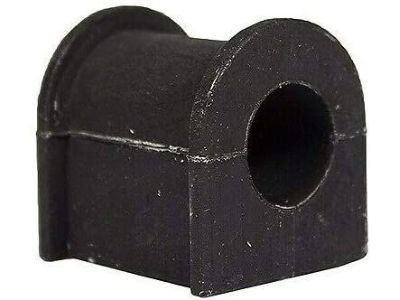
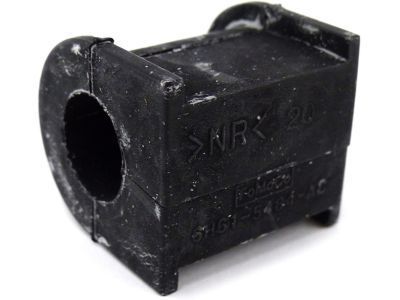
The manufacturer recommends replacing all fasteners with new ones during installation. While the steering column shaft is disconnected, the steering wheel must be kept from rotating to prevent damage to the airbag clockspring. If the steering column has rotated, it will be necessary to remove the clockspring and re-center it. Begin by loosening the front wheel lug nuts, raising the front of the vehicle, and securely supporting it on jackstands. Apply the parking brake and block the rear wheels to prevent rolling. Remove the front wheels, then detach the sway bar links from the bar, using an Allen wrench to hold the stud if the ballstud turns with the nut. Secure the steering wheel in the straight ahead position using a steering wheel holding tool or by passing the seat belt through the steering wheel and clipping it in place. Mark the relationship of the steering shaft to the steering gear, remove the clamp bolt, and disconnect the steering shaft. Remove the screws and pin-type fasteners from the front splash guard and right-side fender splash guard, then take off the guards. Disconnect the tie-rod ends from the steering knuckles and remove the steering gear mounting bolts. Detach the exhaust pipe(s) from the exhaust manifold(s). For AWD models, index-mark the driveshaft, detach it from the transfer case, and reposition it out of the way. Detach the balljoints from the steering knuckles. For 2012 and earlier models, support the rear of the subframe with a floor jack, loosen the front subframe mounting fasteners, remove the rear subframe fasteners, and lower the rear of the subframe. Unbolt the sway bar bushing clamps and guide the sway bar out from between the subframe and the body. For 2013 and later models, remove the engine roll restrictor heat shield if equipped, then remove the bolt securing the engine roll restrictor to the subframe. Remove the lower radiator support from under the vehicle and use mechanics wire to tie and support the radiator assembly. Mark the location of the front subframe to the underbody at the mounting locations, support the front subframe with floor jacks, remove the bolts and nuts from the subframe support brackets, and then remove the four subframe nuts. Lower the subframe approximately 3 inches. Unbolt the rear control arm bushing-to-sway bar bushing clamp bolts and guide the sway bar out from between the subframe and the body. Slide off the retainer bushings and inspect them; if they are cracked, worn, or deteriorated, replace them. Lubricate the inside and outside of the new bushing with vegetable oil to facilitate reassembly, avoiding petroleum or mineral-based lubricants or brake fluid as they will lead to deterioration of the bushings. Installation is the reverse of removal, ensuring to tighten the fasteners to the specified torque values. When installing the subframe, loosely attach the subframe brackets with the bolts, align the subframe to the body using your marks, and then tighten the subframe nuts followed by the remaining support bracket fasteners.
Posted by FordPartsGiant Specialist 


