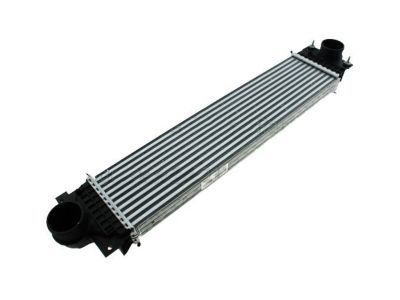
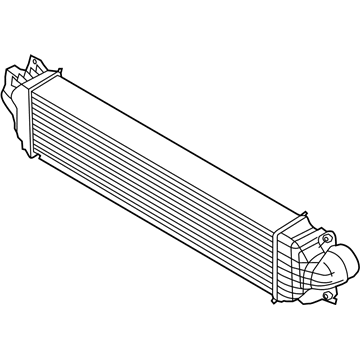
Whenever the turbocharger, intercooler, or cooler tubes are removed, always cover any opening to prevent debris from falling in, as the system is easily damaged; carefully clean all openings before reassembling. For 1.5L engines, first have the air conditioning system discharged by a dealer service department or an automotive air conditioning shop. Drain the cooling system, raise the vehicle and support it securely on jackstands, then remove the under-vehicle splash shield and the front section of the exhaust system. Remove the engine roll mount from below, the alternator, and the coolant expansion tank along with the coolant lines to the thermostat housing, securing the lines out of the way. Next, remove the air conditioning compressor, support the engine with a floor jack and block of wood under the oil pan, and carefully raise the engine just enough to take the weight off the right-side mount. Remove the right-side engine mount, move the engine about 2-3/4 inches towards the rear, and then remove the intercooler fasteners, pulling the intercooler out of the intake manifold. Inspect the seal on the rear of the intercooler and replace as necessary, then install the intercooler into the intake manifold using a gasket if needed, install the bolts, and tighten them in sequence to the torque. The remaining installation is the reverse of removal, and have the air conditioning system recharged by the shop that discharged it. For 1.6L and 2.0L engines, raise the vehicle and support it securely on jackstands, remove the under-vehicle splash shield and the splash shield below the radiator to expose the radiator lower support, then remove the radiator lower support panel. Remove the intercooler cover bolts and the cover from the bottom of the cooler, disconnect the Manifold Absolute Pressure Temperature sensor, loosen the clamps securing the inlet and outlet tubes to the intercooler, and disconnect the tubes. Remove the intercooler bolts, carefully lower the cooler down and out from under the vehicle, and installation is the reverse of removal. For the 2.7L engine, note that these models are equipped with a cooling module consisting of the radiator, air conditioning condenser, cooling fan shroud assembly, intercooler, and the transaxle cooler, which can be removed as a unit for improved access to the front of the engine compartment. Have the air conditioning system discharged by a dealer service department or an automotive air conditioning shop, then remove the radiator support panel push-pin plastic fasteners and the shield from the top and bottom. Remove the front bumper cover, the radiator guide pins, and insert plastic cable ties through the guide pin holes and the radiator support to attach the radiator support. Remove the plastic push pins from the intercooler side shrouds, the intercooler inlet and outlet pipe to-radiator mounting bolts, and disconnect the clamps at the intercooler pipes along with the electrical connector to the turbocharger boost pressure sensor. Remove the intercooler-to-lower radiator support on each end of the intercooler, the air conditioning condenser-to-radiator mounting bolts from each side of the condenser, and the active shutter grille-to-lower radiator support plastic fasteners. Remove the lower radiator support mounting bolts from under the vehicle and remove the support, active shutter grille, and intercooler as an assembly, then remove the intercooler. Installation is the reverse of removal, ensuring to tighten the lower radiator support to the torque, refill the cooling system, and have the air conditioning system recharged by the shop that discharged it.
Posted by FordPartsGiant Specialist 

