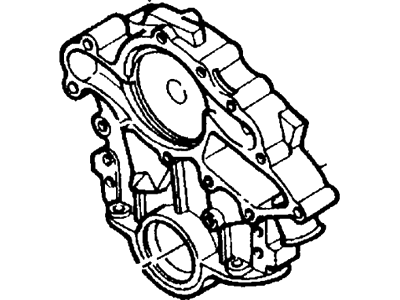
To remove the components, first drain the cooling system and disconnect the hoses, then take out the cooling fan, drive belts, and the crankshaft and water pump drive pulleys. Next, remove the bolts securing the Timing Cover to the engine block and oil pan, carefully prying the cover away from the engine block at the top without damaging the mating surface. Scrape off all gasket material and sealant from the engine block and cover mating surfaces, cleaning them with lacquer thinner or acetone. Before taking out the timing chain and sprockets, check the chain deflection by turning the crankshaft counterclockwise to take up slack on the left side, establishing a reference point to measure the distance to the center of the left run of the chain, then turning the crankshaft clockwise to take up slack in the right run, pressing the slack chain in the left run toward the center and measuring the distance again. The difference between the two measurements indicates total deflection; if it exceeds 114-inch, replace the timing chain and sprockets as a set. Rotate the crankshaft until the timing marks on the sprockets align, then remove the camshaft sprocket bolt and pull both sprockets away from the engine. If reusing the chain and sprockets, clean them in solvent and inspect for damage or wear patterns, replacing them if necessary. For installation, position the camshaft and crankshaft sprockets in the chain with the timing marks aligned, slide the sprockets onto the crankshaft and camshaft, and install the camshaft sprocket bolt, tightening it to the specified torque. Before putting on the Timing Cover, check the oil seal's condition and replace it if it is dried out or leaking. Apply RTV sealant to the new Timing Cover gasket, position it on the cover, and coat all exposed portions with sealant. Install the cover carefully, using a thin-wall socket over the crankshaft end to prevent damage to the seal, and tighten all mounting bolts to the specified torque in three or four equal steps, following a criss-cross pattern to avoid warping.
Posted by FordPartsGiant Specialist 

