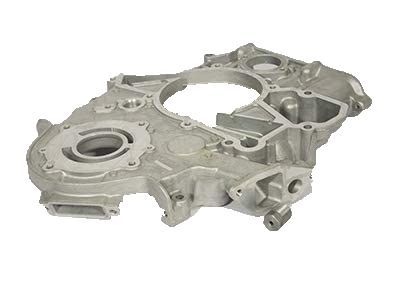
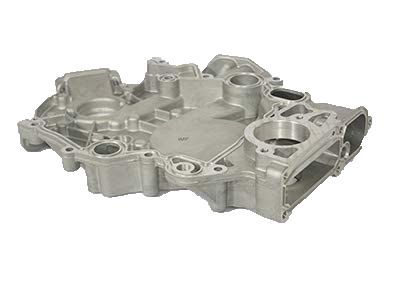
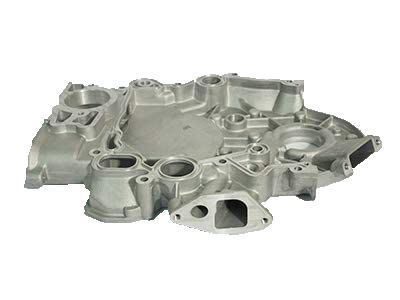
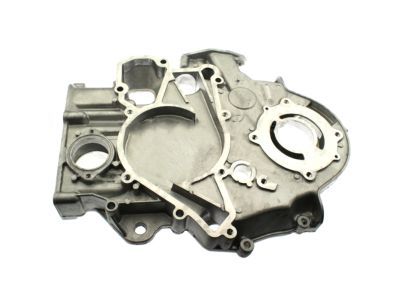
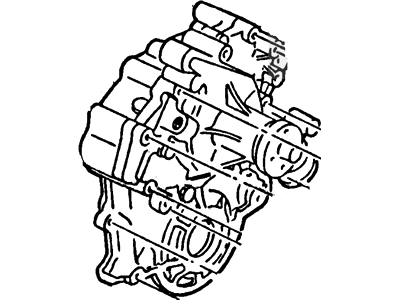
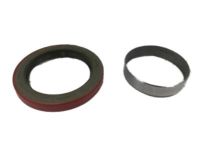
To dismantle the components, turn and plug the fuel inlet line at the fuel pump, also the fuel line at the carburetor and remove the fuel feed line from the fuel pump. Next, it is necessary to unbolt the radiator and a water pump. There are bolts and washers securing the crankshaft pulley to the vibration damper, remove the crankshaft pulley and large bolt and washer joining the vibration damper to the crankshaft. Remove the vibration damper with the help of a puller, then, if it is possible, the damper key and the crankshaft pulley spacer if it exists. Go ahead and take out the oil pan-to-front cover bolts and the timing cover retaining bolts. Trim the oil pan seal to be level with the engine block mating surface and remove the timing cover. Inspect the condition of the timing chain; measure the deflection, if found to be beyond the manufacturers requirement, replace the timing chain and sprockets. If removal is required, position the timing marks, then take out the camshaft sprocket retaining bolt together with the washer, and the eccentric of the fuel pump if there is, as well as the front oil slinger if there is any. You have to slide the timing chain and sprockets in one piece out of the way and the timing gasket cover and the oil pan seal should be removed at this time in order to clean all the gasket material. For installation, it is advisable that at the outer circumference of the additional crankshaft oil seal, coil of engine oil before the seal fits into the cover until it snaps in fully. Reconnect the timing chain and sprockets so that the timing marks match with one another, then fit the chain and sprockets on the camshaft and crankshaft to have the timing marks aligned. In the case of car with this feature, fit the oil slinger and the fuel pump eccentric, camshaft sprocket retaining bolt and washer then tighten the bolt to the required torque. Place the pan gasket on the surface of the oil pan, apply RTV sealant on the gasket surface of the oil pan, install new front cover to oil pan seal and lastly apply the RTV sealant on the four corners of the mating surfaces of the two parts. Paint the gasket surfaces of the cover and fit the new gasket; paint the surface of the block that mates with the cover with sealant. Set the timing cover on the block correctly, without rubbing front seal or misplacing any of the gasket. The cover alignment tool/harmonic balancer is used to align; it's alternatively advisable to coat the bolts' threads with RTV sealant. While holding the cover in alignment tighten the cover bolts and the oil pan-to-front cover retaining bolts to the specified torque then remove the alignment tool or punch. Put some thin oil on the crank shaft contact area of the seal, fit the crank shaft spacer if used, then fit the vibration damper. Specify the damper and its retaining bolt and washer, tightening to the amount of torque required as appropriate. Fit the crankshaft anti-vibration pulley, tighten the crankshaft anti-vibration pulley bolts. The rest of the installation is the exact opposite of removal; it means that all bolts need to be tightened to the right standard. If coolant has leaked into the oil pan during the process, then discharge the crankcase oil, remove the oil filter, replace it with the new one and then add the correct grade and quantity of oil. Lastly, crank the engine at a fast idle speed, check for any anti freeze leaks and oil leaks and ensure the engine idle speed is correct and the ignition timing is right.
Posted by FordPartsGiant Specialist 

