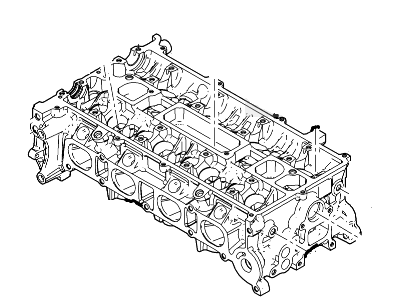
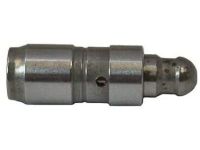
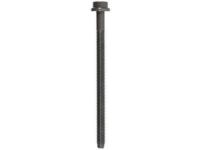
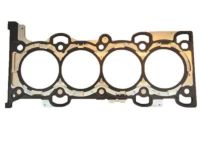
Before getting on to the removal of the cylinder head, one has to disconnect the cable of the negative terminal of the battery and then relieve the fuel pressure. Disconnect the intake air duct, air filter housing and on models equipped with charger air cooler the inlet and outlet pipes. Next, it is required to remove the alternator and to drain the cooling system. For 1.5L, 1.6L, and 2.0L models, some degree of intervention is required; the exhaust turbocharger and the coolant recharging tank must be removed. On 1.5L and 1.6L models, the timing belt needs to be removed while on 2.0L, 2.3L, and 2.5L models you remove the timing chain. Remove the sensor by disconnecting the camshaft position sensor and also the high pressure fuel pump, the high pressure fuel pump drive housing and the brake booster vacuum pump fixed on the cylinder head. The VCT solenoid valve(s) are located on the front camshaft bearing cap; unbolt and remove them, then do the same with the camshafts and lifters with the latter adhered to specific orders. You have to take off the fuel rail, injectors, have the hoses disconnected from the top of the coolant outlet housing, and then the thermostat housing can be taken off in the 2013 models and newer. Remove the crankcase vent tube coupling, the bolt that connects the tube and take off the tube on 1.5L models. The intake manifold and exhaust manifold if equipped must be removed. If what you are using to support the engine as you remove the cylinder head is an engine support fixture or a hoist which gets in the way of the cylinder head removal, then use a floor jack and a piece of wood to support the engine from below. Relax the ten cylinder head bolts gradually and by a turn for a time in the reverse order to which they were tightened and then, raise the cylinder head from the engine bay. If it is lodged in the head, be gentle when handling it, the head is made of aluminum alloy. Locator pins should be checked for in the cylinder block and the cylinder head, and should be returned to their original positions after they have been cleaned the gasket should now be discarded if it was the first removal and should be replaced. Before the head can be replaced the mating surfaces of the cylinder head and the cylinder block must be clean, which should be done with spray on gasket remover and a hard plastic or wood scraper in order to remove the gasket and the carbon. While washing it should also be a point of note that carbon gets into the oil and water ways especially for the lubrication system. It is necessary to lubricate slightly a gap between the pistons and the bores so that carbon does not pass and clog the gap; Wipe the grease. Inspect the mating surfaces for excessive nicks, deep scratches and any other damage and utilise a straight edge and micrometer feeler if any components are out of specification, seek advice from an automotive machine workshop. When preparing for installation, clean the surfaces that are to be mated so that you may put installation dowels where necessary. Make sure that the cylinder head bolt holes are not contaminated with oil or water in a bid to avoid hydraulic lock. Put on a new gasket on the surface of the cylinder block such that the 'TOP' mark is upright. The heavy cylinder is to be positioned with the help of guide studs; all new cylinder head bolts should have engine oil on their threads; then they should be tightened only by fingers. Loosen all the bolts gradually in the manner of the tightening procedures, and replace other parts in the reverse order they were removed. Last but not least, replace the engine oil and the filter and also replace the coolant in the cooling system as well.
Posted by FordPartsGiant Specialist 

