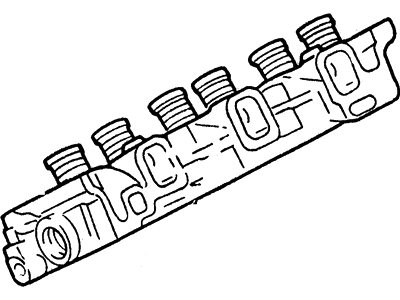
When removing the heads, the engine must be cold to minimize on warping of the heads. First, unplug the negative cable of the battery and then the drive belt with belt tensioner, and then drain the cooling system. Then to it, take off the valve cover(s), the pushrods and the rocker arms, and at last the intake manifold. For the left cylinder head, remove the bolts of the power steering pump and set it aside but retaining the hoses connected, do the same to the exhaust manifold. On supercharged models, the intercooler and its tubes should be detached, and the wiring of the alternator should be disconnected, as well as the bolts of the alternator and power steering bracket from the engine should be loosened. To get to the proper side of the cylinder head, first, remove the air conditioning compressor, if fitted, by unbolted and set aside, with the AC hoses still connected, then remove the exhaust manifold. Shake the head bolts counterclockwise in incremental turns of about 90 degrees each until they can be turned out by hand; this should be done in reverse of the turning pattern followed during the tightening sequence. Head bolts are not supposed to be used again; they have to be removed and disposed of, and new bolts used on the machine. They must be raised gently if any force is offering resistance a prybar should be placed under the head(s) against a casting protrusion and the head should be placed on blocks made of wood so as to avoid damaging the gasket sealing surfaces of the head(s). In mating the cylinder heads to the block ensure the two mating surfaces are clean as possible, you can use gasket scraper and clean with thinner or acetone. Look out for nicks or damage on any mating surfaces fit and if the require fitting a file or perhaps reconsider machining. Align the new gasket(s) in right way over the dowel pins in the block and gently place the head(s) on the block on top of the gasket(s). Apply more pipe sealant to the threads of the four short bolts and lightly lubricate the rest of the head bolts, the head bolts are not exchangeable between the supercharged and non-supercharged engines. Screw in the bolts and merely turn them clockwise until they are tight, then the use the correct pattern to turn them a further additional three times to the correct torque level. When the required torque value is achieved, turn all the head bolts by two or three turns counter clockwise and then alternately torque to the final torque value again. The following activities are the exact opposite of removal; All the remaining installation steps are the reverse of removal. Last, renew the engine oil and filter with the right kind of oil compatible with your vehicle, fill the coolant and step on the accelerator, be keen and ensure that you do not see signs of oil or coolant leakage. Once cylinder head bolts have been lightened using the above procedure, it is not imperative that they should be lightened again after long use of the vehicle though it is advisable to check on their tightness if one so wishes to.
Posted by FordPartsGiant Specialist 

