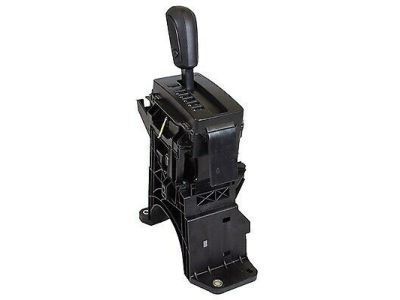
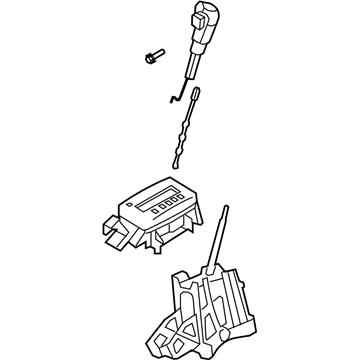
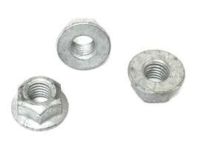
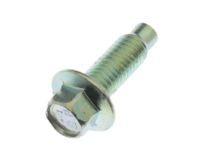
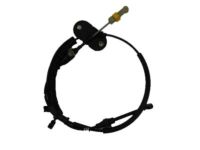
For 2004 and earlier models with a column-mounted shifter, start by disconnecting the cable from the negative battery terminal and waiting at least two minutes. Next, remove the steering wheel/airbag module, followed by the steering column covers, clock spring, multi-function switch, and ignition switch. Detach the shift cable from the steering column shift lever, disconnect the electrical connector and wiring harness, and remove the three shift lever mounting fasteners before taking out the lever. Reinstallation follows the reverse order, ensuring the Powertrain Control Module relearns its idle and fuel mixture trim strategy after reconnecting the battery. For console-mounted shifters, gently pry up the shift lever trim ring, remove the finish plate, disconnect the electrical connector, detach the shift cable from the ball stud, and remove any remaining electrical connectors. After removing the four bolts, lift the assembly out of the console, with reinstallation being the reverse of removal. For models from 2005 through 2007, disconnect the negative battery terminal, turn the key on, and place the shifter lever in Drive. Pry up the oval trim ring around the selector lever and the top trim panel from the console, disconnect the cable from the shift lever, and remove the mounting bolts to take out the shifter, with reinstallation being the reverse. For 2008 and later models, disconnect the negative battery terminal, carefully pry up the rectangular trim around the shifter, remove the interior tray from the center console, and detach the cable from the shift lever. Disconnect the wiring harness from the shifter assembly, pull the 4WD module rearward if applicable, remove the screws from the sides of the center console, and take out the shifter by removing the four mounting bolts, with reinstallation following the reverse order.
Posted by FordPartsGiant Specialist 

