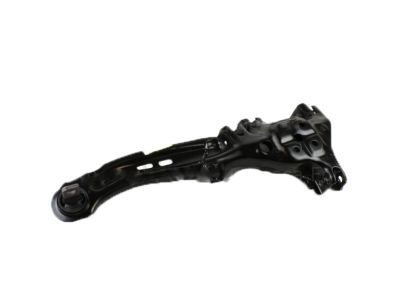
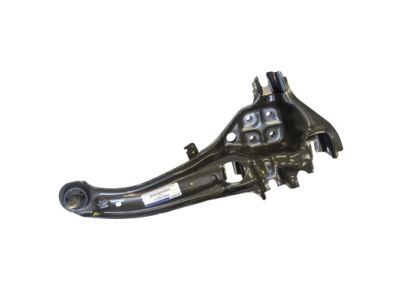
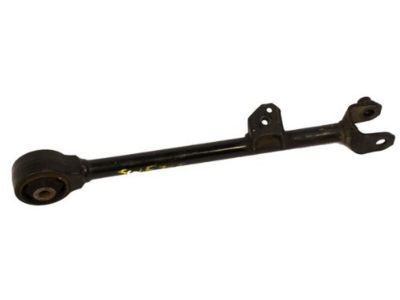
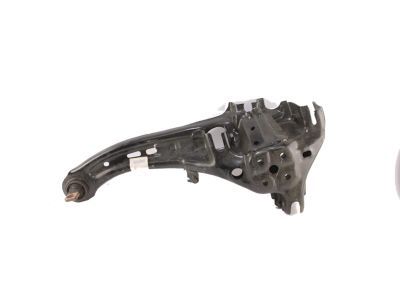
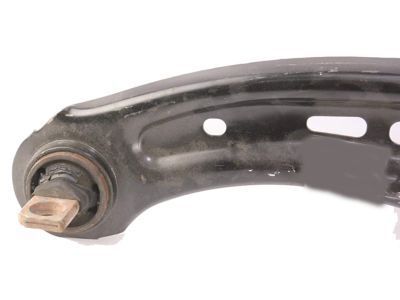
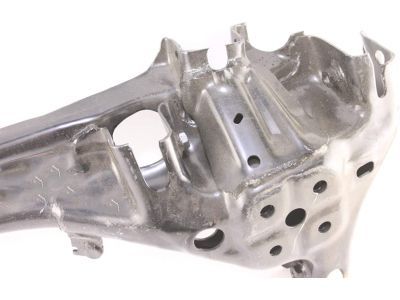
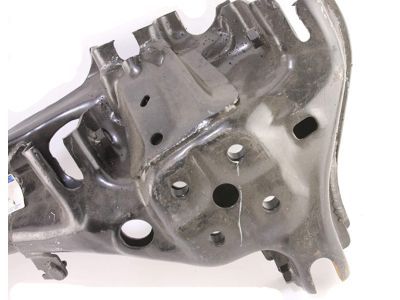
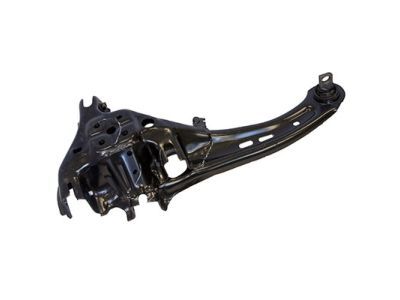
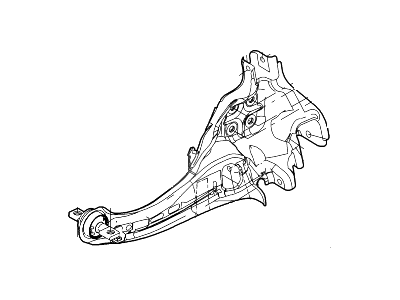
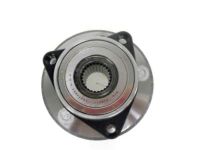
If equipped, remove the height sensor arm bracket retaining bolt and set the height sensor out of the way before working on any suspension components. Any rear suspension fasteners should be replaced with new fasteners on assembly and should only be tightened with the hub raised to a height of 15.5 inches from the hub center to the center of the fenderwell lip. Loosen the wheel lug nuts, raise the vehicle, and support it securely on jackstands. Block the front wheels to prevent the vehicle from rolling and remove the wheel. Support the rear lower control arm with a floor jack, then remove the lower shock absorber mounting bolt. Raise the lower control arm with a floor jack and remove the outboard bolt securing the upper arm to the trailing arm. Lower the jack to remove tension from the upper arm and move the shock absorber as needed to remove the upper arm. Remove the pivot bolt from the inner end of the arm and take the arm out of the vehicle. Installation is the reverse of removal, tightening the fasteners to the specified torque. Remove the rear coil spring. On 2012 and earlier models, mark the position of the cam adjuster bolt to the subframe, then remove the cam adjuster bolt and nut, and remove the lower control arm inner pivot bolt. On 2013 and later models, remove the toe-link and lower vertical arm link fasteners from the outer ends of the control arm, then remove the two bolts securing the control arm to the subframe. If a new arm is being installed, remove the caliper dust shield and the four bolts on the inboard side of the trailing arm and remove the wheel spindle; if the arm is to be reused, leave the wheel spindle bolted in place. Unbolt the brake hose and brake line brackets from the trailing arm, as well as the parking brake cable brackets from the caliper and trailing arm. Remove the ABS wheel speed sensor and unbolt the harness brackets from the trailing arm. For AWD models, remove the driveaxle. Support the lower control arm with a floor jack positioned underneath the coil spring pocket, then remove the lower shock absorber bolt. Remove the outboard toe-link bolt and the trailing arm. Remove the outboard bolt at the upper arm and the outboard bolts at the lower arm, followed by the two front trailing arm mounting bolts. Inspect the trailing arm pivot bushing for signs of deterioration; if replacement is needed, take the trailing arm to an automotive machine shop for the bushing replacement. Installation is the reverse of removal, using new fasteners during assembly, tightening all fasteners to the proper torque specifications, and checking the rear wheel alignment. Support the lower control arm with a floor jack, mark the position of the cam adjuster bolt to the subframe, then remove the cam adjuster bolt and nut and outer bolt from the link. For the lower vertical arm link, support the lower control arm with a floor jack, remove the upper and lower bolts, and take the arm link out of the vehicle. Installation is the reverse of removal, tightening the fasteners to the specified torque.
Posted by FordPartsGiant Specialist 

