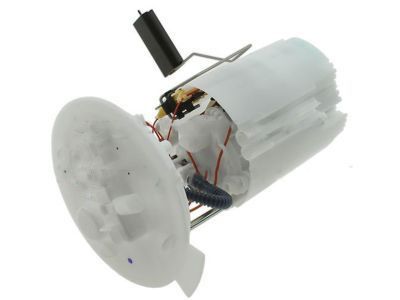
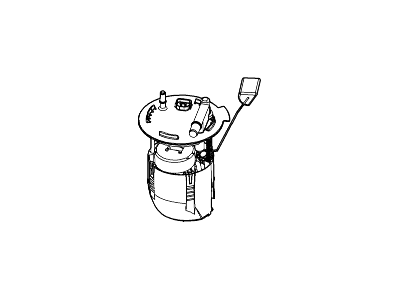
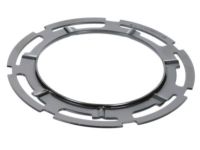
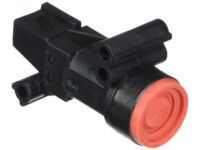
The fuel pump module, which consists of the fuel pump, fuel level sending unit, and fuel filter, is located on the passenger's side of the fuel tank, with the fuel level sending unit being the only serviceable component. To begin, relieve the fuel system pressure and disconnect the cable from the negative battery terminal. Next, remove the rear seat cushion and disconnect the electrical connector from the fuel pump module, along with the fuel feed line and vapor control line. For all-wheel drive models, raise the rear of the vehicle securely on jackstands, remove the driveshaft, disconnect the quick-connect fitting at the fuel tank jumper line, and remove the EVAP canister. Support the fuel tank with a floor jack and wood plank, or a jack equipped with a transmission adapter head, then remove the bolts from the front of the fuel tank straps and lower the front of the tank just enough to remove the fuel pump module shield. After removing the shield, raise the tank and temporarily install the fuel tank strap bolts. Remove the pump module lock ring using a lock ring removal tool or large water pump pliers, then carefully pull the fuel pump module out of the tank to disconnect the fuel vapor hose quick-connect fitting and separate the hose, lifting the module out completely while angling it to protect the fuel level sensor float arm. Inspect the O-ring and replace it if any deterioration is noted, with installation being the reverse of removal. For the fuel level sending unit, remove the fuel pump module, press the locking tab inwards, and slide the fuel level sender off the sensor, with installation also being the reverse of removal. In AWD models, which have a saddle-shaped fuel tank with two fuel level sensors, one on the fuel pump module and the other on the driver's side, remove the rear seat cushion, unscrew the lock ring, pull the fuel level sensor out of the tank, disconnect the fuel hose quick-connect fitting, and lift the module out while protecting the float arm. Again, inspect the O-ring for deterioration and follow the reverse procedure for installation.
Posted by FordPartsGiant Specialist 

