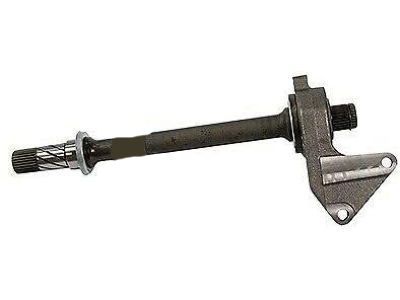
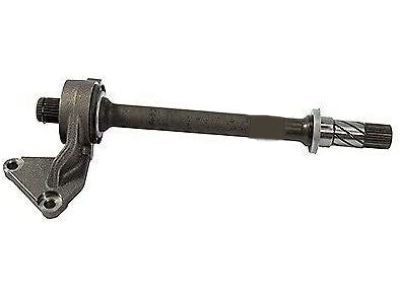
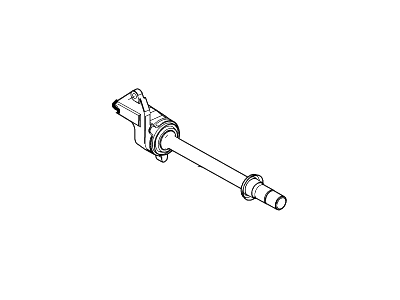
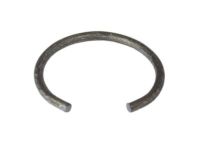
Loosen the wheel lug nuts, raise the vehicle, and support it securely on jackstands before removing the wheel and the pushpins securing the splash apron in the fenderwell. With an assistant applying the brakes, remove the axle shaft/hub nut and separate the lower control arm(s) from the steering knuckle. Remove the brake caliper and wire it aside to relieve tension on the flexible brake hose, then disconnect the brake hose tab from the steering knuckle. If equipped, remove the front height sensor arm bracket retaining bolt and set the height sensor aside. Remove the wheel speed sensor and set it aside. For 2012 and earlier models, detach the damper fork from the lower control arm. Use a hub driver to push the outboard end of the axle shaft from the steering knuckle, swinging the knuckle/hub assembly out until the axle shaft is free. If removing the right axle shaft, carefully pry the inner CV joint off the intermediate shaft; for the left axle shaft, pry the inner CV joint out of the transaxle, taking care not to damage the differential seal. Support the CV joints and remove the axle shaft from the vehicle. Pry the old spring clip from the inner end of the axle shaft or outer end of the intermediate shaft and install a new one, lubricating the differential or intermediate shaft seal with multi-purpose grease before raising the axle shaft into position. Ensure the spring clip is positioned with the opening facing down for easier insertion. Push the splined end of the inner CV joint into the differential or onto the intermediate shaft, ensuring the spring clip locks in its groove. Apply a light coat of grease to the outer CV joint splines, pull out on the steering knuckle assembly, and install the axle shaft into the hub. Reconnect the lower control arm(s) to the steering knuckle and tighten the fasteners to the specified torque. For 2012 and earlier models, reinstall the bottom of the damper fork to the lower control arm using new fasteners. Install a new axle shaft/hub nut and tighten it to the specified torque. Grasp the inner CV joint housing and pull out to ensure the axle shaft is seated securely. Install the wheel and lug nuts, lower the vehicle, and tighten the lug nuts. Install the hub cap or wheel cover. For AWD models, block the front wheels, loosen the wheel lug nuts, raise the rear of the vehicle, and support it securely on jackstands before removing the wheel. With an assistant applying the brakes, remove the axle shaft/hub nut, disconnect the ABS harness nut, and support the lower control arm with a jack. Unbolt the upper arm from the steering knuckle and the shock absorber lower bolt, then remove the four mounting nuts securing the toe link bracket. Follow the previous steps to remove the rear axle shaft, prying the inner end out of the differential. Pry the old spring clip from the inner end of the axle shaft and install a new one, applying grease to the area where the seal rides before inserting the splined end into the differential, ensuring the spring clip locks in its groove. Apply grease to the outer CV joint splines, pry the trailing arm outward, and insert the outer end of the axle shaft into the hub. Complete the installation in reverse order, installing a new axle shaft/hub nut and tightening it to the specified torque, followed by the wheel and lug nuts, lowering the vehicle, and tightening the lug nuts before installing the wheel cover or hub cap.
Posted by FordPartsGiant Specialist 

