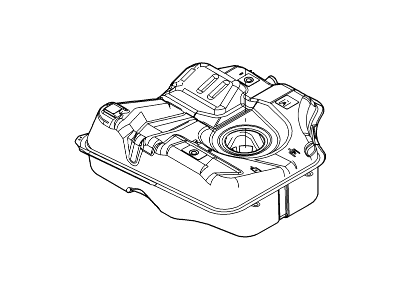
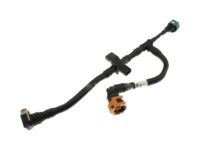
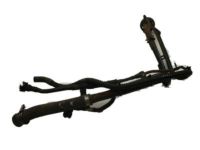
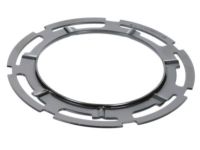
Begin the removal process by running the fuel level as low as possible. Then, relieve the residual pressure in the fuel system, and equalize tank pressure by removing the fuel filler cap. Disconnect the negative battery cable. Using a siphoning kit, siphon the fuel into an approved gasoline container. Chock the front wheels, loosen the rear wheel nuts, then jack up the rear of the car and support it on axle stands. Remove the rear wheels. On models with an interfering exhaust system, unscrew and remove the nuts at the exhaust flange behind the flexible section of pipe at the front, and separate the joint. Have an axle stand or similar support ready for the front part of the exhaust. Unscrew and remove the fasteners securing the exhaust heat shield at the rear; remove the heat shield, noting its installation. Unhook the exhaust system mounting rubbers at the front and rear, and allow the exhaust system to rest on the rear suspension cross member, and at the front, on an axle stand or similar. Loosen the clamps and disconnect the filler pipe and vent hose from the fuel tank. At the charcoal canister at the rear of the tank, pull off the vapor hose at the base, and release the fitting from the hose at the side. Depress the metal clip used to locate the charcoal canister, then lift the canister upwards to free it from the clip, and remove it from under the car.Position a container beneath the fuel filter, then disconnect the fuel supply hose from the filter intake by prying out the insert to release the fitting. Be prepared for some loss of fuel. Disconnect the fuel return line at the connector next to the fuel filter. Note that the return pipe is identified by a red color band. On 2005 and later models, the system is "returnless" and does not have a return fuel line.Remove the bolts securing the heat shield, if equipped, to the fuel tank straps. Support the fuel tank using a floor jack and block of wood. Unscrew and remove the tank strap bolt and unhook the straps, noting their installation. Partially lower the fuel tank, taking care not to strain the wiring and fuel lines. When the tank has been sufficiently lowered, disconnect the fuel pump/gauge sender wiring plug from the top of the tank. Lower the fuel tank and withdraw it from under the vehicle. If necessary, disconnect the supply hose from the fuel pump. The filter may also be removed at this time.While removed, the fuel tank can be inspected for damage or deterioration. A partial inspection of the interior is possible after removal of the fuel pump/fuel gauge sender unit. If the tank is contaminated with sediment or water, rinse it out with clean fuel. Do not undertake any repairs on a leaking or damaged fuel tank; this work must be carried out by a professional. While the fuel tank is removed from the vehicle, it should be placed in a safe area where sparks or open flames cannot ignite the fumes coming out of the tank. Check the condition of the filler pipe and replace it if necessary. If a new tank is being installed, transfer the roll-over valves, vent hose, and filler pipe to the new tank. Installation is a reversal of the removal procedure. Ensure all connections are securely fitted. When replacing the quick-release couplings, press them together and secure with the colored insert. If evidence of contamination was found, do not return any previously-drained fuel to the tank unless it is carefully filtered first.
Posted by FordPartsGiant Specialist 

