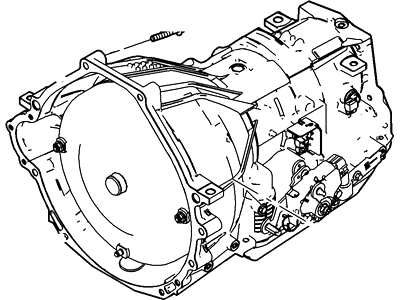
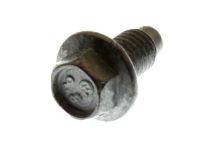
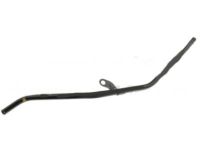
Put the manual shift lever in the NEUTRAL position and disconnect the cable from the negative-terminal of the battery. Raise the vehicle and support it securely on jackstands. Drain the transmission fluid and then reinstall the fluid pan. Remove the fuel line bracket near the exhaust system and all exhaust components that will interfere with transmission removal, including the exhaust pipe heat shield(s). Remove the shift cable from the transmission and the inspection cover at the bottom of the bellhousing. Remove the rubber plug at the left rear of the engine block, marking the relationship of the torque converter to the driveplate for reinstallation. Remove the driveplate-to-torque converter nuts, discarding them for replacement during installation. Remove the starter motor and the driveshaft(s). For 4WD models, remove the skidplate and transfer case. On specific models, disconnect the transmission oil cooler lines from the transmission, and remove the mounting bolt on the cylinder head to take out the transmission dipstick tube. Disconnect the electrical connectors from the upstream and downstream oxygen sensors, the transmission speed sensor, the output shaft speed sensor, the Digital Transmission Range sensor, and the solenoid body assembly. Place a floor jack under the engine with a wood block between the jack head and the engine oil pan, and secure the transmission to a jack with safety chains. Remove the bolts attaching the exhaust hanger and the transmission mount to the crossmember, then raise the transmission slightly to take the weight off the crossmember and remove the center nuts and outer bolts to take out the crossmember. Remove the nuts or bolts attaching the transmission isolator mount to the transmission, then take out the isolator mount. On V6 models, remove the oil pan-to-transmission bolts. Remove the transmission-to-engine bolts, noting the length and location of each for correct reassembly. Check that all wires have been disconnected from the transmission, then move the transmission and jack toward the rear of the vehicle until the torque converter is separated from the driveplate, securing the torque converter to the transmission. Before installation, ensure the torque converter is securely engaged in the pump, applying a small amount of transmission fluid on the torque converter rear hub if removed. Install the torque converter onto the front input shaft of the transmission while rotating it back and forth, ensuring it engages in stages. To confirm full engagement, lay a straightedge across the transmission-to-engine mating surface and ensure the converter lugs are at least 3/4-inch below it. With the transmission secured to the jack, raise it into position, keeping it level to prevent the torque converter from falling out. Turn the torque converter to align the holes with the driveplate, ensuring the marks made earlier line up. Move the transmission forward carefully until the dowel pins on the engine engage with the holes on the transmission, ensuring no gap exists. Install and tighten the transmission-to-engine bolts, ensuring complete mating at all points without forcing them together. On V6 models, install the oil pan-to-transmission bolts and torque them. Attach the exhaust pipes to the exhaust manifolds, followed by the fuel line bracket and exhaust pipe bracket, tightening all bolts and nuts securely. Install the transmission mount and crossmember, tightening the bolts and nuts securely, then install the heat shield bolts. Remove the jacks supporting the transmission and engine, plug in the heated oxygen sensor connectors, and for specific models, attach the transmission oil cooler lines to the transmission, installing new O-ring seals as necessary. Attach the shift cable to the manual lever, install the torque converter nuts and tighten them, then install the transmission inspection cover and tighten the bolts securely, followed by the rubber access plug. Install the starter motor, transmission dipstick tube, and for 4WD vehicles, the transfer case. Install the driveshaft(s), remove jacks and jackstands, lower the vehicle, connect the transmission electrical connectors, attach the negative battery cable, and fill the transmission with the specified fluid, running the engine to check for leaks.
Posted by FordPartsGiant Specialist 

