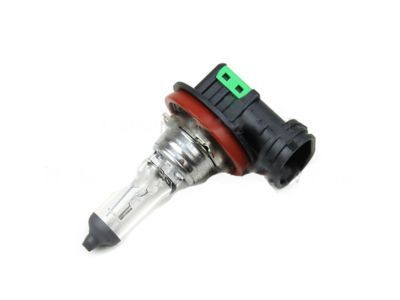
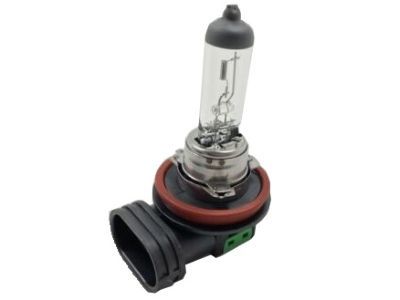
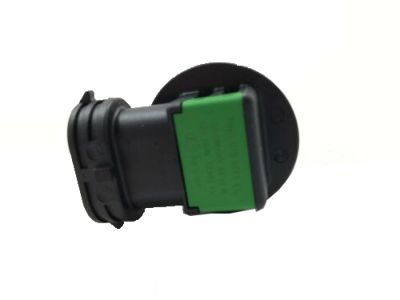
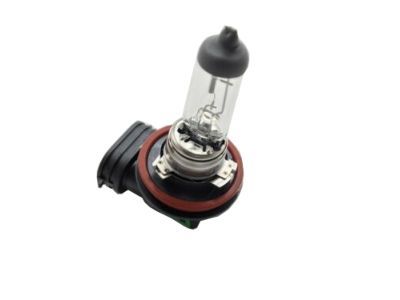
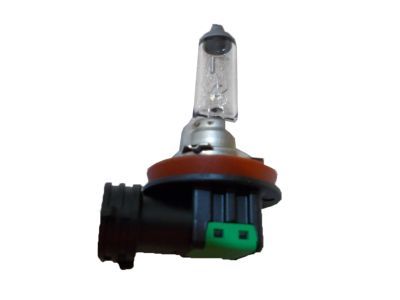
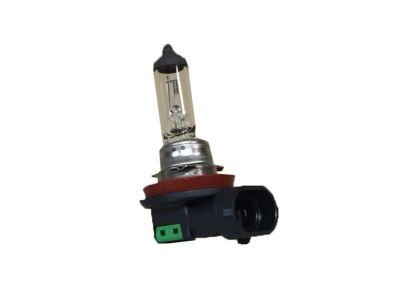
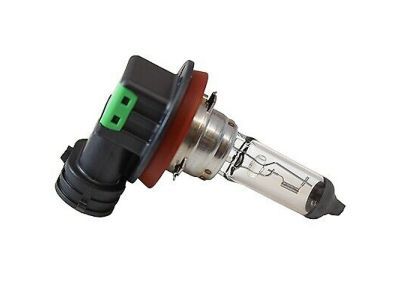
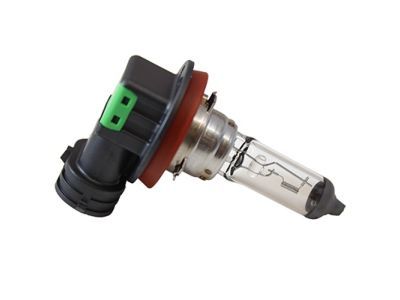
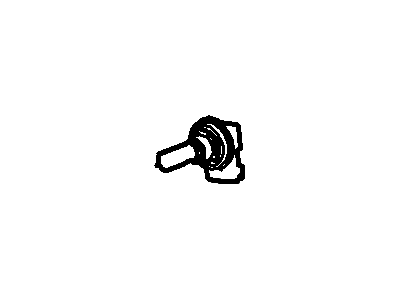
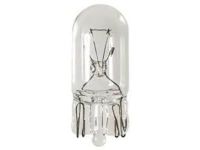
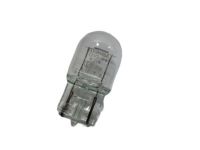
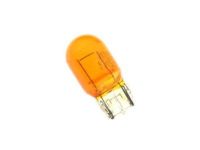
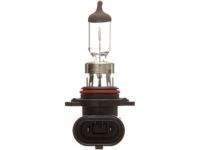
To access the right parking light bulb on 2006 through 2009 models, turn the steering wheel all the way to the left, then remove the bulb access cover screw and the cover. For the left parking light bulb on 2010 through 2012 Milan and 3.5L Fusion models, remove the air filter housing and the filter housing air inlet duct. To access the right parking light bulb on 2010 through 2012 Milan and Fusion models, remove the four pin-type retainers and push the fender splash shield aside. On 2013 and later models, the headlight housing must be removed to access the bulbs. Turn the bulb holder counterclockwise and remove it from the headlight housing without disconnecting the electrical connector. To remove the bulb, pull it straight out of the holder, and installation is the reverse of removal. For front sidemarker light bulbs on 2006 through 2009 models, raise the vehicle, then remove the bulb access cover screw and cover in the fender splash shield. The horizontal sidemarker housing is secured to the bumper cover by two tabs; squeeze these tabs together, then rotate the bulb holder counterclockwise and pull it out. On 2010 and later models, the vertical sidemarker housing is secured by a tab and a locator pin; remove the nut, disengage the locator pin and tab to remove the sidemarker housing. Rotate the bulb holder counterclockwise 1/4-turn and pull it out of the housing without disconnecting the electrical connector. To remove the bulb, pull it straight out of the bulb holder, and installation is the reverse of removal. For fog light bulbs, raise the front of the vehicle and remove the four fasteners to pull back the inner fender splash shield below the fog lamp. Disconnect the fog light bulb electrical connector, then rotate the bulb counterclockwise and pull it out of the fog lamp housing. To install the new fog light bulb, insert it into the fog light housing and turn it clockwise to lock it into place, with installation otherwise being the reverse of removal. Puddle lights, located in the outside mirrors, require angling the mirror glass down, pulling it out to disengage the locking tabs, and if heated, disconnecting the electrical connector. Release the puddle light housing tab and remove it, then rotate the puddle light bulb socket to release it from the housing. Remove the bulb from its socket and install a new bulb, then insert the socket into the housing and rotate it until it clicks into place. Install the puddle light housing in the mirror, ensuring it snaps into place, and reconnect the electrical connector if heated. For the center high-mounted brake light bulb on 2006 through 2009 models, disconnect the electrical connector from inside the luggage compartment, rotate the bulb holder counterclockwise, and pull it out. To replace the bulb, pull it straight out of the bulb holder, with installation being the reverse of removal. For 2010 and later models, disconnect the electrical connector, push the high-mounted brake light housing to disengage the front mounting tabs, lift it to disengage the rear tabs, and remove it. No further disassembly is possible as the LEDs are integral to the housing. For spoiler-mounted high-mounted brake lights on 2010 and later models, remove the rubber access covers, screws, pull down the housing, and disconnect the electrical connector. For trunk lid-mounted high-mounted brake lights on 2010 and later models, remove the trim panel and mounting nuts, disconnect the electrical connectors, and release the tabs to remove the high-mounted brake light. For roof-mounted high-mounted brake lights on 2013 and later models, carefully remove the trim around the rear window, pull down the headliner, and remove the mounting nuts to take out the high-mounted brake light. For taillight bulbs, fold back the trunk floor carpeting, reposition the flexible trunk side trim panel, rotate the taillight bulb socket counterclockwise to remove it, and pull the bulb straight out. For license plate light bulbs, remove the lens screws and bulb, then install the new bulb in reverse order. For interior front or rear overhead light bulbs, carefully pry off the overhead lens, pull the bulb straight out of its socket, and installation is the reverse of removal.
Posted by FordPartsGiant Specialist 

