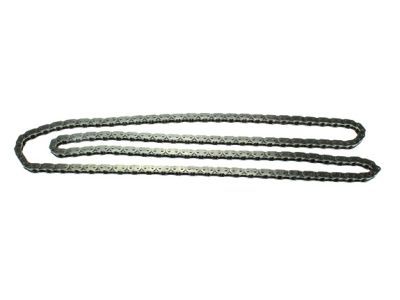
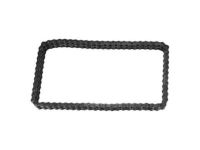
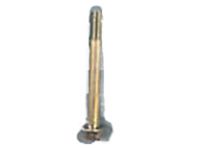
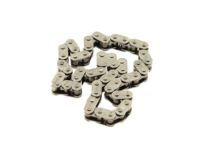
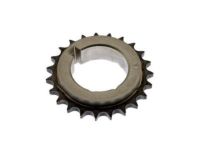
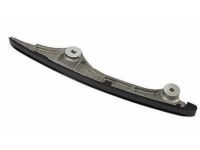
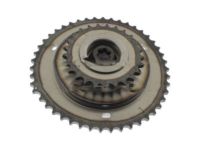
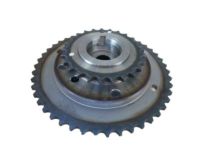
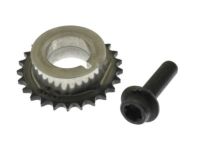
To take out the timing cover, then turn off the engine and release the fuel rail pressure and unbuckle the negative terminal of the battery. Remove the water pump pulley bolts, next to the drivebelt and idler pulley you should remove the water pump pulley. After that, stand off the fuel injection high pressure pump and housing in addition to the crankshaft pulley and remove the valve cover so that the engine will stay at TDC. Pull the Crankshaft Position sensor electrical connector and then unbolt the sensor and finally position it with the help of special tool no. 303-1521. On any car of the 2014 model and previous years, unscrew the fastener and remove the bracket of the power steering hose from the bottom of the cover and then with the assistance of any attached stand raise up the engine to a level which will permit you to remove the right engine mount. For 2015 through 2018 models, loosen the turbocharger vacuum control valve bracket nut and harness retainer and push the assembly aside. On 2014 and earlier models, free the power steering pump and take it to the side without detaching the hoses, then, remove the power steering pump bracket bolts and the bracket itself. Take out the crankshaft front oil seal, all the bolts, stud bolts and the timing cover. Removal is performed with similar procedures but in reverse order, cleaning the mating surfaces of all sealant, attaching the crankshaft position sensor with alignment tool no. 303-1521 but not tightening the sensor mounting bolt until the tool is in place, installing new front crankshaft oil seal, tightening the bolts in sequence to torque specification in a definite time period after applying 2.5 mm bead of RTV sealant to the engine cover. To remove the timing chain and the tensioner, the timing cover should be pulled off, the timing chain tensioner compressed so that it can be held with a pin which will ensure that only the round plunger is compressed and not the ratchet mechanism. There are instances that it requires resetting if it is jammed, to reset the ratchet, you temporarily and gently place the tensioner in a vise, release the tension on the ratchet mechanism and then you put back the tensioner. The next step is to take off the two tensioner mounting bolts and this also gives ways to the tensioner and finally the loose timing chain guide and the timing chain. The left chain guide and camshaft sprockets can be unbolted in case of need, and if the camshaft alignment tool was applied before, it is to be withdrawn at this stage. Lose both the camshaft phaser and sprocket bolts but do not remove them. Tighten the nut of hexagonal area of the camshaft using a wrench and simultaneously turning the camshaft sprocket bolt. To install, do not rotate the camshafts during the process, then reinstall the LH chain guide if it was removed, and then the timing chain, and the RH chain guide. Place the timing chain tensioner, and tighten the bolt on the tensioner to lock it in position and then remove the pin that provides pressure to the tensioner. After engaging these areas, insert the camshaft alignment tool and while using a wrench to hold the camshafts, tighten the camshaft sprocket bolts. Lastly, there is the timing cover, the fuel injection pump housing and this must have the camshaft bearing lobe in the lowest position, and other parts installed vice-versa.
Posted by FordPartsGiant Specialist 

