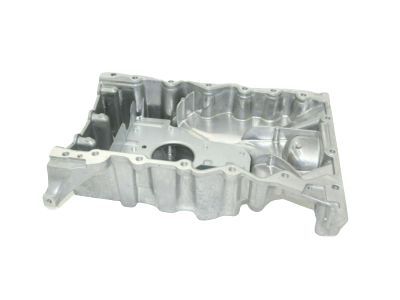
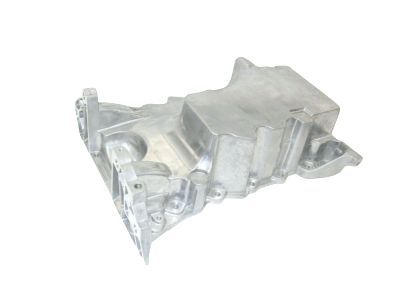
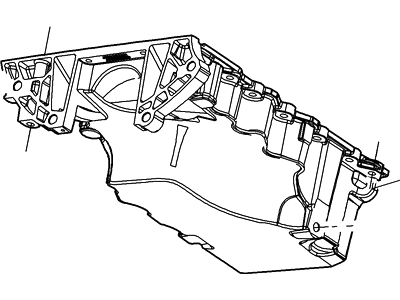
To remove the components, first raise the vehicle and support it securely on jackstands. Drain the engine oil and clean and install the engine oil drain plug, tightening it to the specified torque. Remove and discard the oil filter for replacement. For 2013 and later models, take out the battery and battery tray, as well as the air filter inlet tube and filter housing. Remove the lower engine splash shield fasteners and splash shield, then the skid plate fasteners and plate if equipped. Detach the crossover and Y-pipe and converter assembly from the vehicle. For 3.0L engines, remove the catalytic converter support bracket fasteners and bracket, while for 3.5L engines, remove the nut and stud from the alternator. Slightly move the transaxle back from the engine, supporting the engine from above and the transaxle with a floor jack, then loosen the necessary mounting bolts. Caution is advised not to move the transaxle back more than 0.20 inch (5 mm) to avoid damage. For 3.5L engines, remove the transaxle roll restrictor mount through bolts and mount, then for All-Wheel Drive models, remove the right exhaust manifold-converter and the power transfer unit support bracket fasteners and bracket. Remove the air conditioning compressor without disconnecting the lines and take out the compressor stud from the oil pan side. Remove the driveplate inspection cover fasteners and cover, then for 3.5L engines, take out the upper and side bellhousing-to-engine bolts, the engine-to-bellhousing bolt, and the oil pan-to-bellhousing bolts, along with the timing chain cover-to-oil pan fasteners. Use a screwdriver to pry between the engine and transaxle until the bellhousing has moved away from the block to the limit of the loosened bolts. Remove the oil pan fasteners and the oil pan itself, noting the number of mounting bolts for different engine models. Clean the mating surfaces of the pan, engine, timing chain cover, and transaxle thoroughly to remove all traces of RTV sealant. For installation, apply a bead of RTV sealant at the necessary junctures and around the oil pan's mounting surface before installing the oil pan. Tighten the bolts in sequence to the specified torque, then install and tighten the pan-to-transmission bolts and all fasteners loosened earlier. Complete the installation by tightening all fasteners to the specified torque values, replacing any self-locking nuts disturbed during removal, filling the engine with fresh oil, and installing a new filter before starting the engine and checking for leaks.
Posted by FordPartsGiant Specialist 

