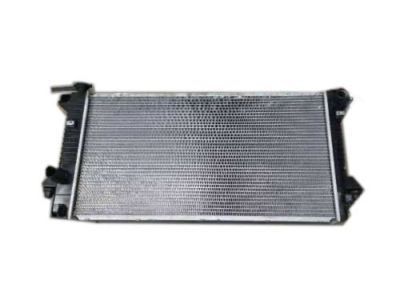
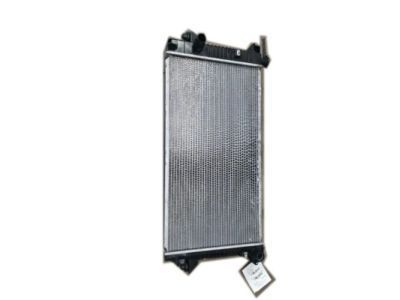
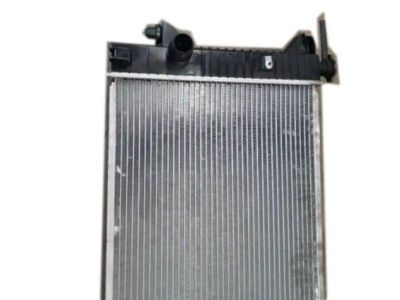
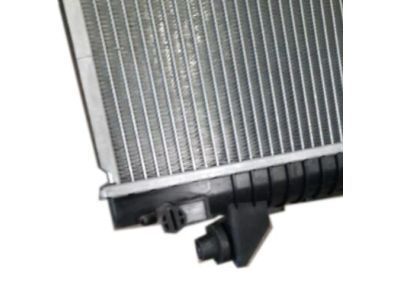
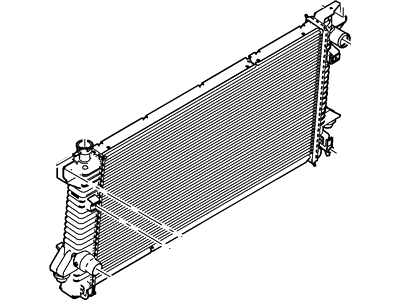
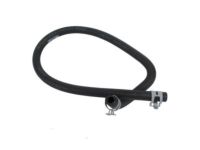
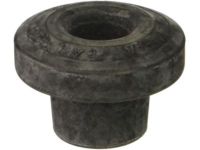
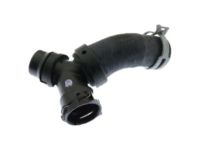
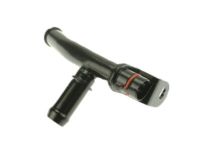
A special tool, available at most auto parts stores, is necessary to disconnect the transmission oil cooler lines from the radiator. For 2009 and later models, have the air conditioning system refrigerant discharged and recovered by a licensed technician. Drain the cooling system, saving and reusing coolant if it is relatively new and in good condition. For 2004 through 2008 5.4L engine models, remove the inlet duct to the air cleaner housing, while for 2004 through 2008 4.6L engine models, remove the air cleaner housing. On all 2009 and later models, remove the coolant expansion tank/air filter lower housing. Disconnect the upper and lower radiator hoses and the expansion tank hose from the radiator, using hose clamp pliers or regular pliers to loosen the clamps. On 2011 and later models, the lower radiator hose is attached with a spring clip, which should be pried up to remove the hose. If any hose is stuck, use adjustable pliers to twist and break the seal. Remove the cooling fan(s) and fan shroud, and for 2011 and later models with a power steering cooler, separate the power steering fluid hoses from the cooler. From below, remove the pushpins and quarter-turn fasteners to take off the lower air deflector. For 2009 and later models, disconnect the hose from the power steering cooler and remove the bolt and nut securing the upper and lower air conditioning condenser fittings, discarding old gasket seals and O-rings. Release the retainers from the air deflectors and remove them. For models with automatic transmissions, disconnect the oil cooler lines from the radiator using the special tool. If replacing the radiator, ensure the new one has the same type of line fitting. Disconnect the electrical connector from the horn and detach the retainers for the ambient temperature sensor and wiring harness. For 2004 through 2008 models, remove the radiator mounting brackets and insulators. For 2009 and later models, remove the upper mounting bracket bolts and lift the condenser and radiator out as a single assembly, disconnecting the transmission fluid cooler hoses and releasing the lock tabs to separate the radiator from the condenser. On 2011 and later models, pull the condenser assembly forward to separate it from the radiator and remove the bolts securing the top of the radiator to the support. Carefully lift the radiator from the engine compartment, ensuring not to spill coolant or scratch the paint, and return any rubber insulators to their original positions during installation. Clean the radiator with compressed air and a soft brush, inspecting for leaks and damage, and have repairs done if necessary. Inspect the rubber insulators for cracks and dirt before installing the radiator, ensuring it is correctly seated on the insulators before fastening the top brackets. Installation is the reverse of removal, followed by filling the cooling system with the correct mixture of antifreeze and water, and reconnecting the battery. Start the engine to check for leaks, allowing it to reach normal operating temperature, and recheck the coolant level, adding more if required. For models with an automatic transmission, check and add ATF fluid as needed.
Posted by FordPartsGiant Specialist 

