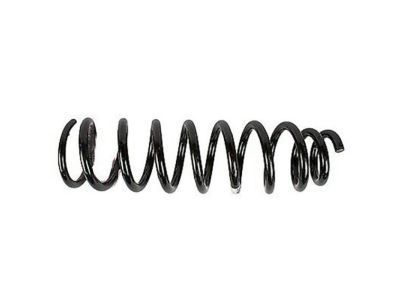
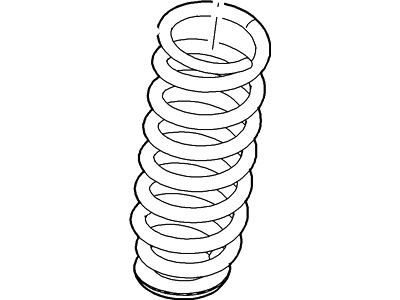
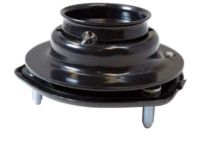
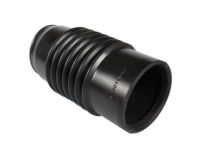
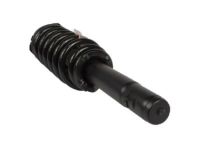
The manufacturer recommends replacing all fasteners with new ones during installation. To begin removal, loosen the wheel lug nuts, raise the vehicle, and support it securely on jackstands before removing the wheel. Unbolt the brake hose bracket from the shock absorber, remove the ABS speed sensor, and detach the wiring harness by removing the clamp bracket bolt. If equipped, remove the front height sensor arm bracket retaining bolt and set the height sensor aside. For 2012 and earlier models, detach the stabilizer bar link from the damper fork; for 2013 and later models, detach the link from the strut, using an Allen wrench to hold the ballstud if it spins while loosening the nut. Support the steering knuckle with a floor jack. For 2012 and earlier models, remove the bolt and flag nut securing the damper fork to the lower control arm; for 2013 and later models, remove the nuts and bolts securing the strut to the steering knuckle. For 2012 and earlier models, remove the pinch-bolt securing the damper fork to the bottom of the shock absorber, tapping the fork with a hammer if necessary. In the engine compartment, mark the relationship of the outer mounting stud to the body, support the shock absorber/coil spring assembly, and remove the three upper mounting nuts. Lower the knuckle to allow room to remove the assembly, being careful not to overextend the inner CV joint. Inspect the shock body for leaking fluid, dents, cracks, and other damage that would warrant replacement, and check the coil spring for chips or cracks in the coating, inspecting the spring seat for cuts and deterioration. If any undesirable conditions exist, proceed to the shock absorber/coil spring disassembly procedure. For installation, guide the assembly up into the fenderwell, align the previously made matchmarks, and insert the upper mounting studs through the holes in the body, installing new nuts to prevent the assembly from falling back through. For 2012 and earlier models, push the damper fork onto the bottom of the shock body, install a new pinch-bolt without tightening it, align the bottom of the damper fork for the new bolt to secure it to the lower control arm, and use the jack to position the steering knuckle to approximate normal ride height before tightening the fork bolts to the torque. For 2013 and later models, tilt the steering knuckle outwards, align the strut with the knuckle, and push the knuckle into the strut to insert the new bolts through both components, then tighten the mounting bolts/nuts to the torque. Connect the stabilizer bar link to the damper fork or strut and tighten the nut to the torque. The remainder of installation follows the reverse order of removal. Finally, install the wheel and lug nuts, lower the vehicle, tighten the lug nuts to the torque, tighten the upper mounting nuts to the body, and drive the vehicle to an alignment shop for a front end alignment check and adjustment if necessary.
Posted by FordPartsGiant Specialist 

