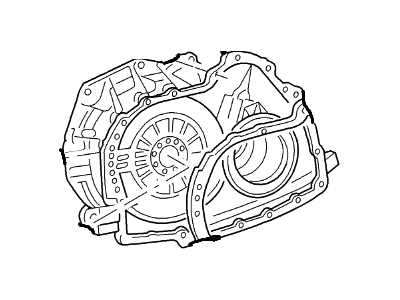
If you're working on four cylinder models up to the year 2004, first of all, loosen the right front wheellug nuts, turn the on front of your car, support it while with jackstands and then remove the wheel. Pull the front part of the driveshaft with a nut, and then fix it with wire; after this, remove the right driveaxle and the intermediate shaft. Then unbolt the crossmember by pulling the four bolts out, next to take out the four transferring crossmember bolts after that release the upper two mounting nuts and two lower mounting bolts on the right side of the transfer case. In order to disassemble, reverse these steps, and ensure that a brand new O-ring seal fits in its hole, tighten the driveshaft & transfer case fasteners to the prescribed torque, check if the transfer case is refilled with the right fluid and finally tighten the wheel lug nuts. For the models tagged V6, you will first have to open the wheel cover or hub cap, then the hub nut and finally the wheel lug nuts. Fast procedures are similar to the ones described above, only in reverse order; unbolt driveshaft, right driveaxle, intermediate shaft, crossover exhaust pipe, rear exhaust manifold; crossmember, alternator, transfer case bracket and mounting bolts while the vehicle is supported. The transfer case can then be used, and removal and installation are the reverse with special attention paid on the O-ring seal and torque latter. For models from 2005 through 2008: Lift up the car /roadster, drain all the transfer case fluid, remove the crossmember brace,or driveshaft and for the manual transaxle models the mounting bolts and nuts must be removed, clean the front stud in case it is dirty and finally pull the transfer case forward to get it off, and when reassembling replace the O-ring. For the automatic transaxle models, right driveaxle, exhaust manifold, heat shield and the mounting bracket have to be eliminated, the vent tube had to be disconnected, transfer case has to be pulled off and the O-ring has to be replaced during the reassembly process. For the new models starting from 2009, the process starts with lifting the car and draining the ttansfer case fluid, then you pull the drive shaft and crossmember brace, then the right drive axle, exhaust manifold, heat shroud, and mounting bracket, then pulling the vent tube before finally pulling the transfer case, For installation, the process is simply reversed and one replaces the O-ring before tightening the fasteners to the correct torque values.
Posted by FordPartsGiant Specialist 


