Make sure this part fits

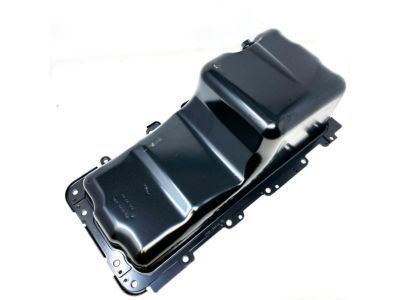
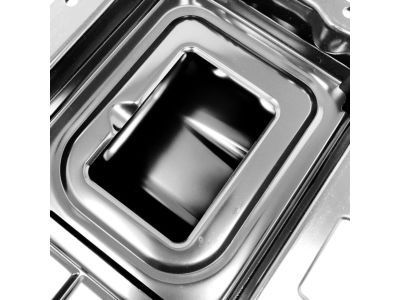
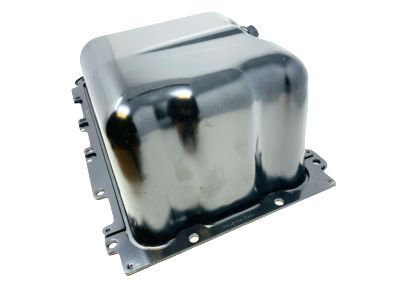
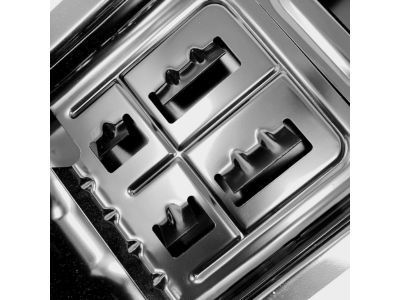
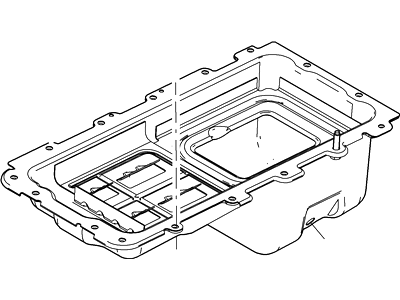
Mercury 3W7Z-6675-BC Pan Assembly - Engine Oil

2003-2011 Mercury Grand Marquis 3W7Z6675BC

Customer Questions & Expert Answers (5)
Ford 3W7Z-6675-BC Pan Assembly - Engine Oil
  • Part Description
    Pan Assy - Engine Oil
  • Base No.
    6675
  • Replaces
    3W7Z-6675-BB
  • Manufacturer
    Ford
Make sure this part fits
$75.47 MSRP: $110.33
You Save: $34.86 (32%)
1
ADD TO CART
  • Related Parts
  • Product Specifications
  • Vehicle Fitment
  • Customer Questions & Expert Answers
  • Product Specifications

    BrandGenuine Mercury
    Base No.6675
    Manufacturer Part Number3W7Z-6675-BC, 3W7Z6675BC
    Part DescriptionPan Assy - Engine Oil
    Other NamesOil Pan
    Item Dimensions8.7 x 22.5 x 12.4 inches
    Item Weight12.30 Pounds
    ConditionNew
    Fitment TypeDirect Replacement
    Replaces3W7Z-6675-BB
    ManufacturerFord
    SKU3W7Z-6675-BC
    WarrantyThis genuine Ford part is guaranteed by Ford's factory warranty.
    Shipping & ReturnShipping Policy Return Policy
    Warning: California’s Proposition 65
  • Vehicle Fitment

    Year Make Model Engine Important vehicle option details
    2003-2011 Mercury Grand Marquis8 Cyl 4.6L, 8 Cyl 4.6L Romeo SOHC EFI4-Speed Automatic Transmission 4R75E Livonia, 4AT 4R70W, Left Hand Drive, Rear-Wheel Drive (Left Hand Drive)
  • Customer Questions & Expert Answers

    Q:
    I would like to know is this part gonna fit with my car Posted by FordPartsGiant Specialist
    A:
    You can Select Your Vehicle to check if 3W7Z-6675-BC fits your vehicle.
    Posted by FordPartsGiant Specialist
    Q:
    How to remove and install an oil pan in 4.6L V8 engine on Mercury Grand Marquis? Posted by Customer
    A:
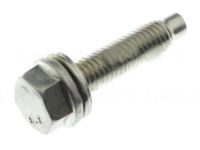
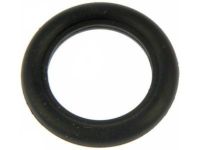
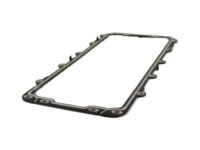
    Remove the cable from the negative battery terminal, empty the engine oil and also remove the oil filter. Remove the exhaust pipe off the manifolds and suspend the exhaust pipe forward of the catalytic converters by using mechanics wire. Disconnect the exhaust pipe that lies between the manifolds and converters by getting rid of the two bolts used to fix the sections. Take out the bolts that hold the fan's shroud into place then, place the shroud back over the fan. ,Take out the starter motor and reinforcement bracket on both edges of the engine and the bolt of the transmission line bracket. Like you carry out a little unlock of the nuts that fit the transmission mount to the crossmember to make room to shift the entire engine/transmission assembly up to address the issue of the oil pan. Take out the through bolts from the front engine mounts, put a jack under the oil pan and then lift the engine until the valve covers hits the wiper module. Take the jack to the right side of the engine and lift it to the highest point it can go, put a wooden plank in between the exhaust manifold and the framework on the right end of the engine. With the jack, lower the engine on to the wood block then remove it. ERADICATE the oil pan mounting bolts and gently detach the pan from the engine block without any harm to the sealing surfaces. Retractors attached to the subframe reach in between the oil pan and cylinder block to loosen the oil pump pickup tube/screen bolts, allowing the pickup to drop into the oil pan, then slide the pan out the front of the car between the subframe and the engine. For installation, it is necessary to have the pan and block dewinged, de-gasketed, and cleaned, as well as checked for warpage, in the case of the oil pan. Check the O-ring of the pickup tube and, if it is worn out, replace it. Position the oil pan gasket on the oil pan with the alignment tabs in position of the pickup tube and finally place the oil pan back onto the engine and tighten the bolts in a spiral manner starting at the center. The rest ought to be done in the reverse order and once the correct type and quality of oil has been added, start the engine and inspect for oil stains around the oil pan.
    Posted by FordPartsGiant Specialist
    Q:
    How to remove and install the oil pan in 5.0L V8 engine on Ford Crown Victoria? Posted by Customer
    A:
    Relieve the fuel system pressure and disconnect the negative battery cable from the battery. Remove the air cleaner assembly and the fan shroud mounting bolts, positioning the shroud back over the fan. Remove the oil level dipstick and disconnect the oil level sensor switch on the side of the oil pan if equipped. If applicable, remove the screws attaching the vacuum solenoids to the firewall behind the engine and position them out of the way without disconnecting. Disconnect and lower the exhaust crossover pipe from the manifolds, then carefully unbolt the exhaust pipe-to-catalytic converter connection and remove the exhaust pipe section. Drain the engine oil and remove the oil filter, ensuring to drain oil from both plugs if the vehicle has a dual-sump pan. Disconnect the shift linkage from the body to the transmission and the transmission cooler lines at the radiator. Remove the four torque converter cover retaining bolts and detach the cover, then remove the starter motor and disconnect the fuel lines. Disconnect the steering flex coupling and remove the two bolts attaching the steering gear to the subframe, allowing the steering gear to rest on the subframe away from the oil pan. Loosen the nuts holding the transmission mount to the crossmember without removing them completely, then remove the through bolts from the front engine mounts. Place a block of wood under the oil pan and lift the engine slightly with a jack, being cautious of the clearance between the transmission dipstick tube and the Thermactor downstream air tube. Place wooden blocks between the mounts and subframe, then remove the oil pan mounting bolts, noting that reinforcement strips may come loose. Carefully separate the pan from the block without prying, using a large rubber mallet or a block of wood and a hammer instead. Remove the oil pump pickup tube fasteners and allow the pickup to drop into the oil pan, ensuring the pan can be removed. Rotate the crankshaft as needed for clearance and remove the oil pan from the vehicle. For installation, remove the gasket(s) using a gasket scraper or putty knife, ensuring all traces of old gasket material and sealant are removed from the pan and block. Clean the mating surfaces and check the oil pan flange for distortion, flattening it if necessary. For four-piece style gaskets, remove old rubber seals from the rear main bearing cap and timing chain cover, clean the grooves, and install new seals with RTV sealant or gasket contact adhesive. Install the oil pump pickup tube along with the pan, tightening the pickup tube bolts to the specified torque. Position the pan against the block and install the bolts finger tight, ensuring the seal(s) and gasket(s) haven't shifted, then tighten the bolts in three steps to the specified torque, starting at the center and working outward in a spiral pattern. The remaining steps are the reverse of removal, and remember to refill the engine with oil and replace the filter before starting it, then check for oil leaks at the oil pan.
    Posted by FordPartsGiant Specialist
    Q:
    How should the exhaust pipe-to-catalytic converter connection be handled for the 1991 Mercury Grand Marquis? Posted by Customer
    A:
    Carefully unbolt the exhaust pipe-to-catalytic converter connection (remember - it's already unbolted from the engine) and remove the exhaust pipe(s) section.
    Posted by FordPartsGiant Specialist
    Q:
    How should the exhaust pipe be supported for the 2000 Ford Crown Victoria? Posted by Customer
    A:
    Support the exhaust pipe with a length of mechanics wire, just ahead of the catalytic converters, at the H-pipe section of the exhaust pipes.
    Posted by FordPartsGiant Specialist
    If you have any questions about this product, please don't hesitate to ask us. We will be happy to help you!

Genuine Ford Part 3W7Z-6675-BC, the Right Choice

To ensure reliability, purchase Ford part # 3W7Z-6675-BC Pan Assembly - Engine Oil. It is sometimes referred to as Mercury Oil Pan. In terms of quality and longevity, OEM parts are top-tier. This is because they are made according to Ford's demanding factory specifications and go through strict quality control. This part fits specific Mercury Grand Marquis models.

FordPartsGiant.com is a leading supplier of genuine Ford parts and accessories such as Ford 3W7Z6675BC Pan Assembly - Engine Oil. On our platform, we provide genuine Ford parts at incredible prices while ensuring top-tier quality. Feel at ease shopping with us, knowing our parts have a hassle-free return policy and rapid delivery service. For detailed Mercury parts information, click here.

Why choose Ford Parts Giant

  • Dedicated Service

    Your complete satisfaction is our #1 goal

  • Lowest Prices

    Best deals on genuine OE parts from dealerships

  • Fast Delivery

    Orders are processed and delivered promptly