
My Garage
My Account
Cart
Genuine Ford Crown Victoria A/C Compressor
Air Conditioning Compressor- Select Vehicle by Model
- Select Vehicle by VIN
Select Vehicle by Model
orMake
Model
Year
Select Vehicle by VIN
For the most accurate results, select vehicle by your VIN (Vehicle Identification Number).
8 A/C Compressors found
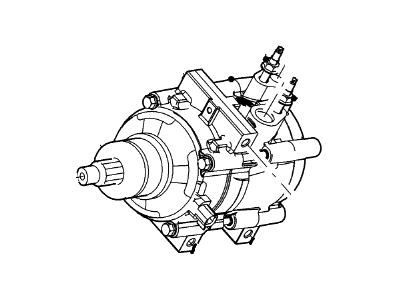
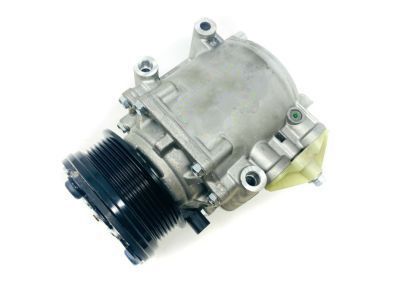
Ford Crown Victoria Compressor Assembly
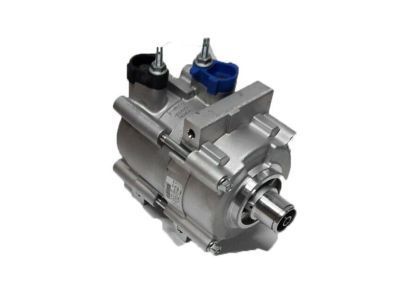
Part Number: AU2Z-19V703-AC$303.02 MSRP: $505.45You Save: $202.43 (41%)Ships in 1-2 Business DaysFord Crown Victoria Compressor Assembly
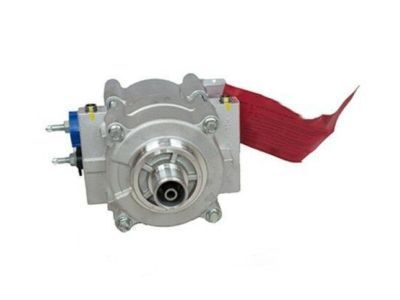
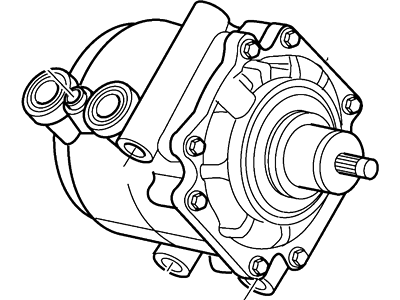
Part Number: 4L3Z-19V703-AA$373.87 MSRP: $623.64You Save: $249.77 (41%)Ships in 1-2 Business Days
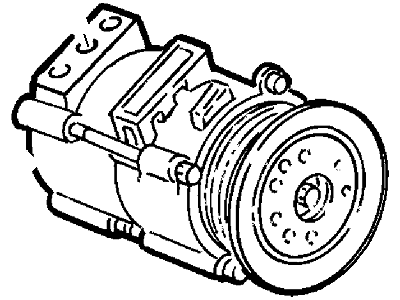
Ford Crown Victoria A/C Compressor
We provide a wide range of Ford Crown Victoria A/C Compressor at the best prices possible. If you need Ford Crown Victoria A/C Compressor, you can shop with confidence on our website. All our OEM parts come with a manufacturer's warranty and are delivered to your door step with a fast delivery service.
Ford Crown Victoria A/C Compressor Parts Questions & Experts Answers
- Q: How to remove and replace an air conditioning compressor on Ford Crown Victoria?A:Special spring lock coupling tools are required to release the connectors used on the refrigerant lines throughout the air conditioning system. There are different tools for each line size. These tools can usually be found at local auto parts stores. Many times the necessary coupling tool may be included in the kit used for parts replacement. To remove the compressor, first have the system discharged by a dealer service department or an automotive air conditioning repair facility. Then, remove the accessory drive belt(s). Remove the refrigerant line fitting block (coupled hose assembly) connected to the rear of the compressor. Disconnect the electrical connection at the compressor clutch. Remove the compressor mounting bolts. Remove the compressor from the mounting location. Drain and measure the refrigerant oil from the compressor. If the compressor is being replaced, add the appropriate amount of refrigerant oil to maintain the correct level. Add refrigerant oil to the component being replaced based on the following guidelines: If the amount removed was between three and five ounces, add the same amount of clean refrigerant oil to the new compressor. If the amount of oil removed was greater than five ounces, add only five ounces to the component before installation. If the amount of oil removed was less than three ounces, add three ounces to the component before reinstallation. This will maintain the correct oil level in the system after the repairs are completed. When replacing the compressor, transfer the clutch assembly to the new compressor. A universal spanner wrench, snap ring pliers, and a two jaw puller will be needed to remove the clutch from the old compressor. The compressor shaft seal should also be replaced at this time. Installation procedures are the reverse of those for removal. When installing the fitting block, use new O-rings and lubricate them with clean refrigerant oil. After the compressor is installed, have the system evacuated, recharged, and leak tested by a dealer service department or an air conditioning repair facility.
Related Ford Crown Victoria Parts
Browse by Year
2011 A/C Compressor 2010 A/C Compressor 2009 A/C Compressor 2008 A/C Compressor 2007 A/C Compressor 2006 A/C Compressor 2005 A/C Compressor 2004 A/C Compressor 2003 A/C Compressor 2002 A/C Compressor 2001 A/C Compressor 2000 A/C Compressor 1999 A/C Compressor 1998 A/C Compressor 1997 A/C Compressor 1996 A/C Compressor 1992 A/C Compressor
