×
- Live Chat
- 1-888-788-9341


My Garage
My Account
Cart
Genuine Ford Crown Victoria Fuel Tank
Gas Tank- Select Vehicle by Model
- Select Vehicle by VIN
Select Vehicle by Model
orMake
Model
Year
Select Vehicle by VIN
For the most accurate results, select vehicle by your VIN (Vehicle Identification Number).
15 Fuel Tanks found
Ford Crown Victoria Fuel Tank
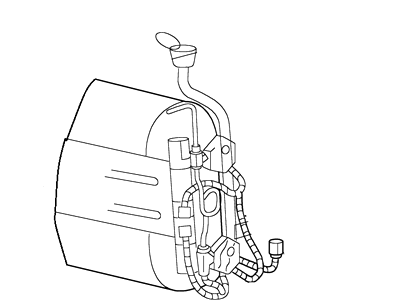
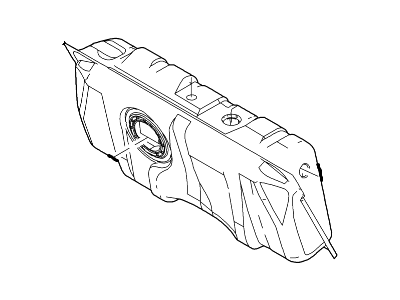
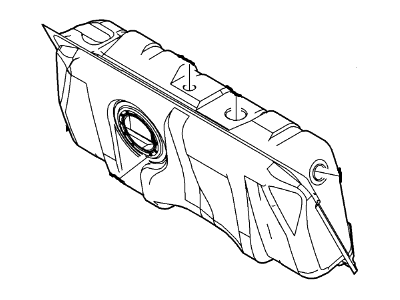
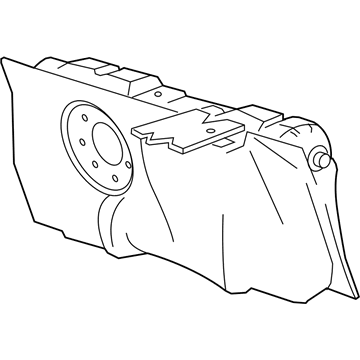
The Fuel Tank of Ford Crown Victoria vehicles is used for the storage and supply of fuel for the engine and other components such as the electric fuel pump and fuel gauge sender are installed in the tank. Mounting in extremely corrosive undercar environments, these tanks are usually made of metal or high density polyethylene (HDPE) plastic material. Metal tanks are made from steel or aluminum and are welded in construction while the plastic tanks are blow-molded. Over the years, variations in fuel tank design may have occurred, but the primary function remains consistent: This is to offer afast and safe method of storgae of the fuel so that it will be easily accessible when needed. Both types of tanks contain the drawbacks like corrosion, impact, and fluctuating temperatures which ultimately result in the leakage of the tanks. The Crown Victoria's fuel tank plays a significant role in its functionality and safety; it delivers fuel and contributes to fuel efficiency reduction of emissions through the Evaporative Emission Control System (EVAP).
We provide a wide range of Ford Crown Victoria Fuel Tank at the best prices possible. If you need Ford Crown Victoria Fuel Tank, you can shop with confidence on our website. All our OEM parts come with a manufacturer's warranty and are delivered to your door step with a fast delivery service.
Ford Crown Victoria Fuel Tank Parts Questions & Experts Answers
- Q: How to remove and install a fuel tank on Ford Crown Victoria?A: Don't begin this procedure until the gauge indicates that the tank is empty or nearly empty. If the tank must be removed when it's full, for example, if the Fuel Pump malfunctions, siphon any remaining fuel from the tank prior to removal. Unless the vehicle has been driven far enough to completely empty the tank, it's a good idea to siphon the residual fuel out before removing the tank from the vehicle. Warning: DO NOT start the siphoning action by mouth! Use a siphoning kit, available at most auto parts stores. Relieve the fuel pressure. Detach the cable from the negative terminal of the battery. Raise the vehicle and support it securely on jackstands. Remove the fuel tank filler neck bracket bolts securing the fuel filler neck and the fuel tank filler pipe retainer and slide the assembly from the vehicle. Disconnect the fuel lines and vapor lines. Remove the electric fuel pump and sending unit electrical connector with a screwdriver. Place a floor jack under the tank and position a block of wood between the jack pad and the tank. Raise the jack until it's supporting the tank. Remove the bolts or nuts from the front ends of the fuel tank straps. The straps are hinged at the other end so you can swing them out of the way. Lower the tank far enough to unplug any vapor lines or wire harness brackets that may be difficult to reach when the fuel tank is in the vehicle. Slowly lower the jack while steadying the tank. Remove the tank from the vehicle. Remove and install the fuel pump/sending unit. Installation is the reverse of removal. SAE 10W-40 engine oil can be used as an assembly aid when pushing the fuel filler neck back into the tank.
- Q: What precautions should be taken when performing repairs to the fuel tank or filler neck on Ford Crown Victoria?A: In all cases, repairs to the fuel tank or filler neck should be done by a professional who has undergone the appropriate training to carry out this crucial and potentially harmful task. Explosive fumes may still be present even after the tank has been cleaned and flushed and they could explode when it is being repaired. If the fuel tank is taken out of the vehicle, it should never be put in a place where sparks or open flames can ignite the fumes coming out from it.


